

CONTEGA SOLIDO IQ-D
Installation steps: Sealing the window joint
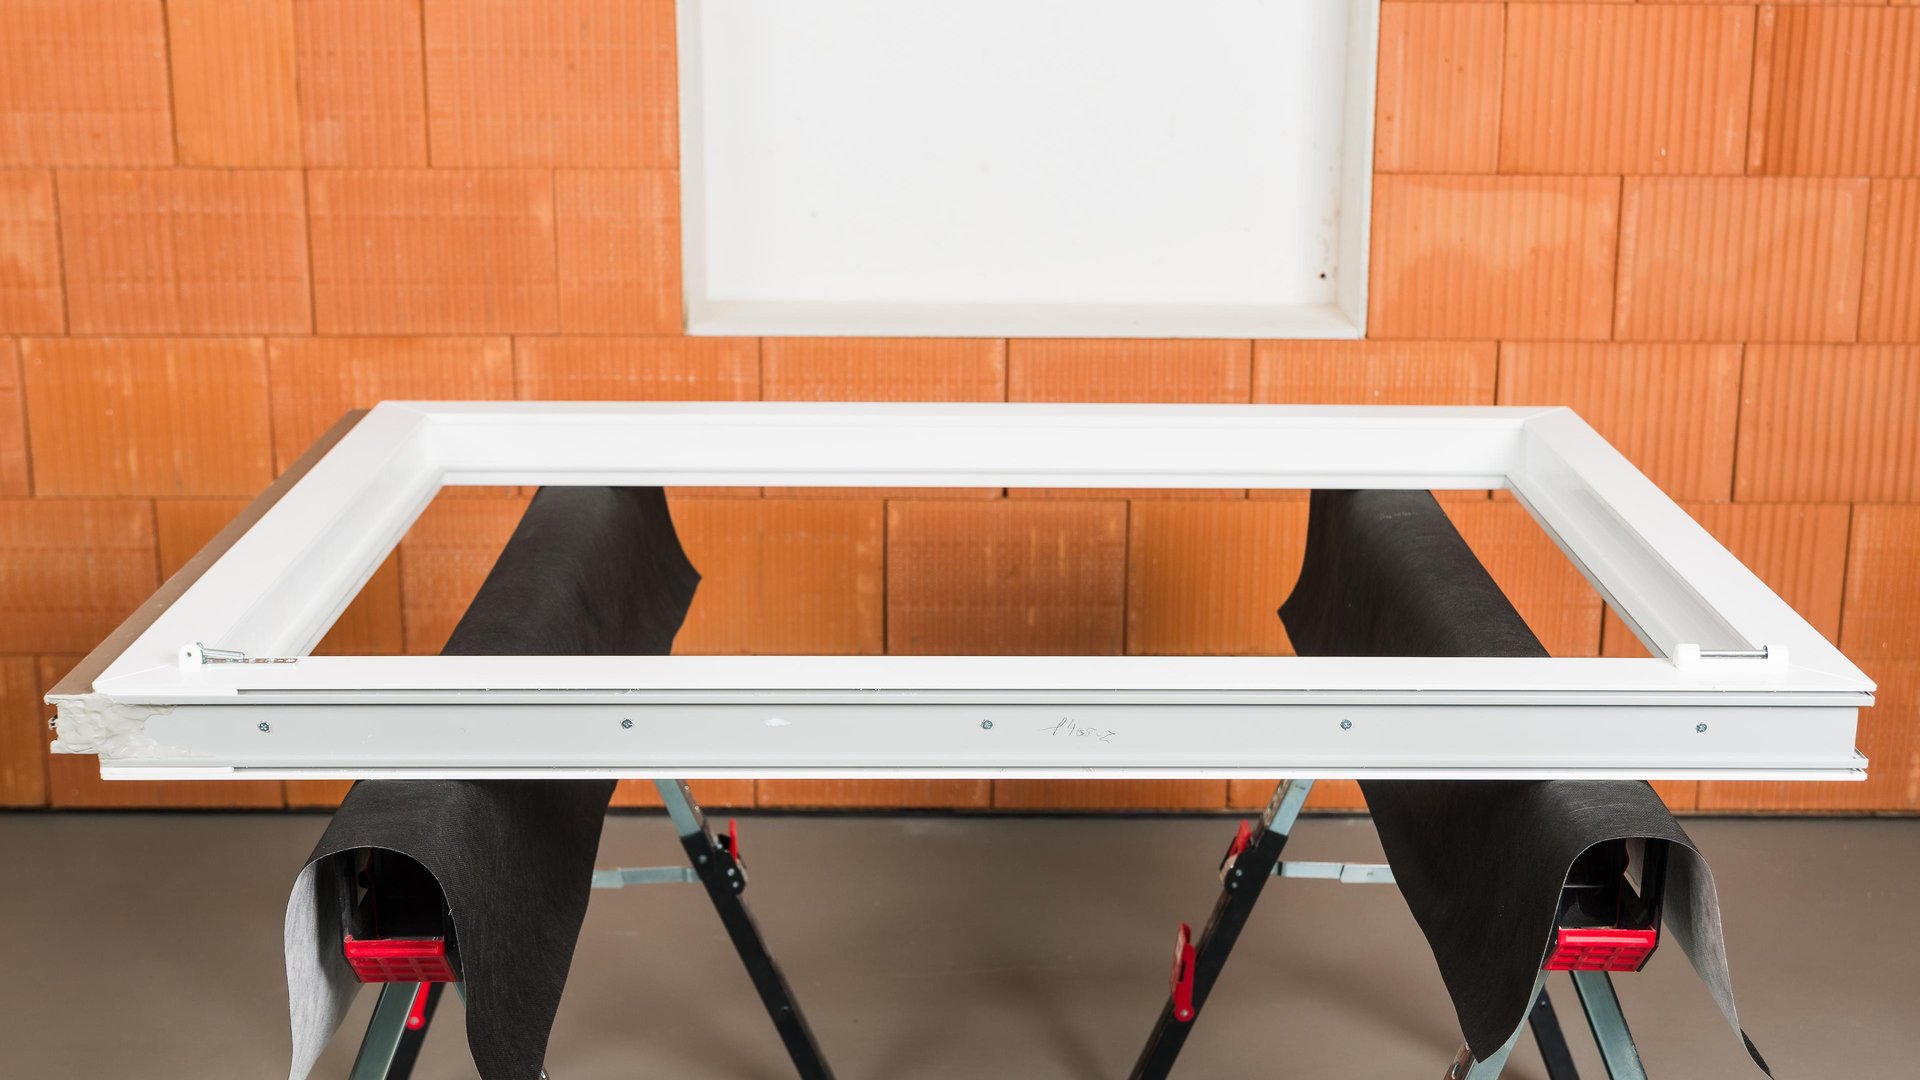
1. Window to be mounted into a timber, masonry or timber structure
CONTEGA SOLIDO IQ-D is to be pre-installed before the window is mounted.
The frame is laid out flat with the interior side of the frame facing up.
The open ends of the window profile have been filled and the filling/sealing profiles have been attached.

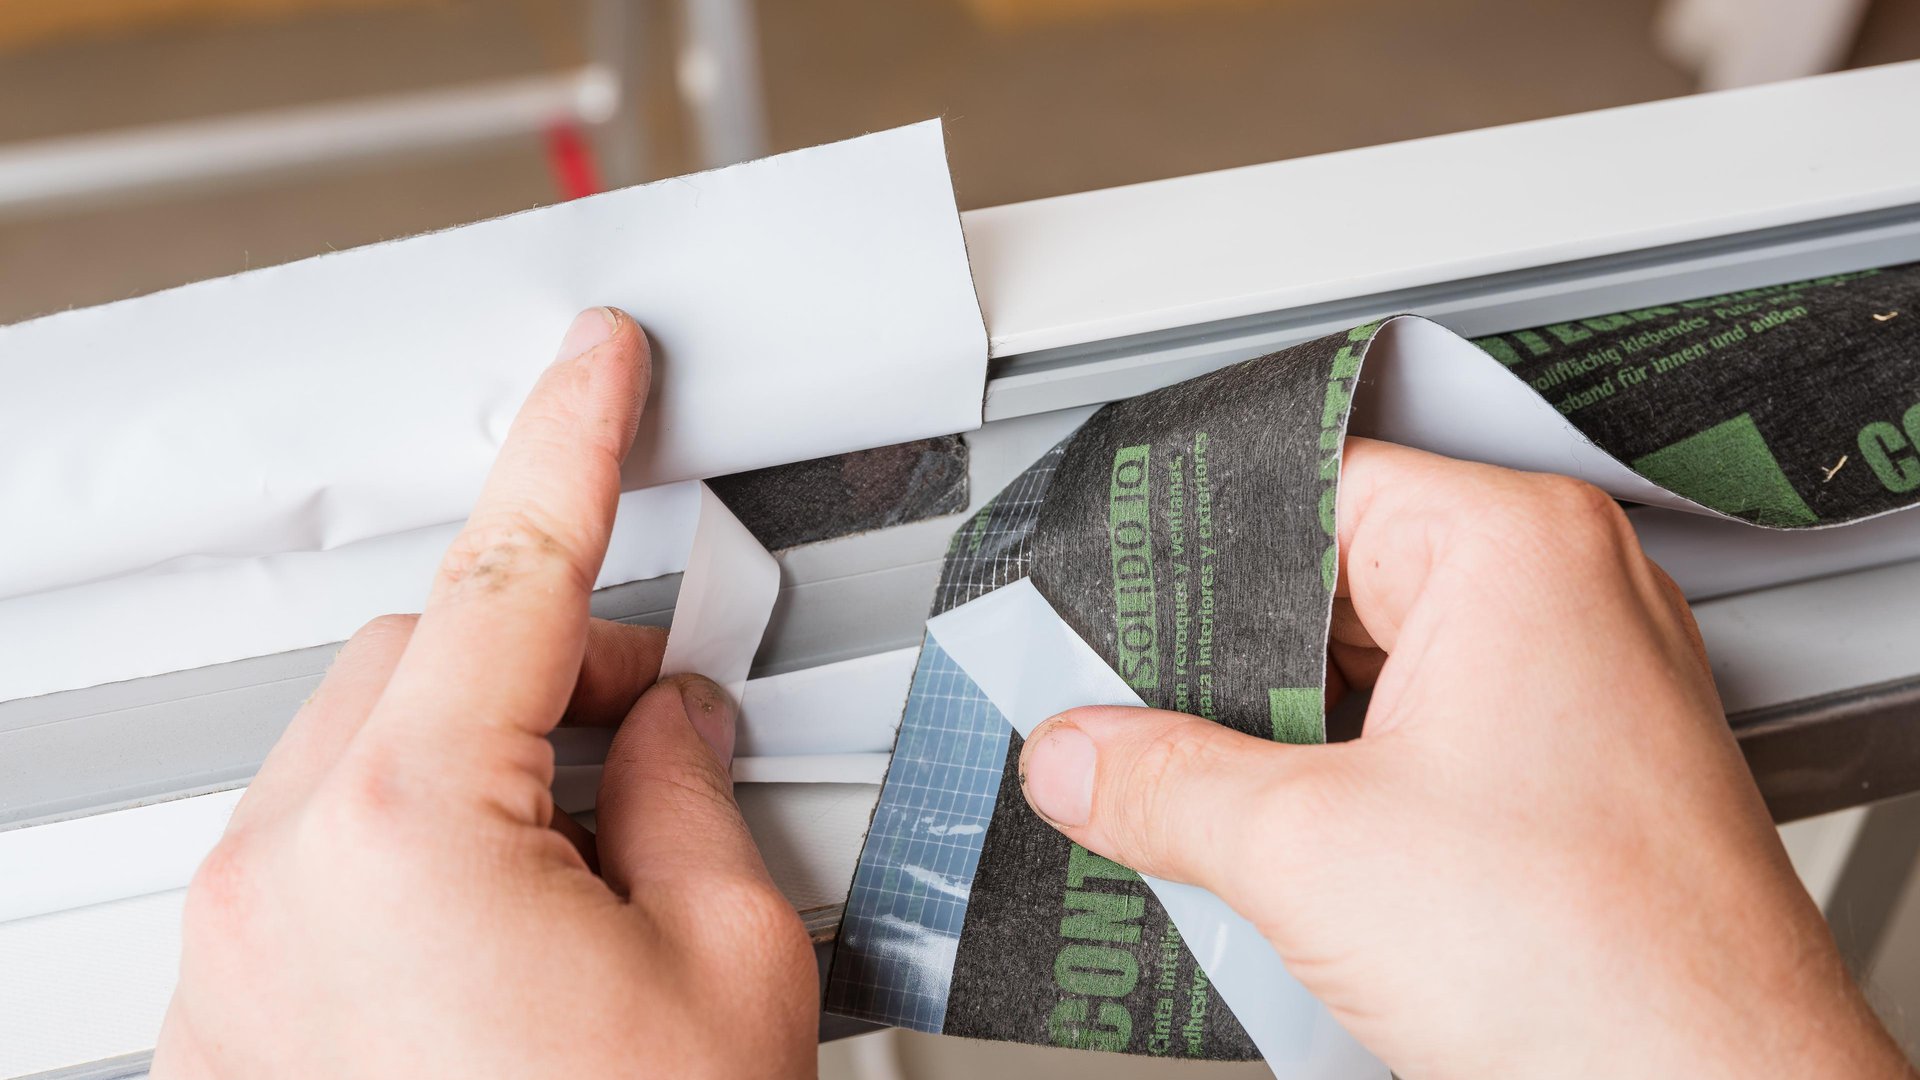
2. Start applying tape at the top of the frame
Remove the single release film strip on the printed side, position the tape on the side of the frame and then gradually stick in place. The printed side of the tape will face the window and extends upwards.
Rub using the PRESSFIX application tool to secure the adhesive bond.
If tape application is started at the side of the window frame, ensure that the tape overlap is executed in a waterproof manner.

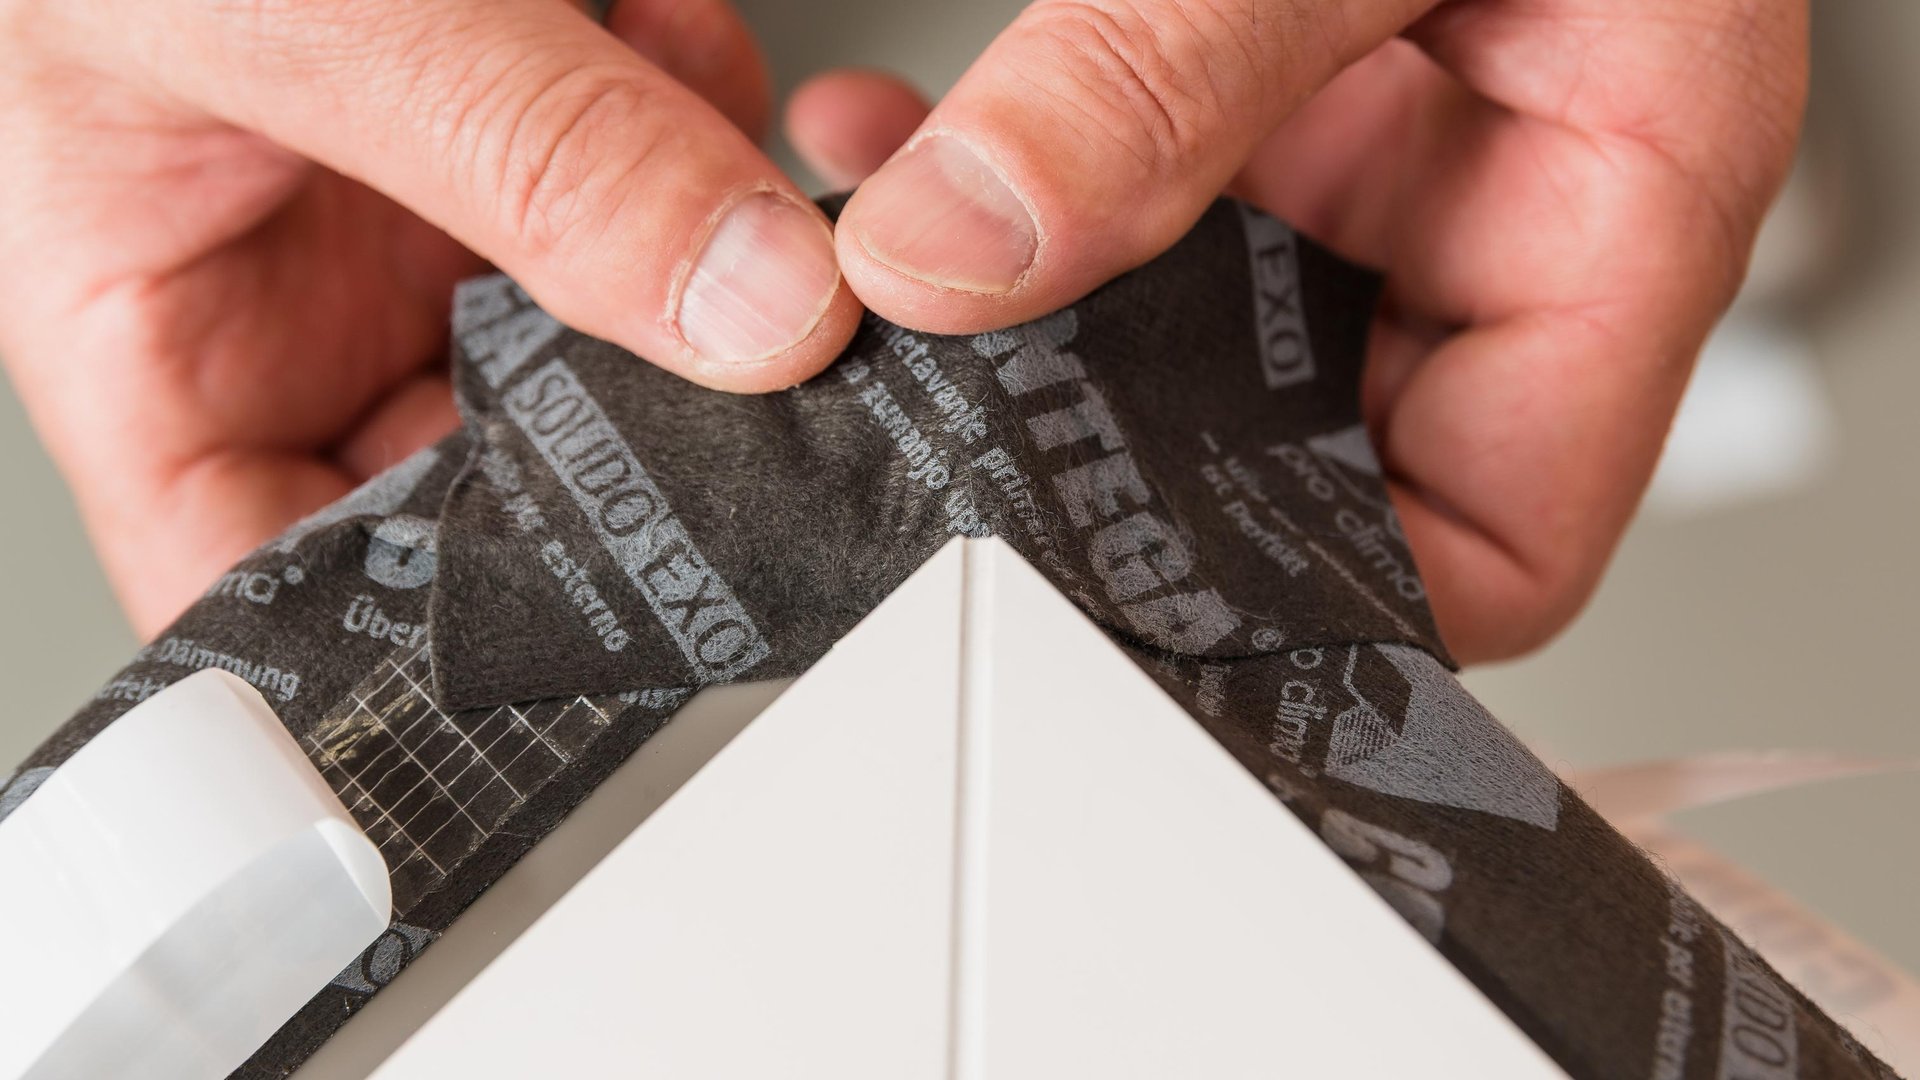
3. Create corner folds
Create corner folds as shown here to make it easier to create a reliable seal to the window reveal at the corners later on.
The size of the corner folds should correspond to around 1.5 times the joint width.
3. Create corner folds
Create corner folds as shown here to make it easier to create a reliable seal to the window reveal at the corners later on.
The size of the corner folds should correspond to around 1.5 times the joint width.
4. Apply tape all around frame and rub to secure
Stick the tape all around the side of the frame. At the end, cut off any excess length and stick the overlap. Repeat steps 2 to 4 for the opposite (exterior) side of the window, as required.
Ensure that there is uninterrupted airtightness/windtightness when applying the tape.
Rub using the PRESSFIX application tool to secure the adhesive bond.
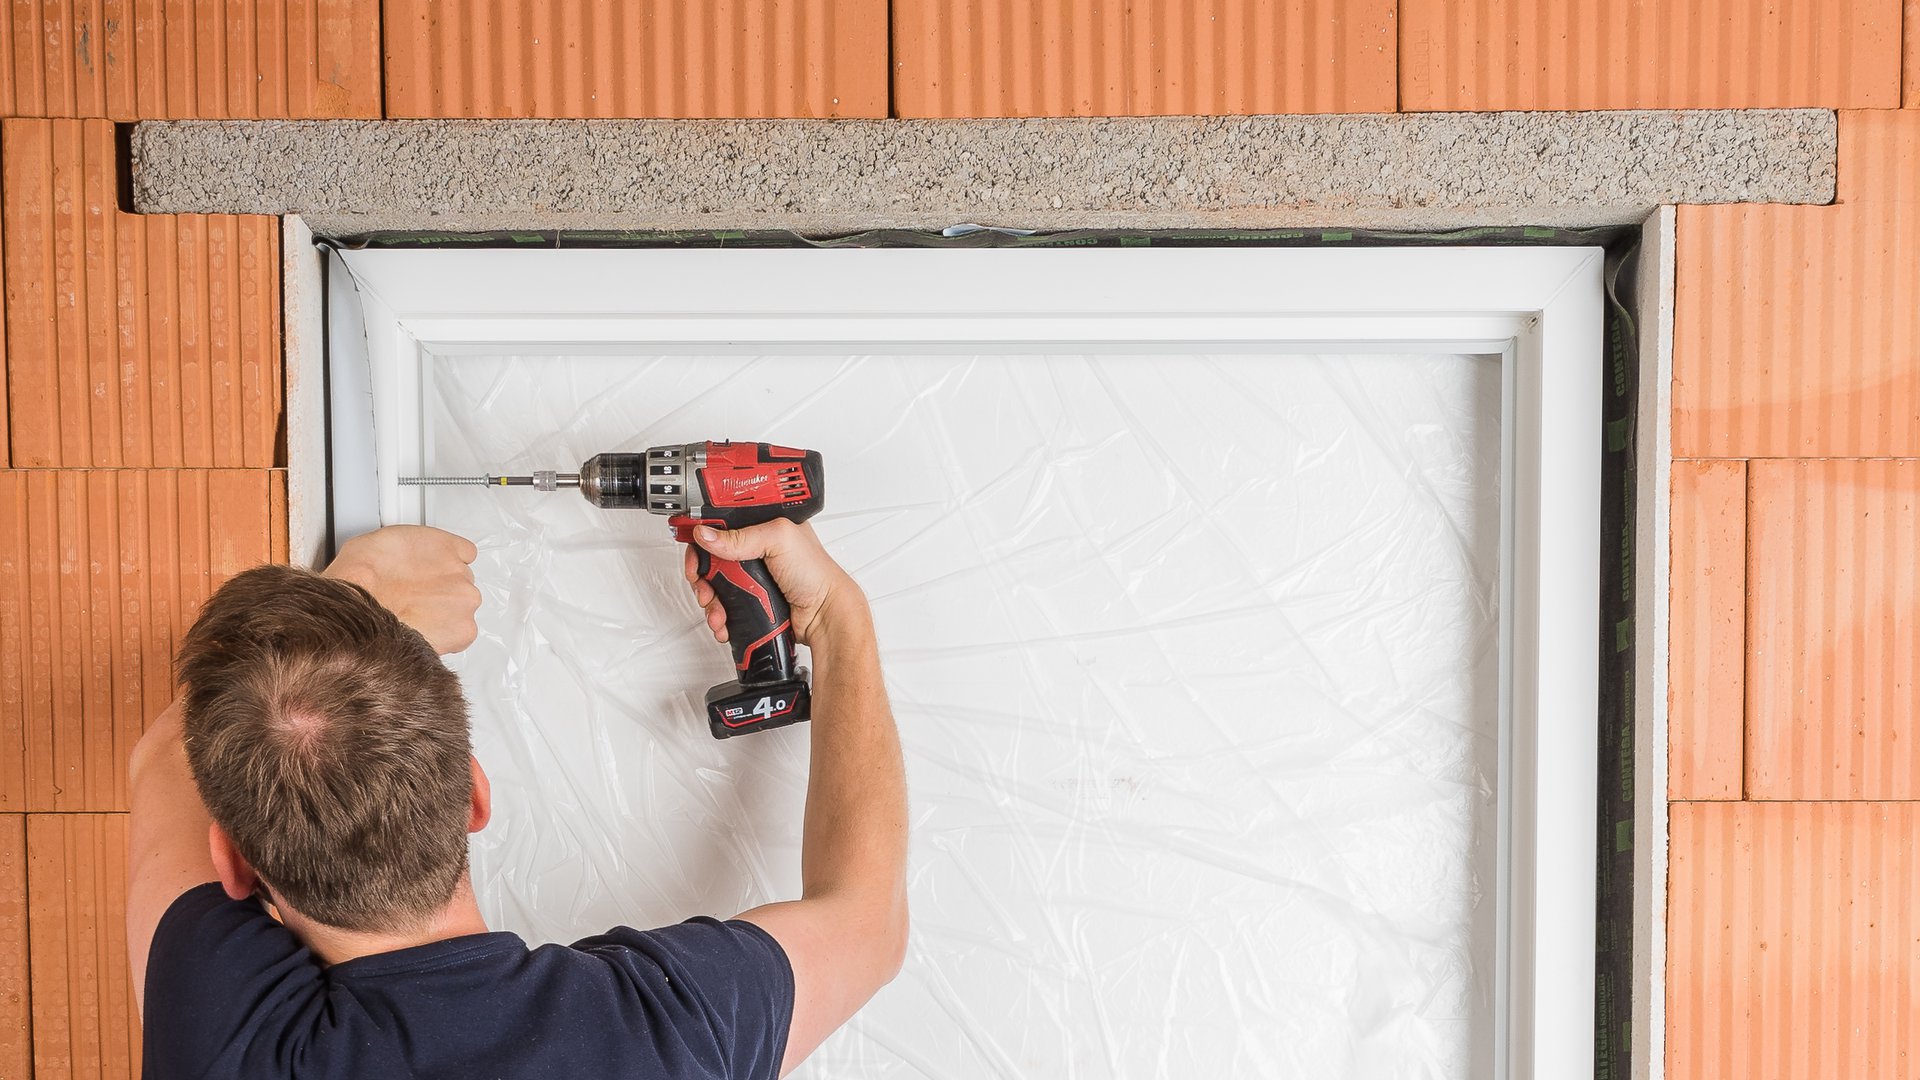
5. Install the window and insulate the joint
Fold in the CONTEGA SOLIDO IQ-D tape so that it is not in the way, and then mount the window
using a suitable fastening system.
Fill in the joint with a suitable insulation material, leaving no cavities.
5. Install the window and insulate the joint
Fold in the CONTEGA SOLIDO IQ-D tape so that it is not in the way, and then mount the window
using a suitable fastening system.
Fill in the joint with a suitable insulation material, leaving no cavities.

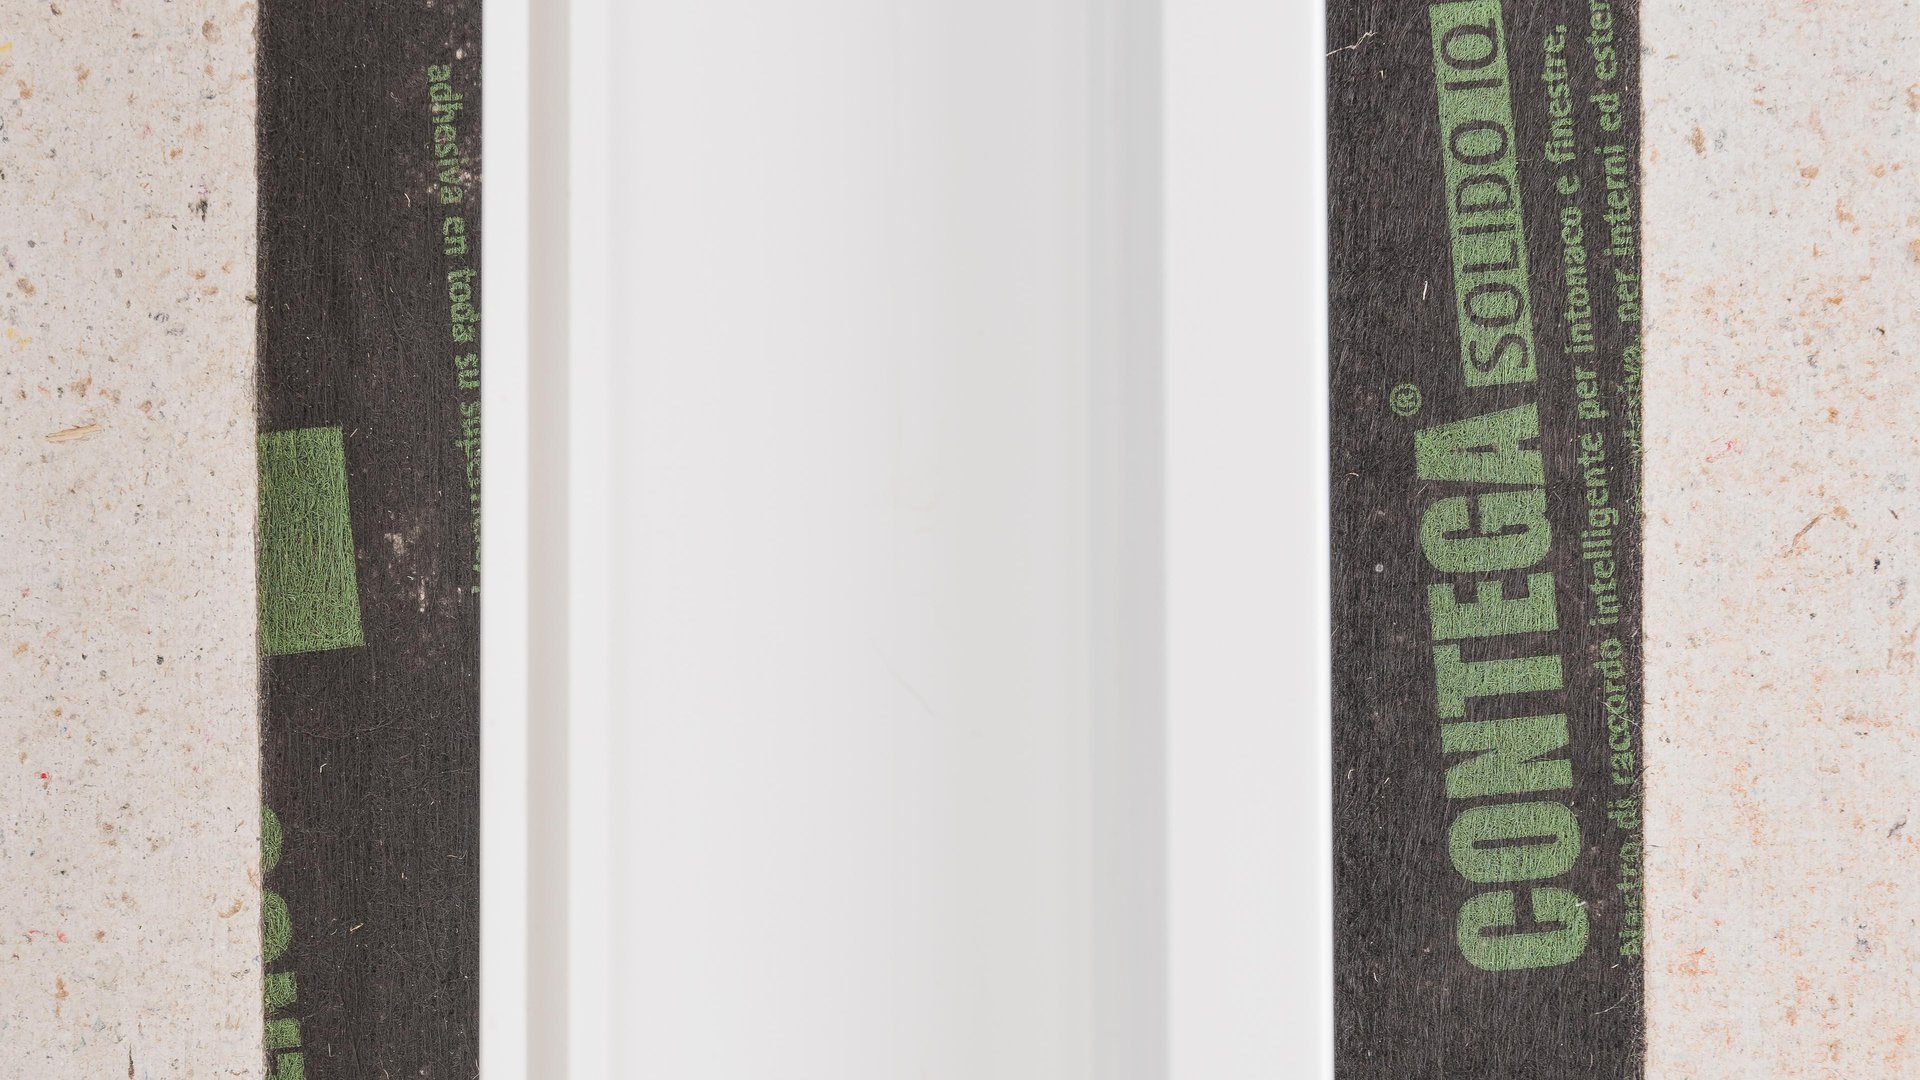
6. Stick the tape to the reveal all around the frame and rub to secure
Remove the release film and gradually stick the tape to the reveal all around the window frame, allowing slack to accommodate relative motion between components. Ensure that there is uninterrupted airtightness/windtightness when applying the tape. Rub using the PRESSFIX application tool to secure the adhesive bond.
7. Sealing the window joint on the opposite side
CONTEGA SOLIDO IQ-D should be applied in an analogous manner to seal the window joint on the opposite (exterior or interior) side.
Repeat the taping steps to achieve a seal that is airtight or windtight/watertight against driving rain.
7. Sealing the window joint on the opposite side
CONTEGA SOLIDO IQ-D should be applied in an analogous manner to seal the window joint on the opposite (exterior or interior) side.
Repeat the taping steps to achieve a seal that is airtight or windtight/watertight against driving rain.
Tip
For the joint at bottom of the window, application of CONTEGA SOLIDO IQ-D can be continued onto the front face of the sill connection profile. This makes it easier to mount the window and apply the tape to the sub-sill later. In this case, a length of tape must be applied over the corner fold. This can also be done with all other corner folds. Tape should only be applied onto surfaces that will not be visible in the long term.