

CONTEGA SOLIDO IQ
Installation steps: 2. Window already mounted
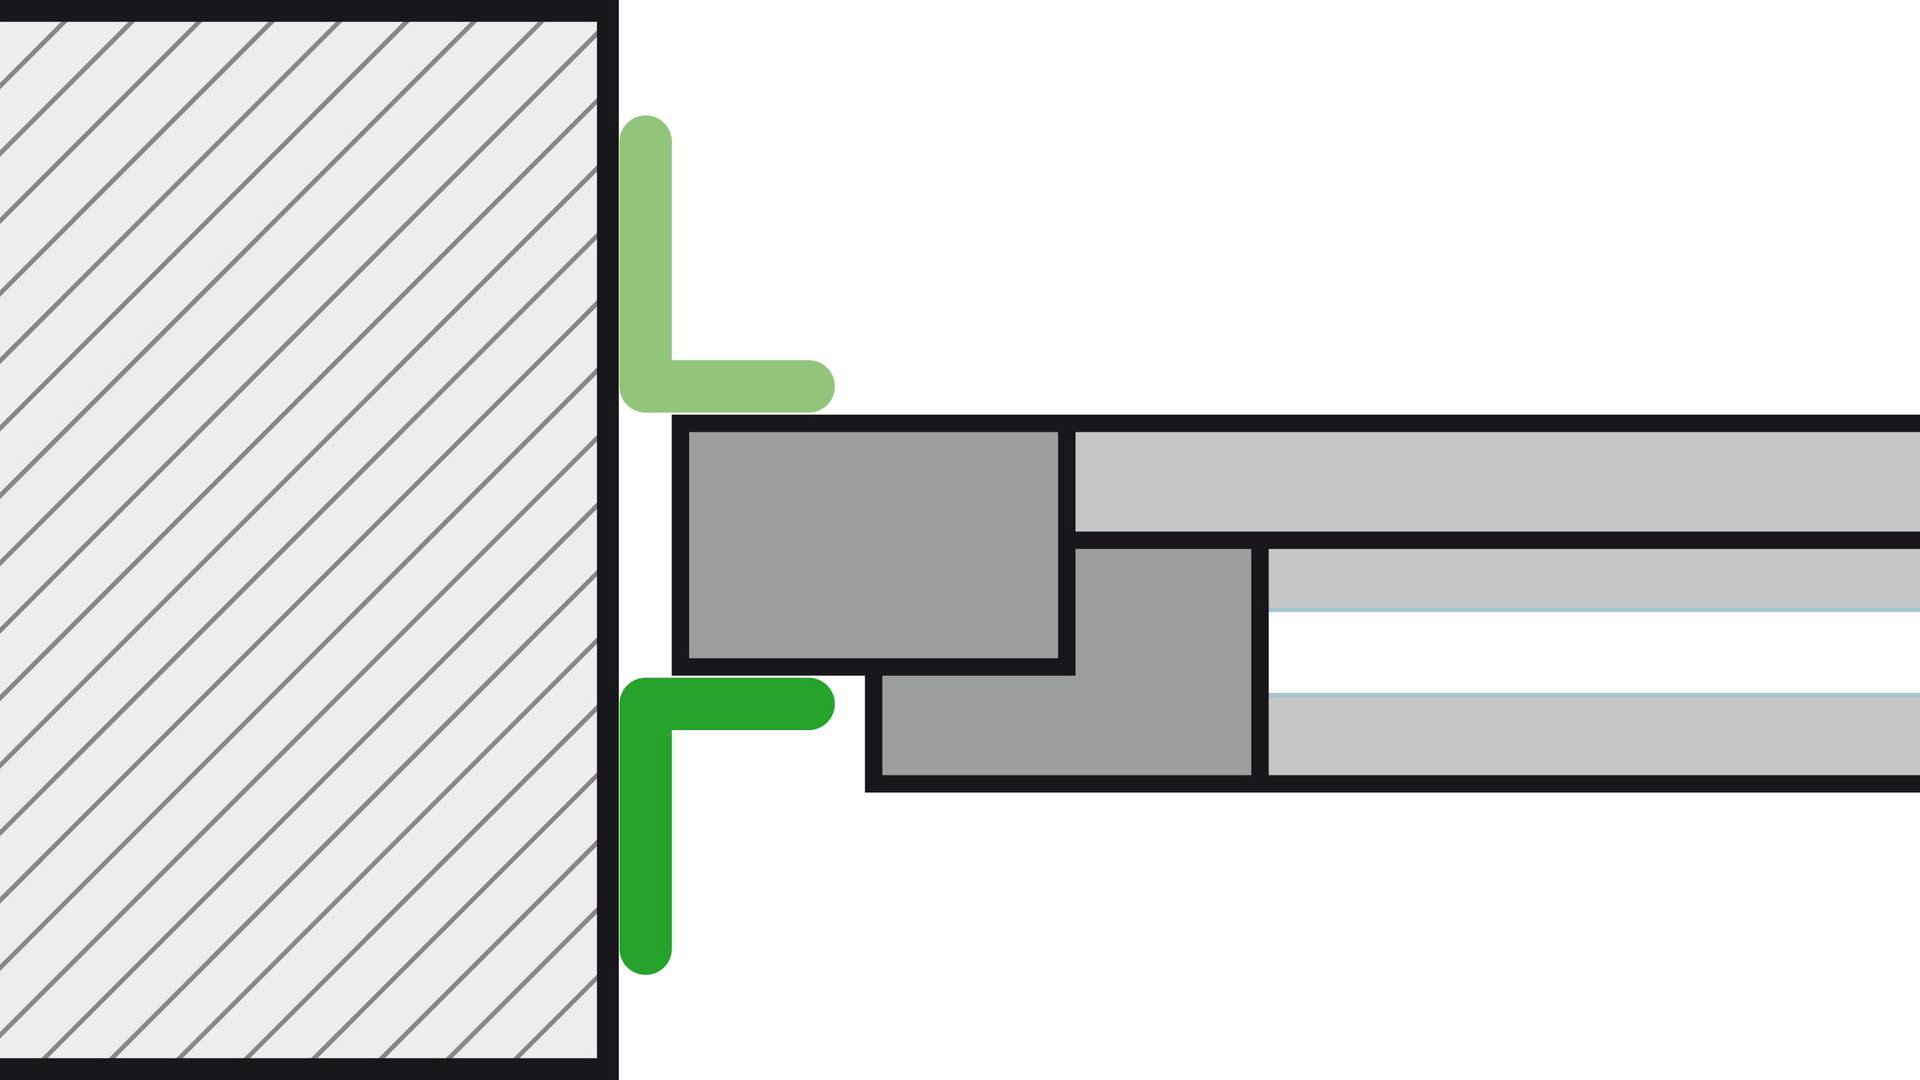
1. The window is already installed
The window joint is to be sealed with CONTEGA SOLIDO IQ in combination with EXTOSEAL ENCORS on the exterior, or to a suitable substrate, e.g. a smooth plaster finish, on the interior.
1. The window is already installed
The window joint is to be sealed with CONTEGA SOLIDO IQ in combination with EXTOSEAL ENCORS on the exterior, or to a suitable substrate, e.g. a smooth plaster finish, on the interior.
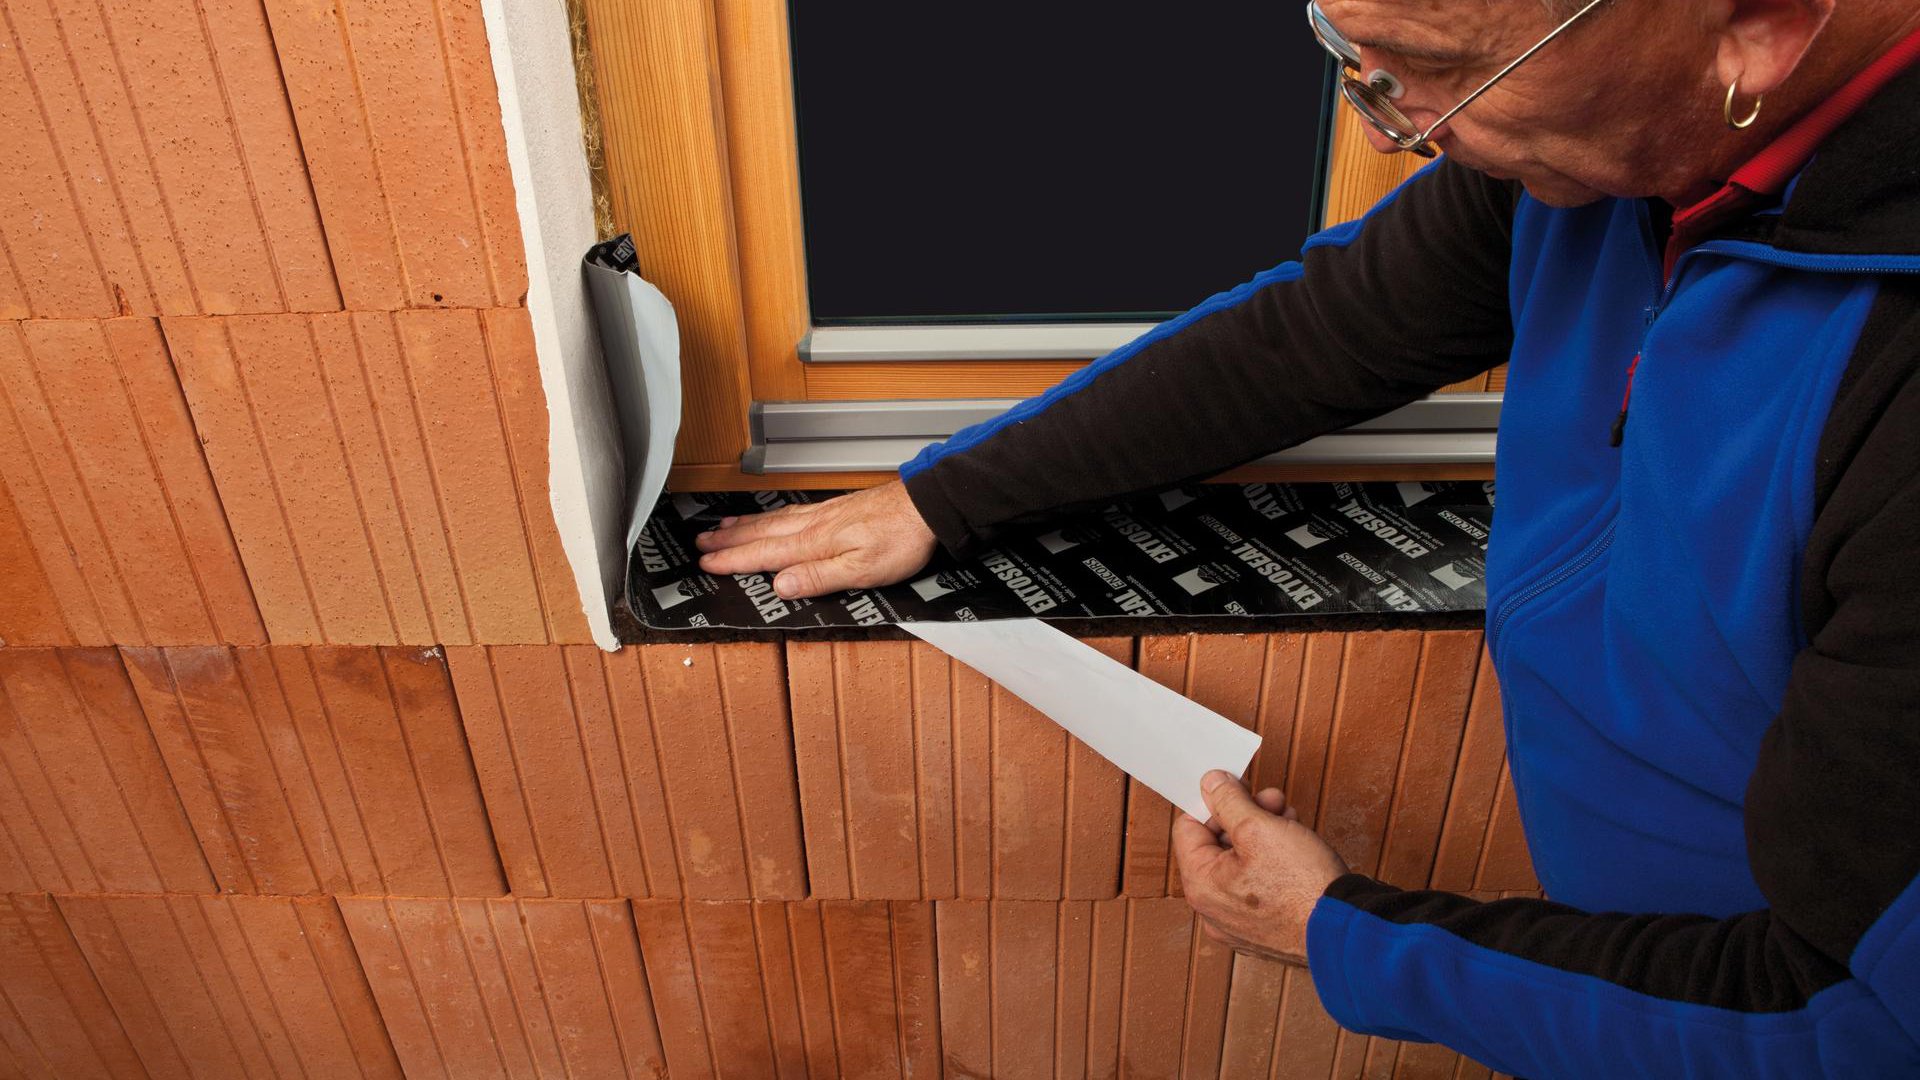
2. Create a sub-sill
Use the EXTOSEAL ENCORS sub-sill tape to create a sub-sill as a second waterproof layer. Guide the tape into the corners precisely and also run it to a height of approx. 6-15 cm (2 3/8” - 6”) on the reveals on each side depending on the type of facade used.
Close off any open profile ends and groove ends using a suitable sealant.

3. Cut the CONTEGA SOLIDO IQ tape to length
Add approx. 6-8 cm (2 3/8” - 3 1/8”) to the length of each side of the frame and cut this length of tape.
3. Cut the CONTEGA SOLIDO IQ tape to length
Add approx. 6-8 cm (2 3/8” - 3 1/8”) to the length of each side of the frame and cut this length of tape.
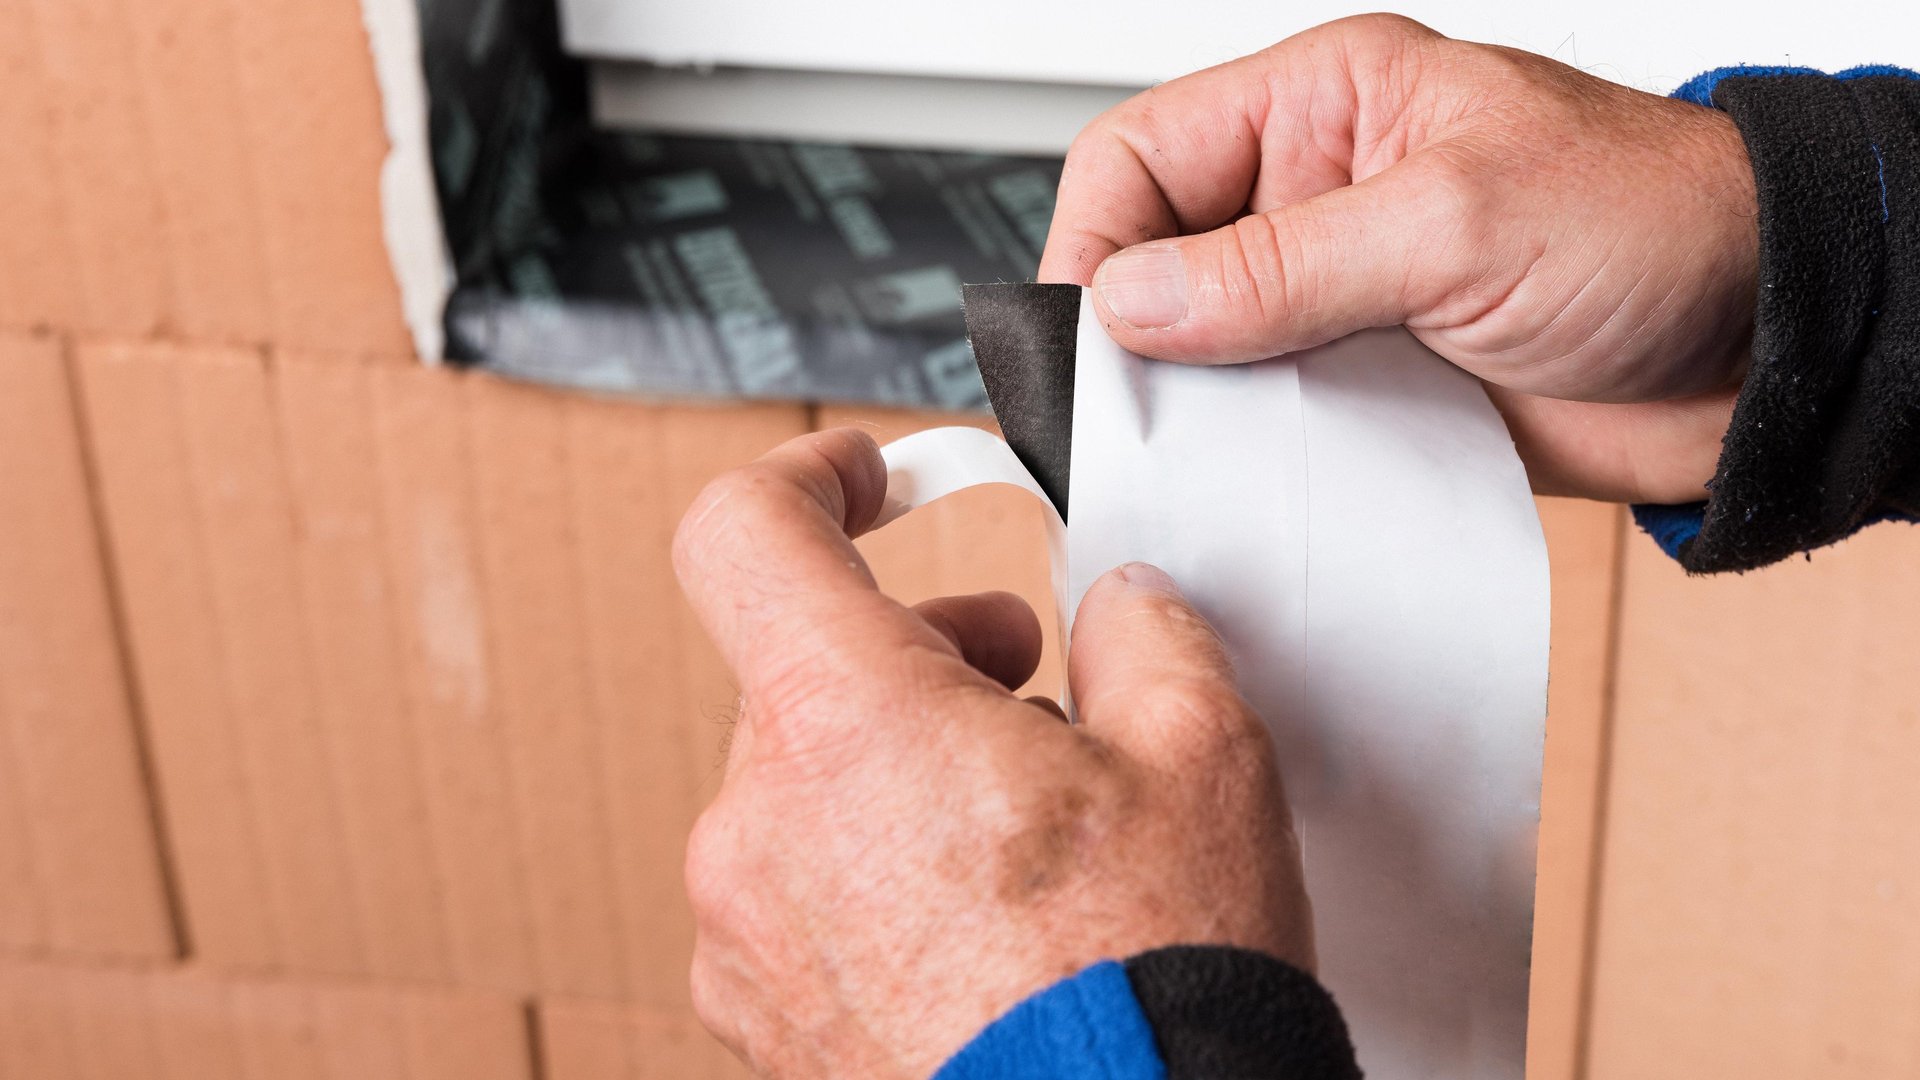
4. Remove the first release film strip
Remove approx. 5-10 cm (2” - 4”) of the narrow release film strip.
4. Remove the first release film strip
Remove approx. 5-10 cm (2” - 4”) of the narrow release film strip.
5. Start applying tape at the top of the frame
Guide the tape into the upper reveal corner (allowing some excess tape to continue onto the lintel surface) and press it into the corner. Secure the narrow adhesive strip to the upper part of the vertical window frame at discrete points, create a corner fold and stick into place.
Guide the tape along the vertical window frame as far as the sub-sill for exterior application or as far a suitable sill surface for interior application.
Then remove the remaining release film strips and stick the tapes to the adjacent subsurfaces, allowing slack to accommodate expansion.
Apply tape in an analogous manner to the lintel area and the area under the window, as required.
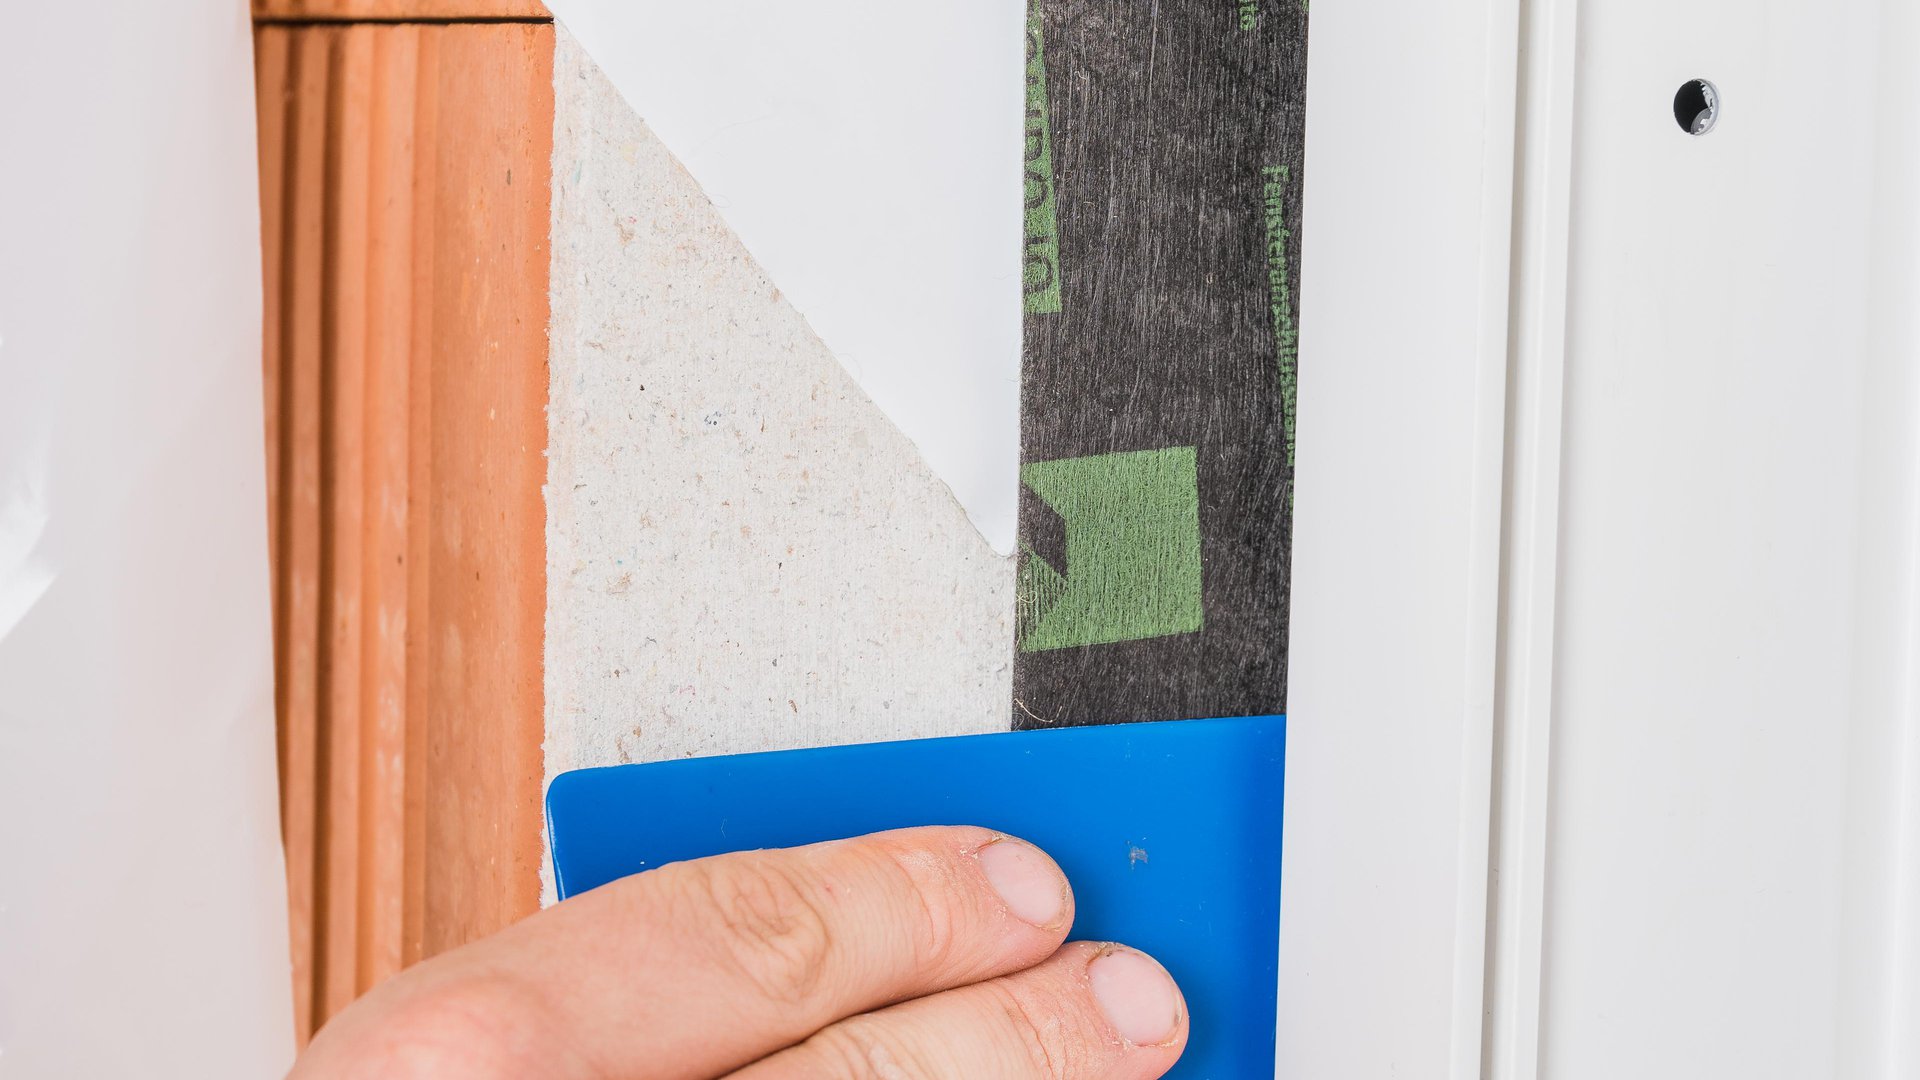
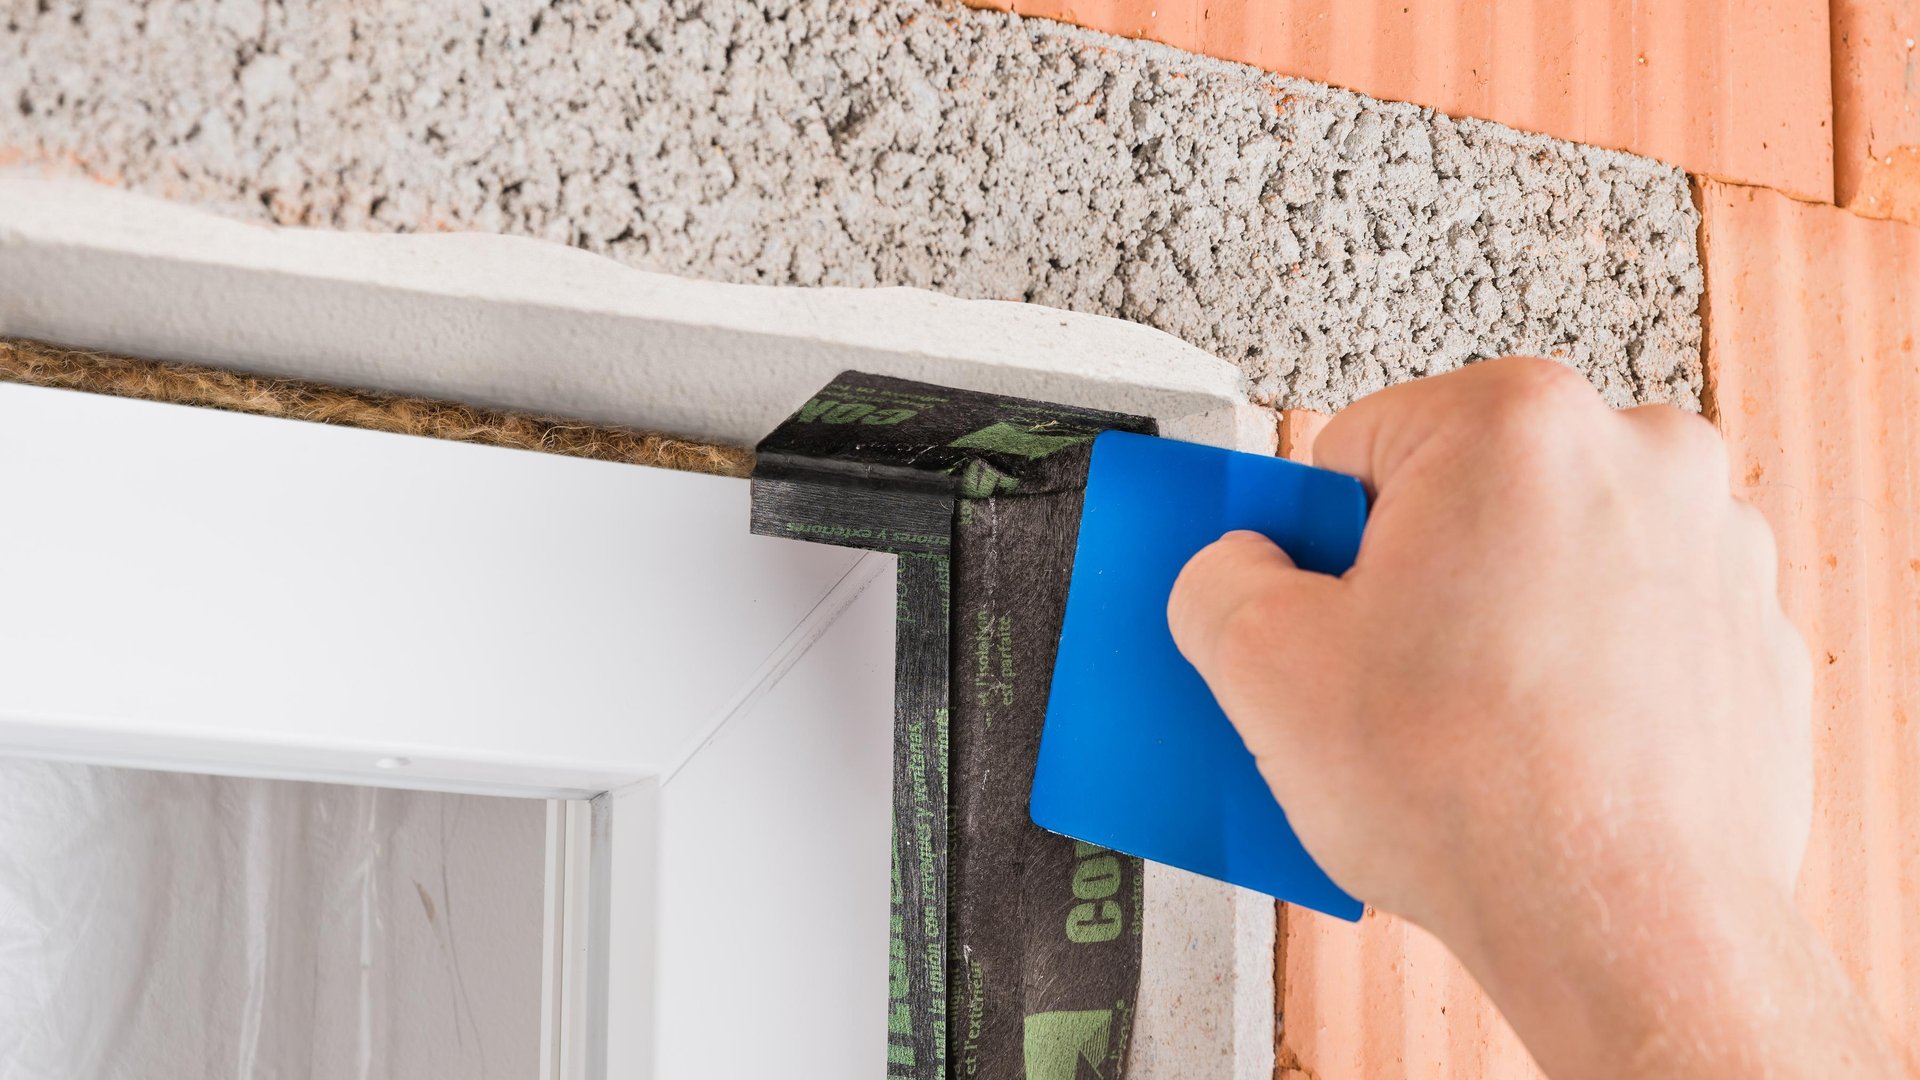
6. Carry out installation work carefully
Careful taping all around the window with no gaps is a prerequisite for airtightness, windtightness and resistance to driving rain. Rub using the PRESSFIX application tool to secure the adhesive bond.
6. Carry out installation work carefully
Careful taping all around the window with no gaps is a prerequisite for airtightness, windtightness and resistance to driving rain. Rub using the PRESSFIX application tool to secure the adhesive bond.