DUPLEX
Installation steps

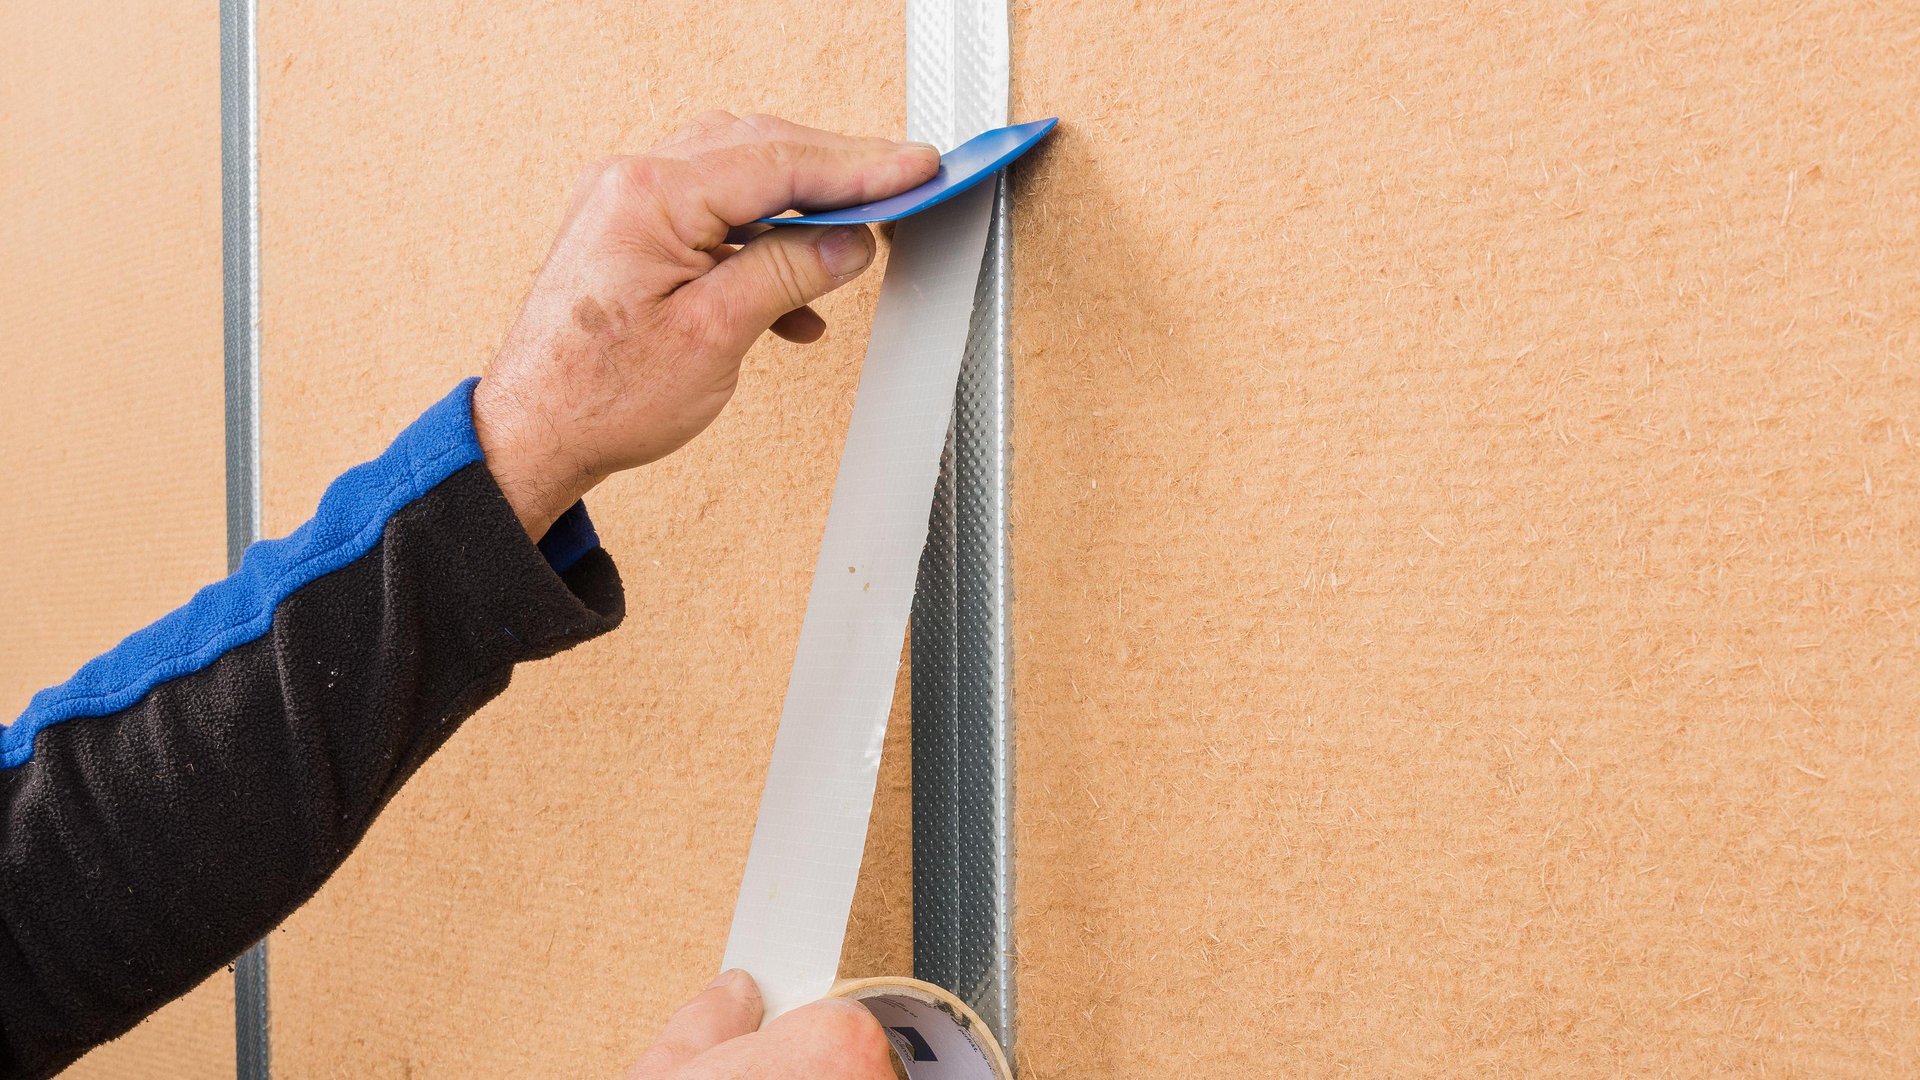
1. Fastening to stud wall frame members
Fastening of membranes to metal frame members on stud wall and ceiling structures. Roll out DUPLEX and rub firmly onto the subsurface using PRESSFIX.
1. Fastening to stud wall frame members
Fastening of membranes to metal frame members on stud wall and ceiling structures. Roll out DUPLEX and rub firmly onto the subsurface using PRESSFIX.
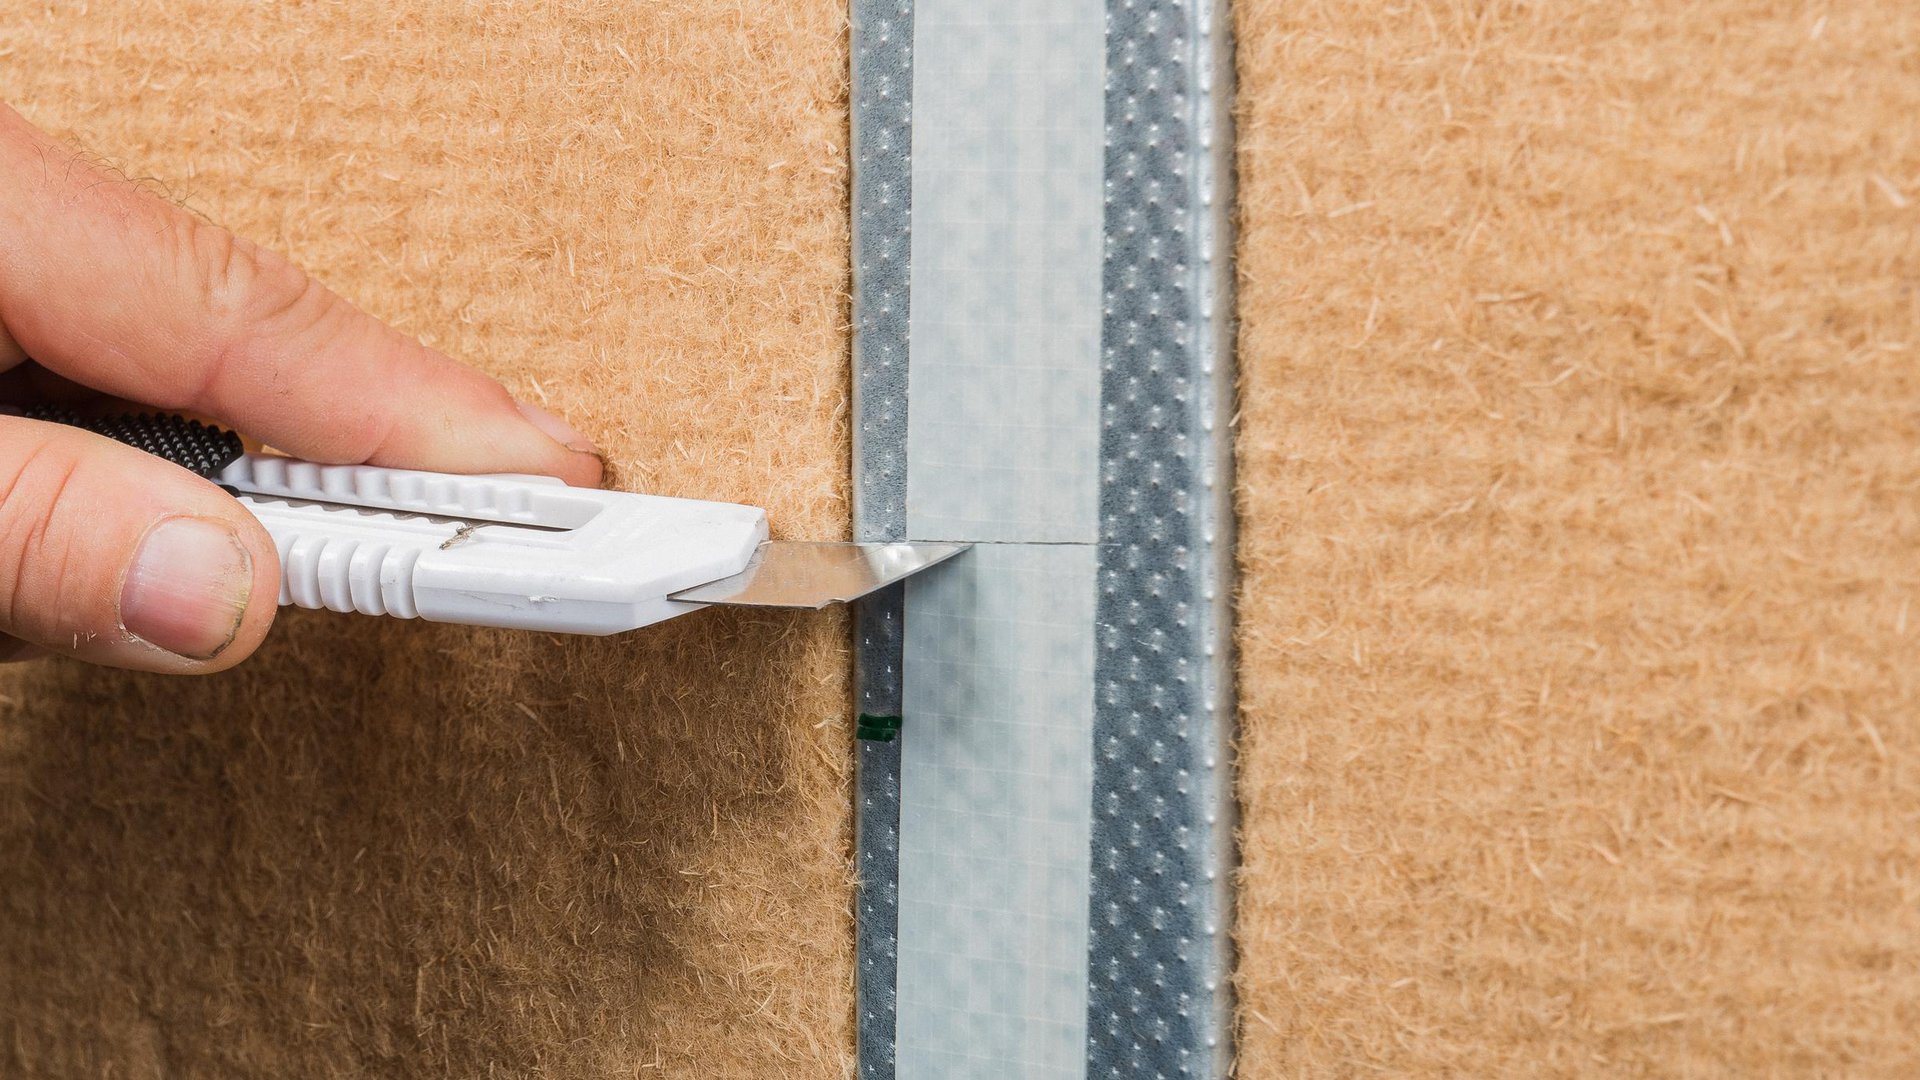
2. Cut the liner with a utility knife
2. Cut the liner with a utility knife
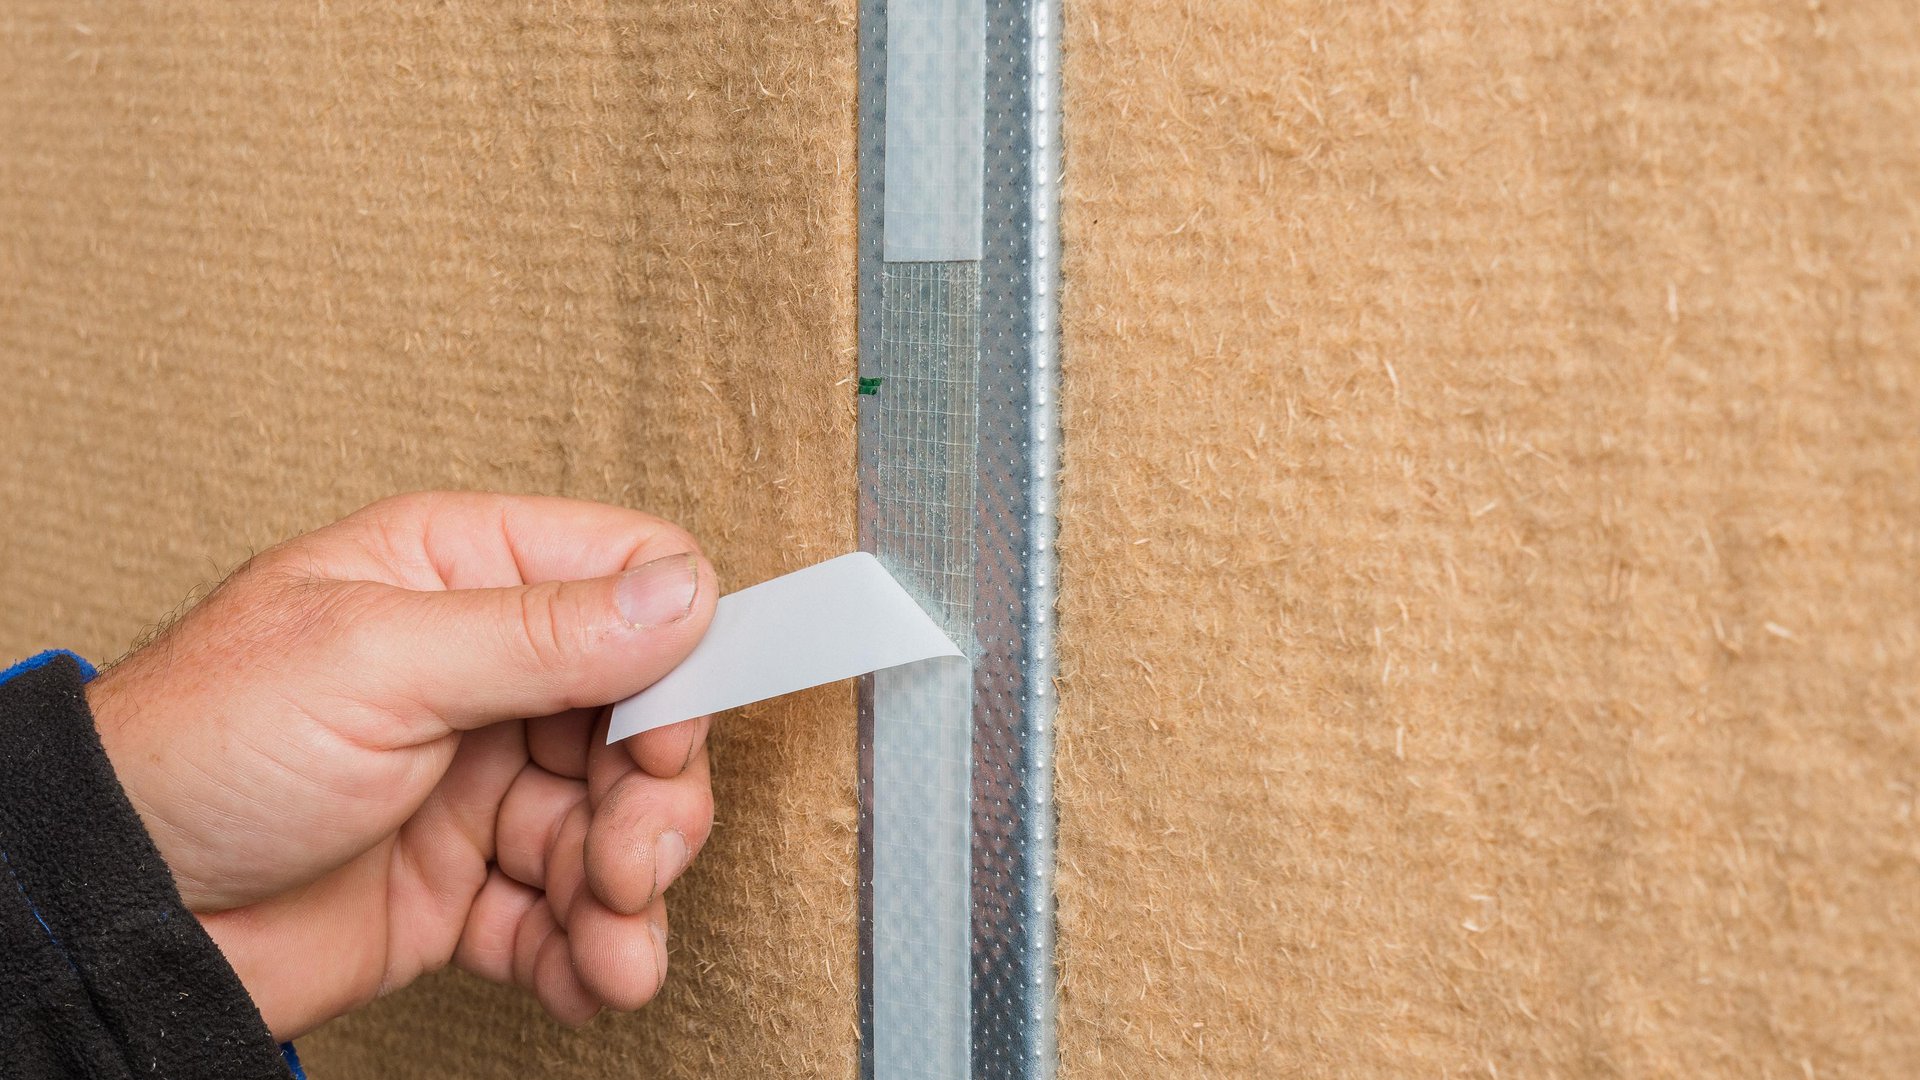
3. Remove the liner
3. Remove the liner
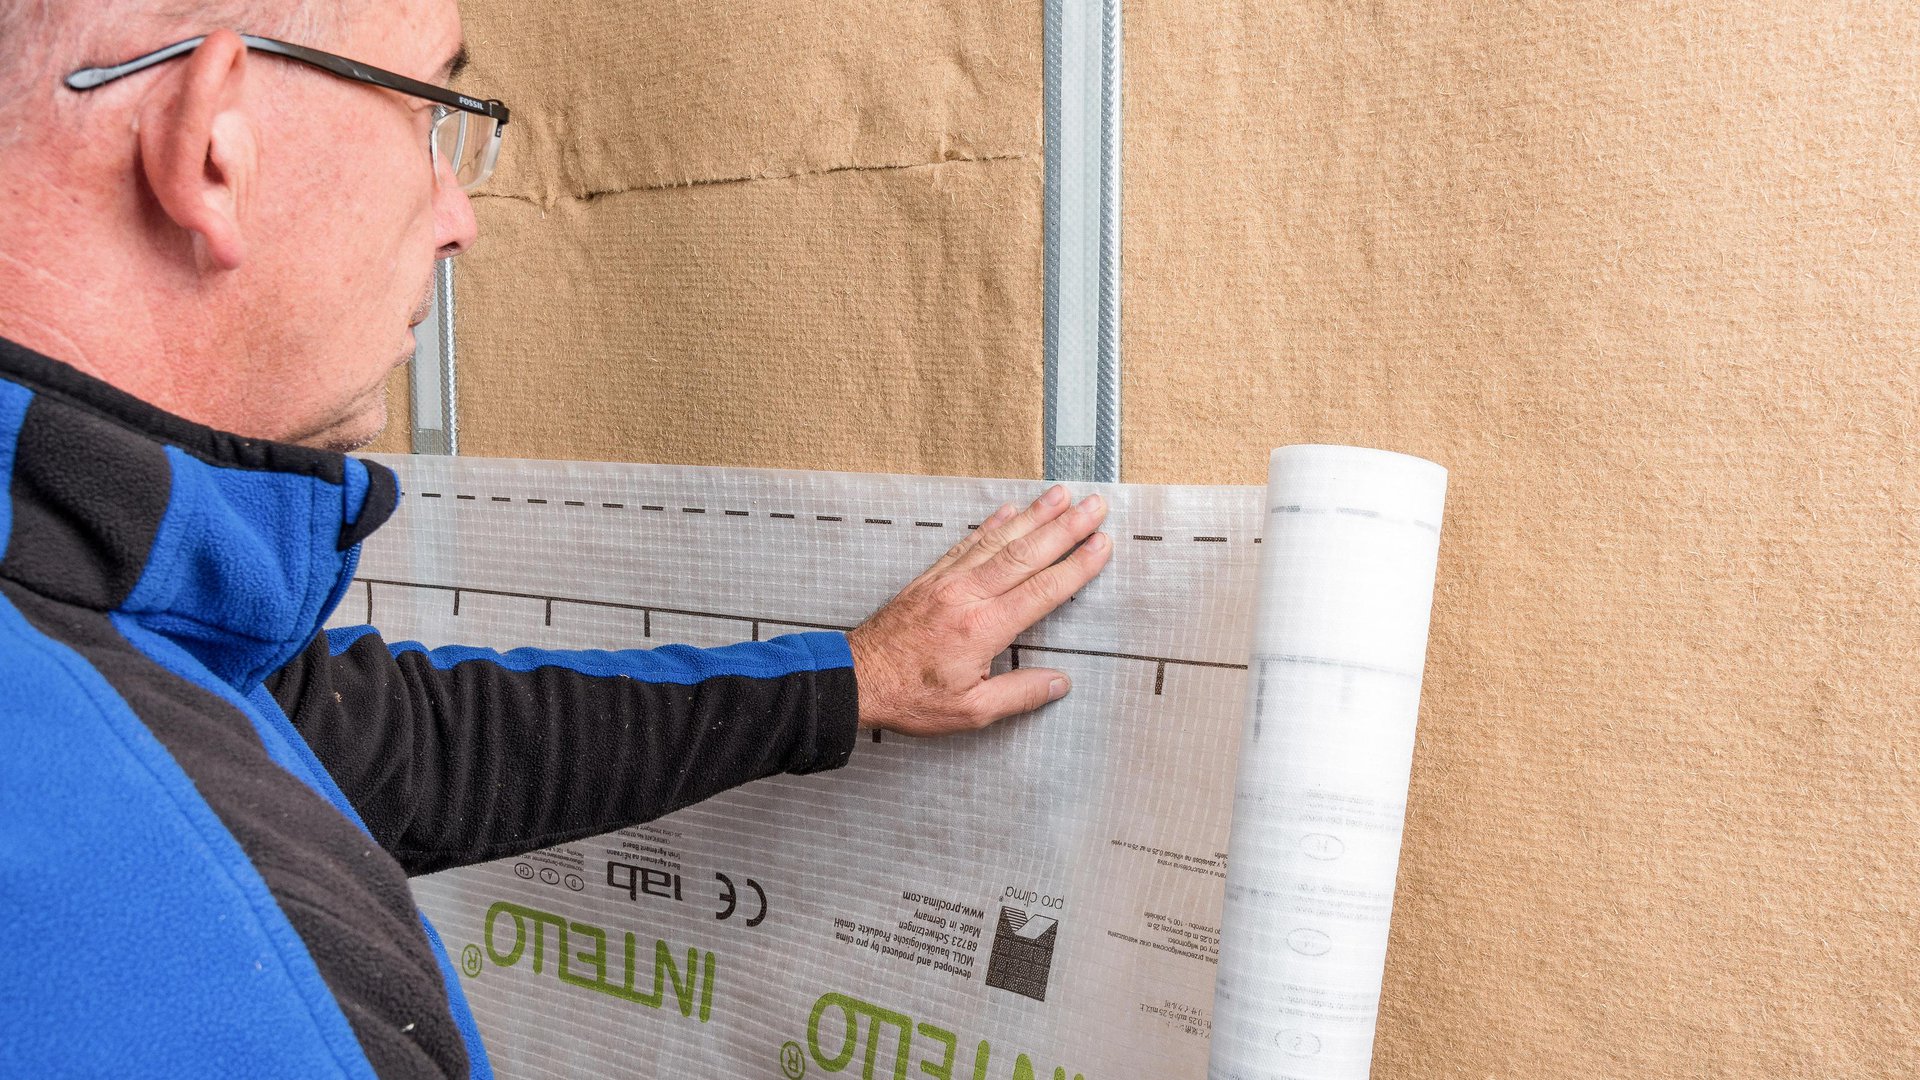
4. Roll out the membrane
... and press it onto the adhesive tape. Stick the membrane in place, ensuring that there are no folds or tension.
4. Roll out the membrane
... and press it onto the adhesive tape. Stick the membrane in place, ensuring that there are no folds or tension.
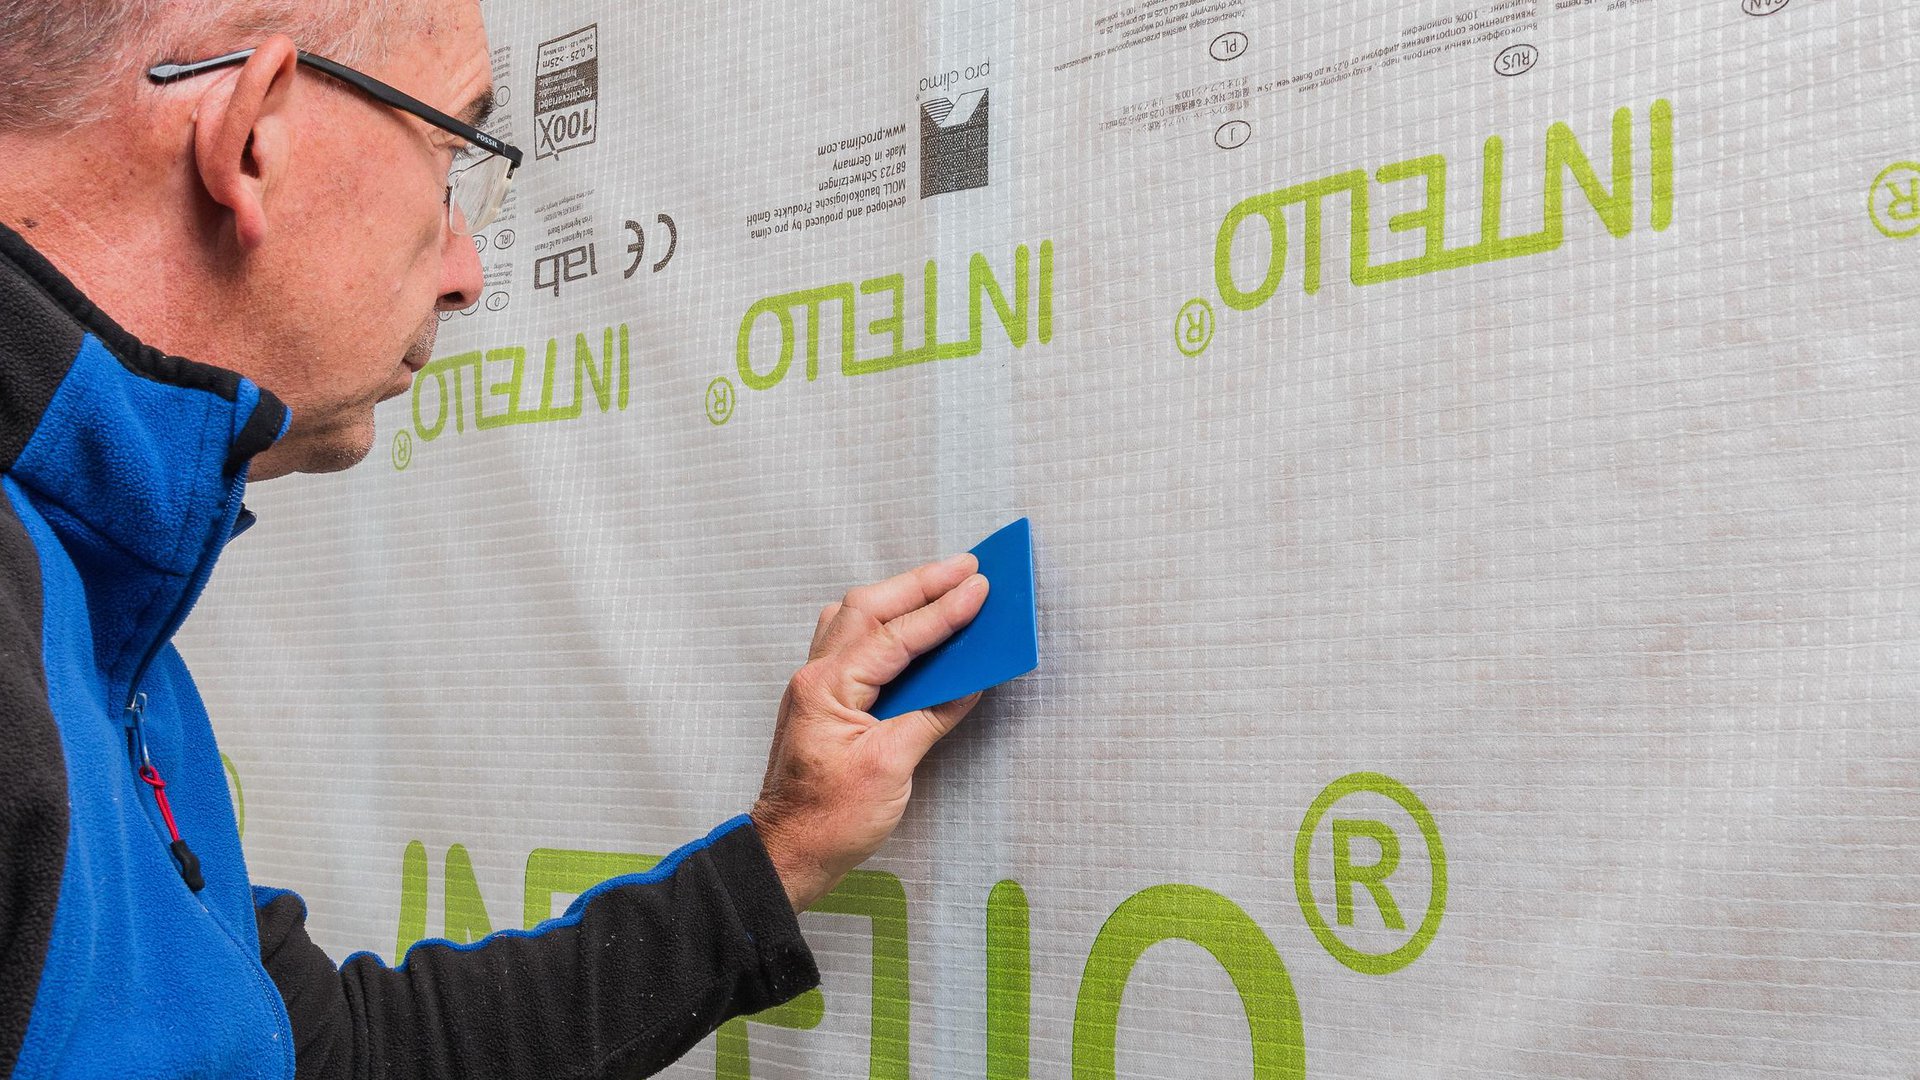
5. Rub using the PRESSFIX application tool to secure
5. Rub using the PRESSFIX application tool to secure