

TESCON FIX
Installation steps
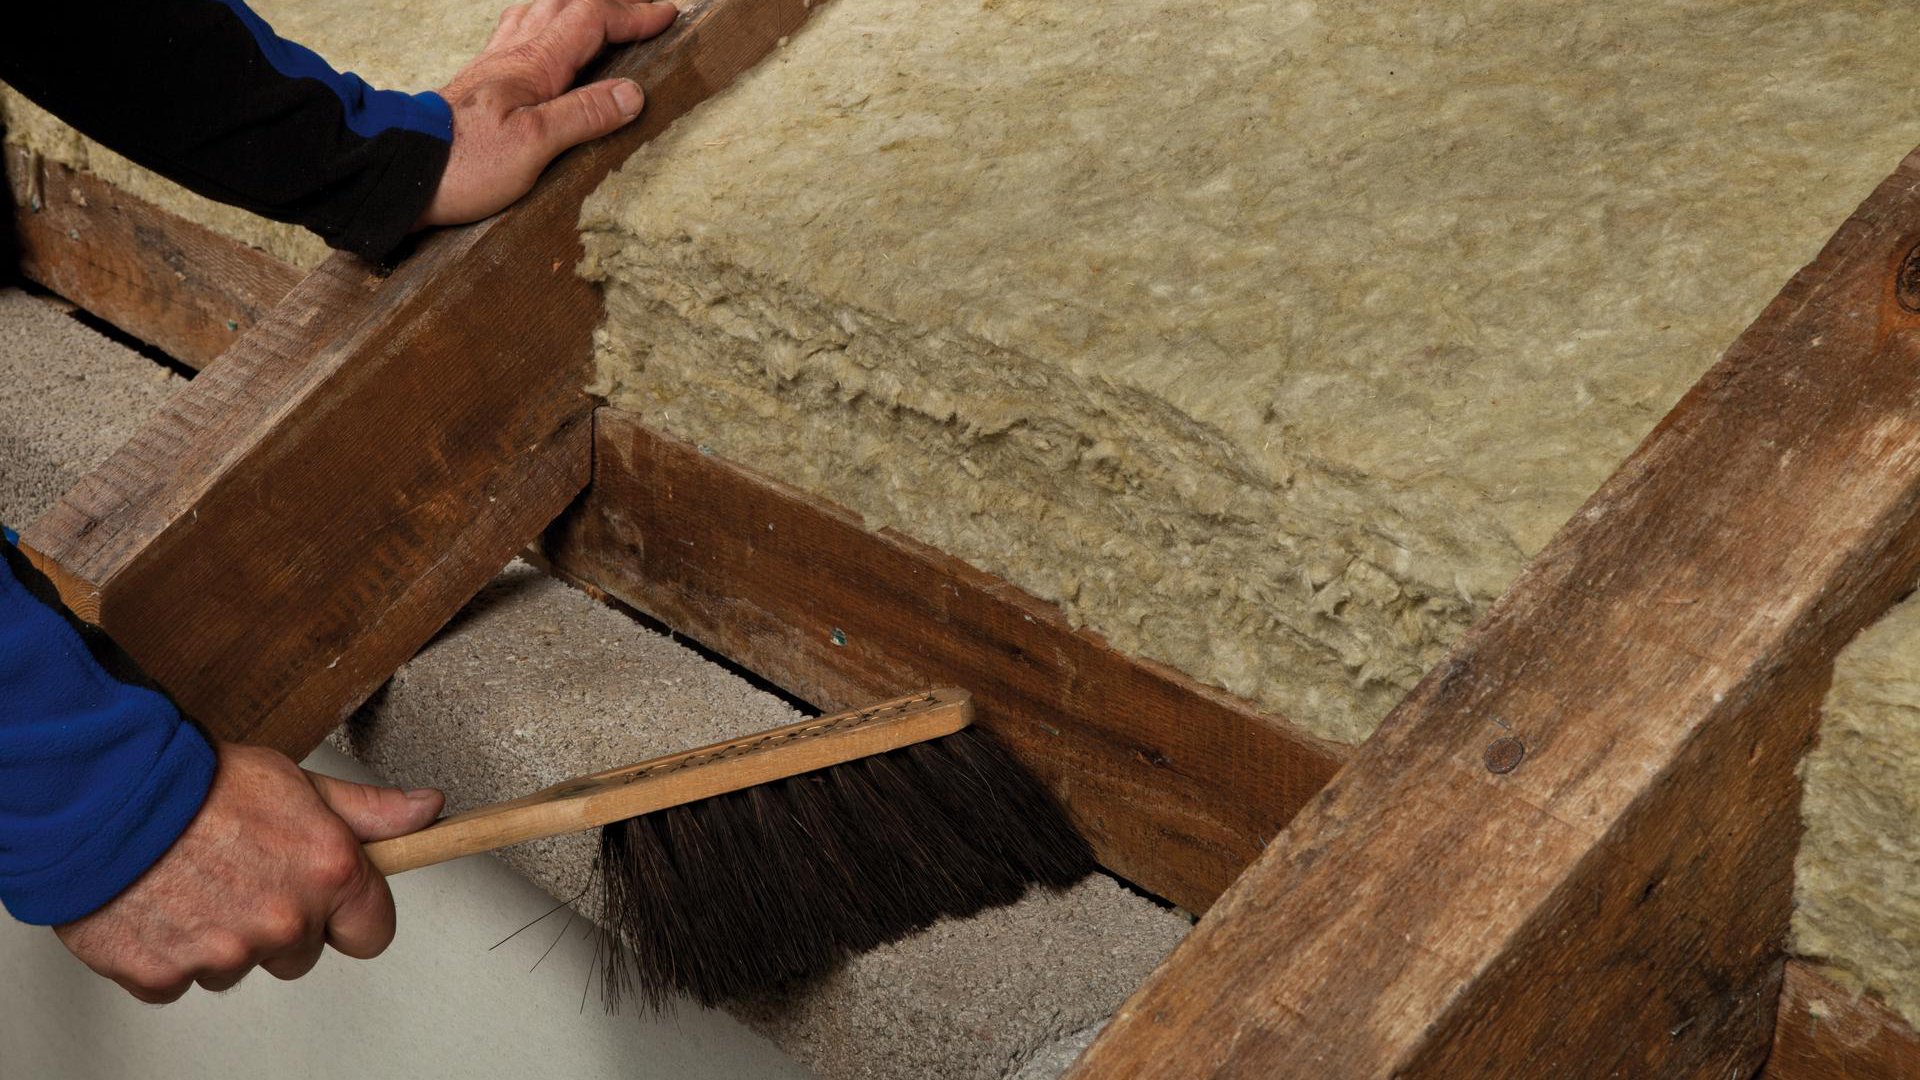
1. Clean the subsurface
Remove any dust or wood shavings etc. from the subsurface (brush off or clean with a vacuum cleaner).
1. Clean the subsurface
Remove any dust or wood shavings etc. from the subsurface (brush off or clean with a vacuum cleaner).
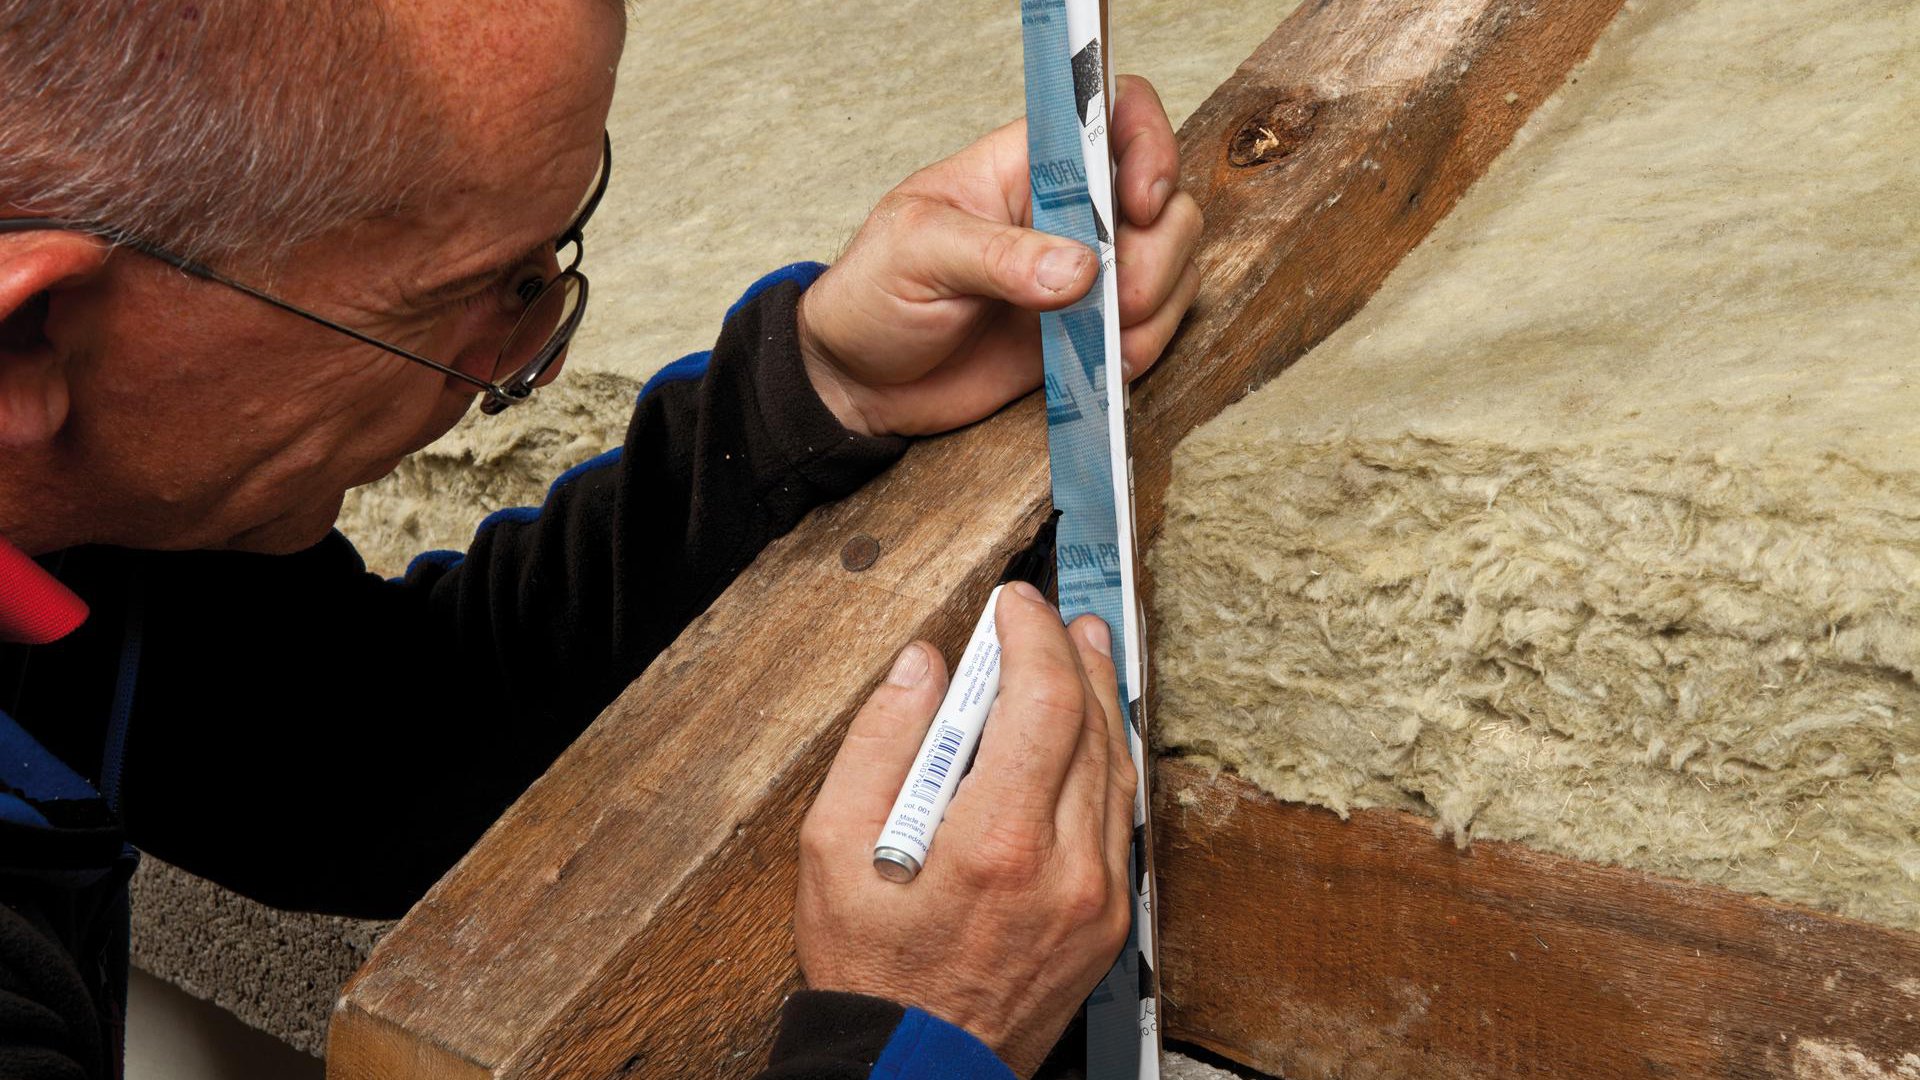
2. Mark out
Position TESCON FIX vertically starting at the ring beam and mark out the length to the upper edge of the rafter.
2. Mark out
Position TESCON FIX vertically starting at the ring beam and mark out the length to the upper edge of the rafter.
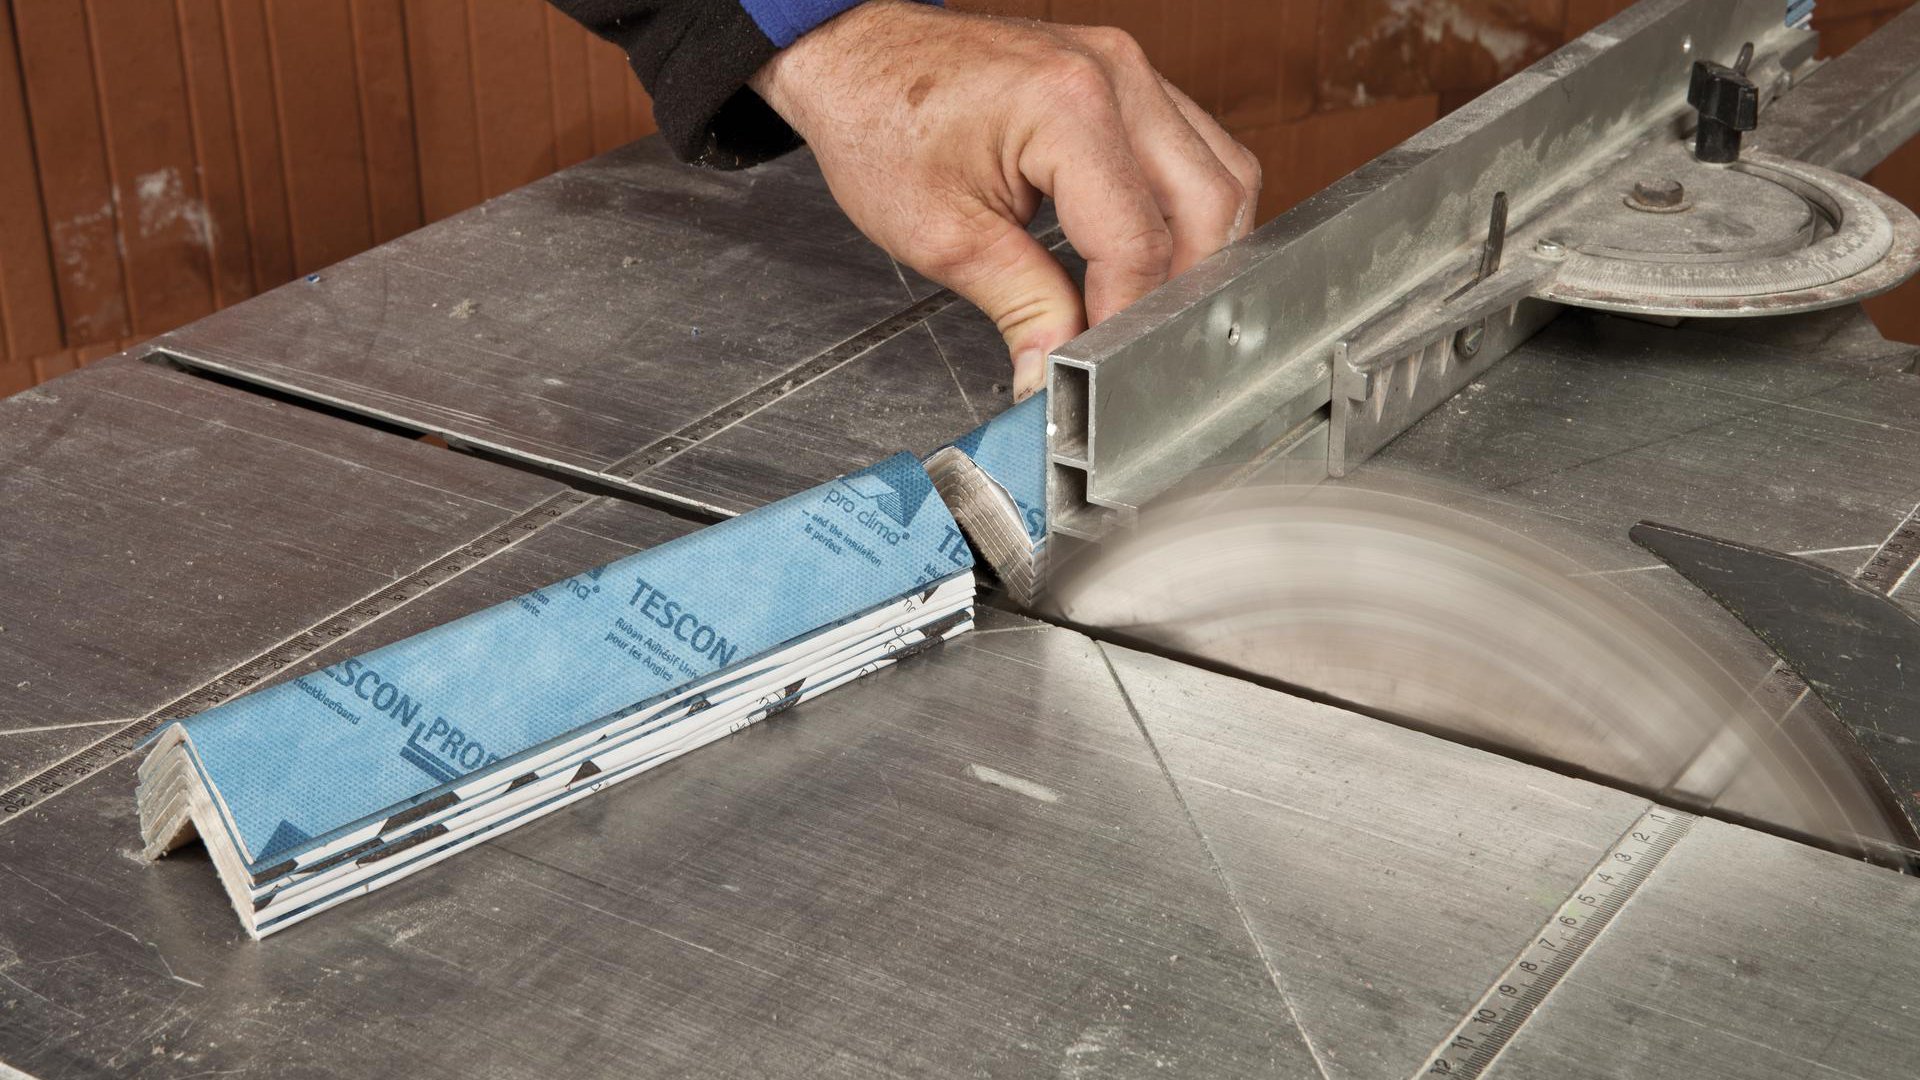
3. Cut to length
Cut the refurbishment strip.
Tip:
Prepare strips for further joints at the same time.
Place a number of brackets on top of one another and cut to length as appropriate using a circular saw.
3. Cut to length
Cut the refurbishment strip.
Tip:
Prepare strips for further joints at the same time.
Place a number of brackets on top of one another and cut to length as appropriate using a circular saw.
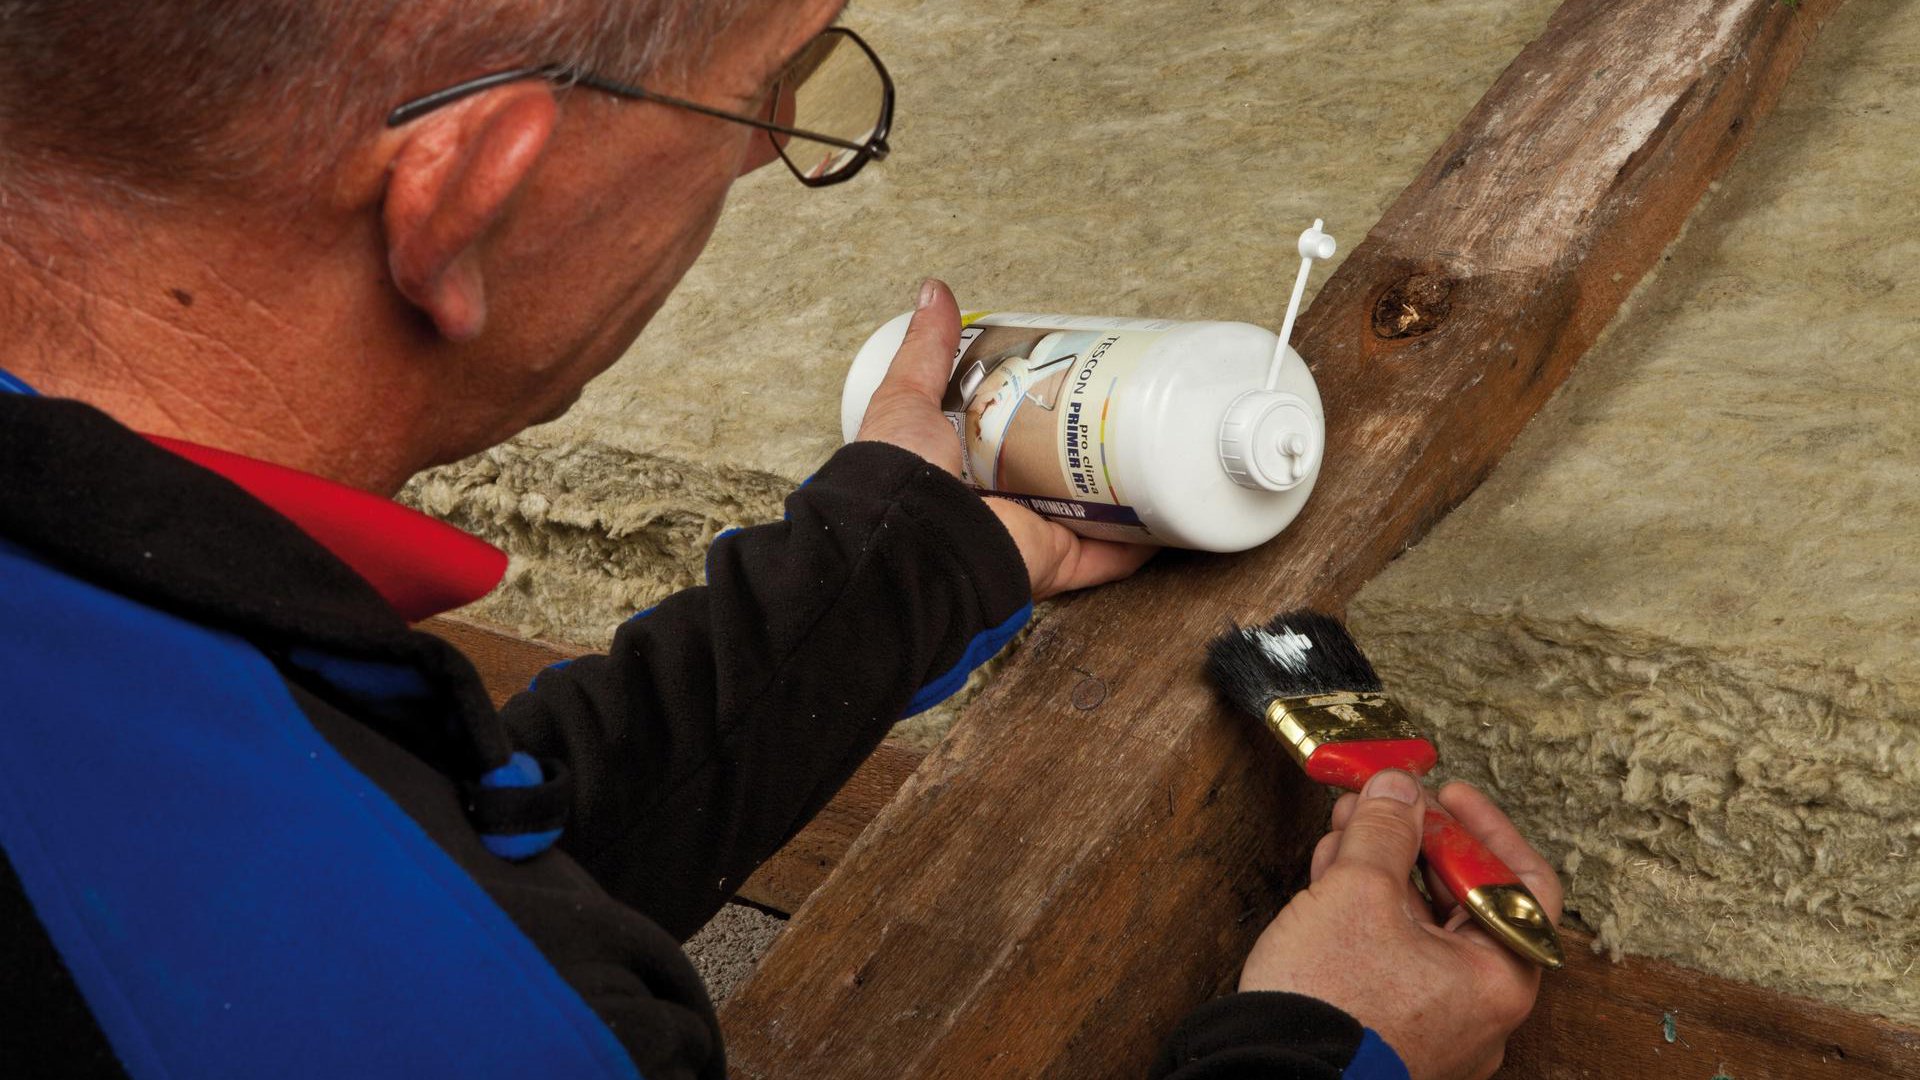
4. Pre-treat the subsurface
Pre-treat the rafter with TESCON PRIMER.
4. Pre-treat the subsurface
Pre-treat the rafter with TESCON PRIMER.
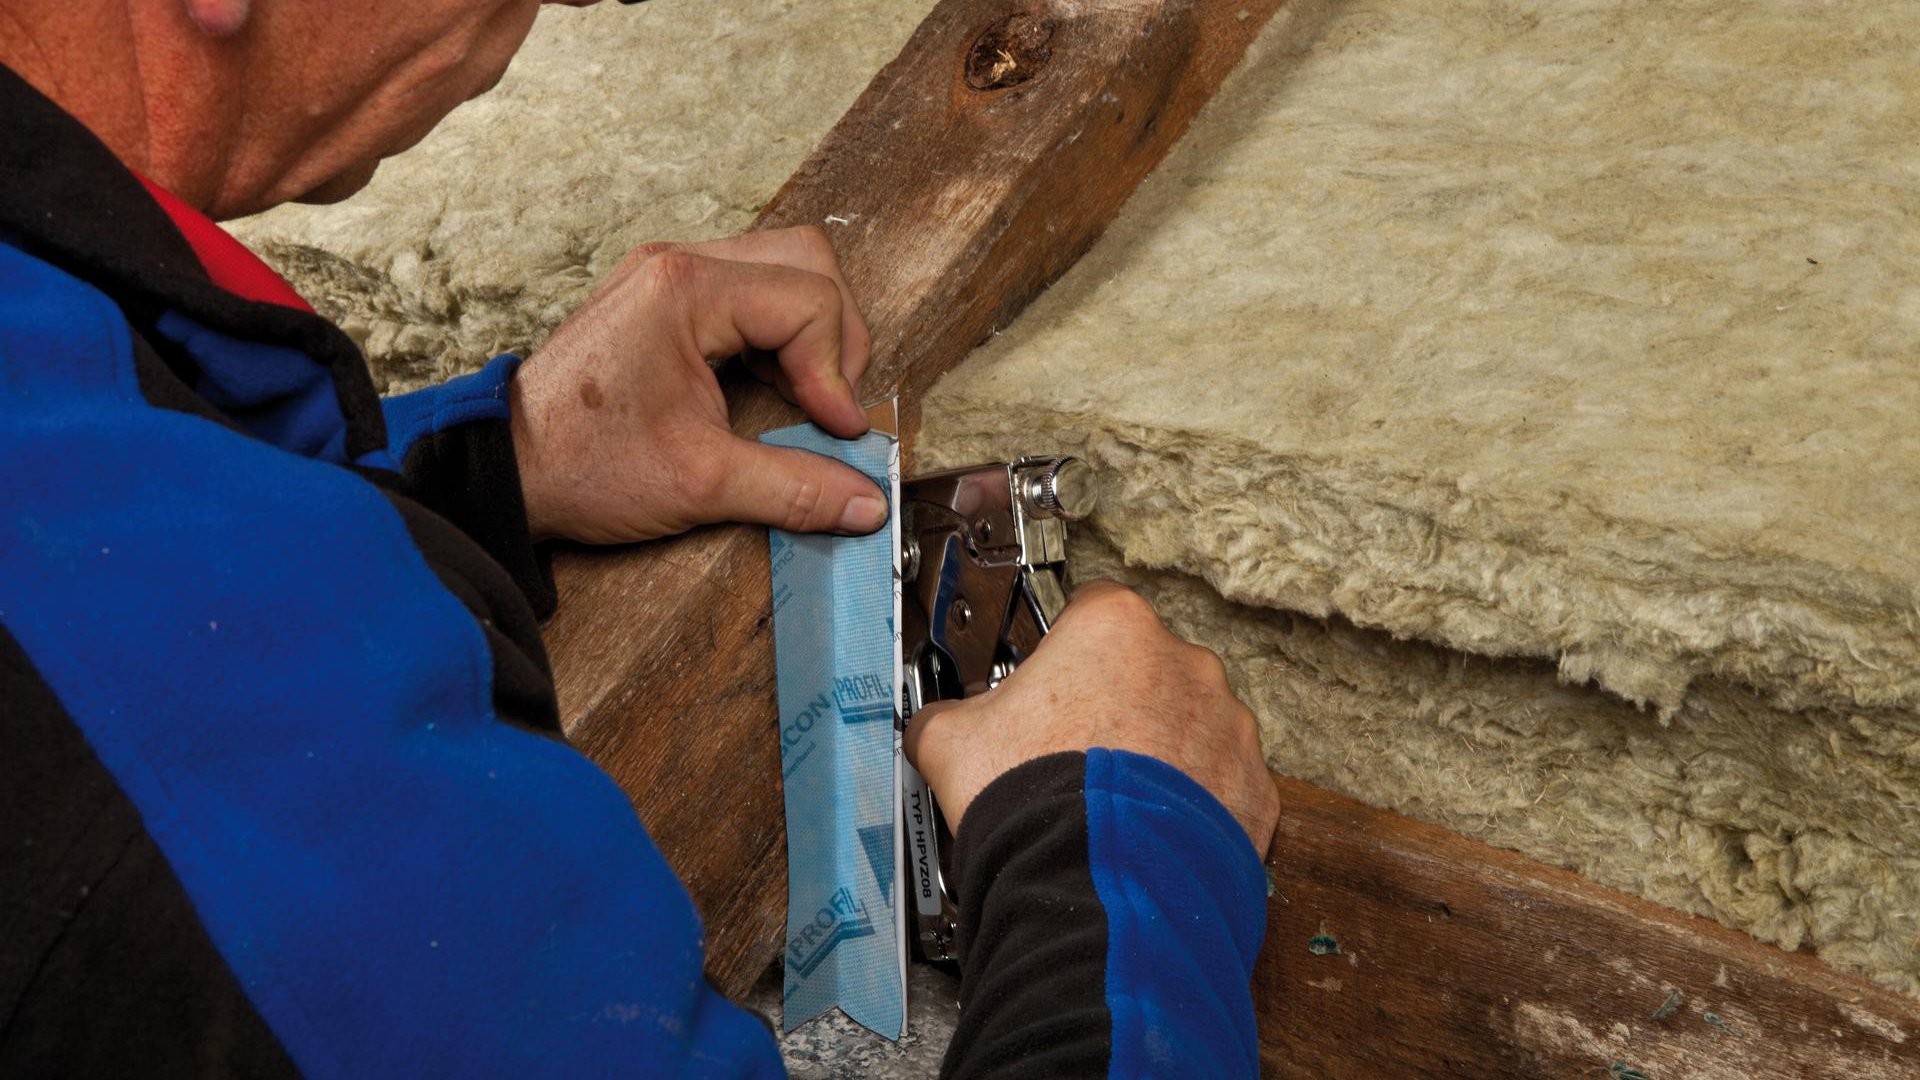
5. Staple the strip in place
Attach TESCON FIX to the rafter using staples.
5. Staple the strip in place
Attach TESCON FIX to the rafter using staples.
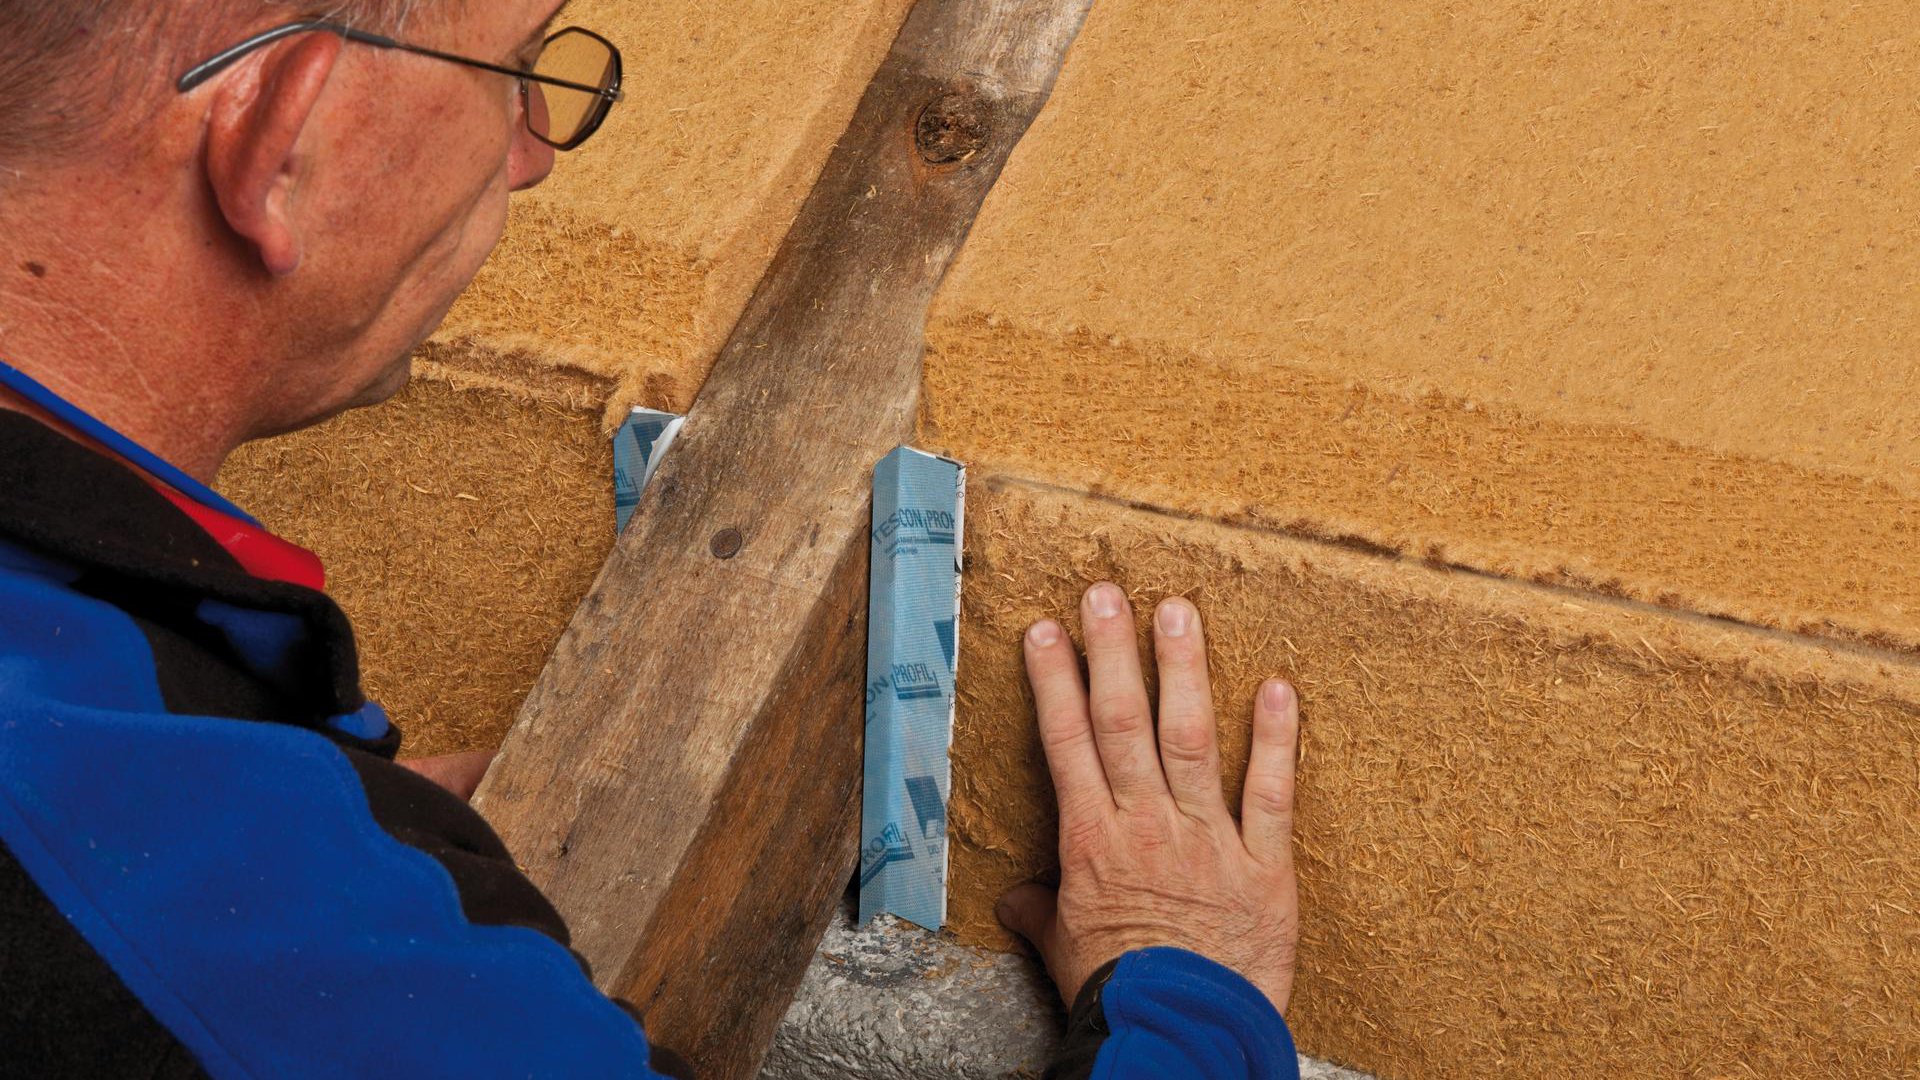
6. Insert the insulation
Insert a strip of sorptive insulation material (e.g. wood fibre or cellulose) between the strip and the already installed insulation material; this is inserted into the space between the rafters that has previously been insulated up to the rafter upper edge leaving no cavities.
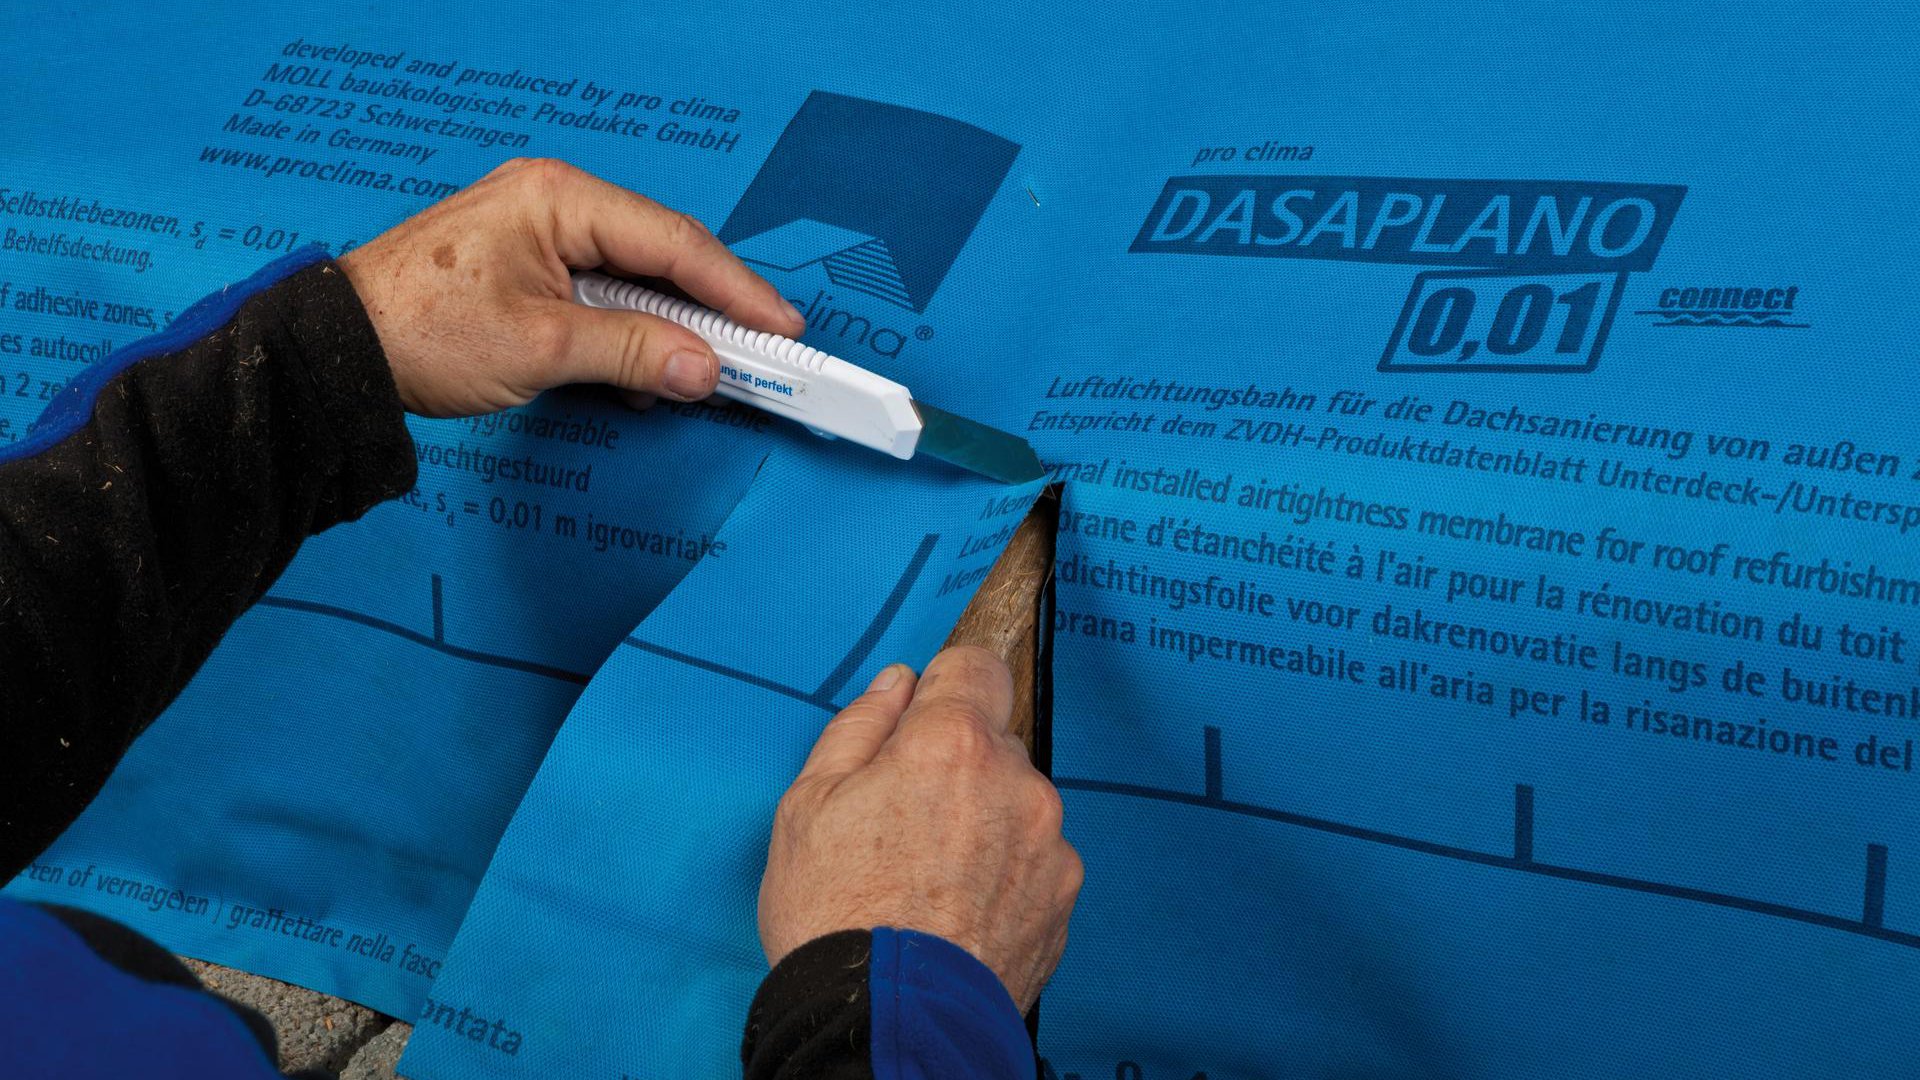
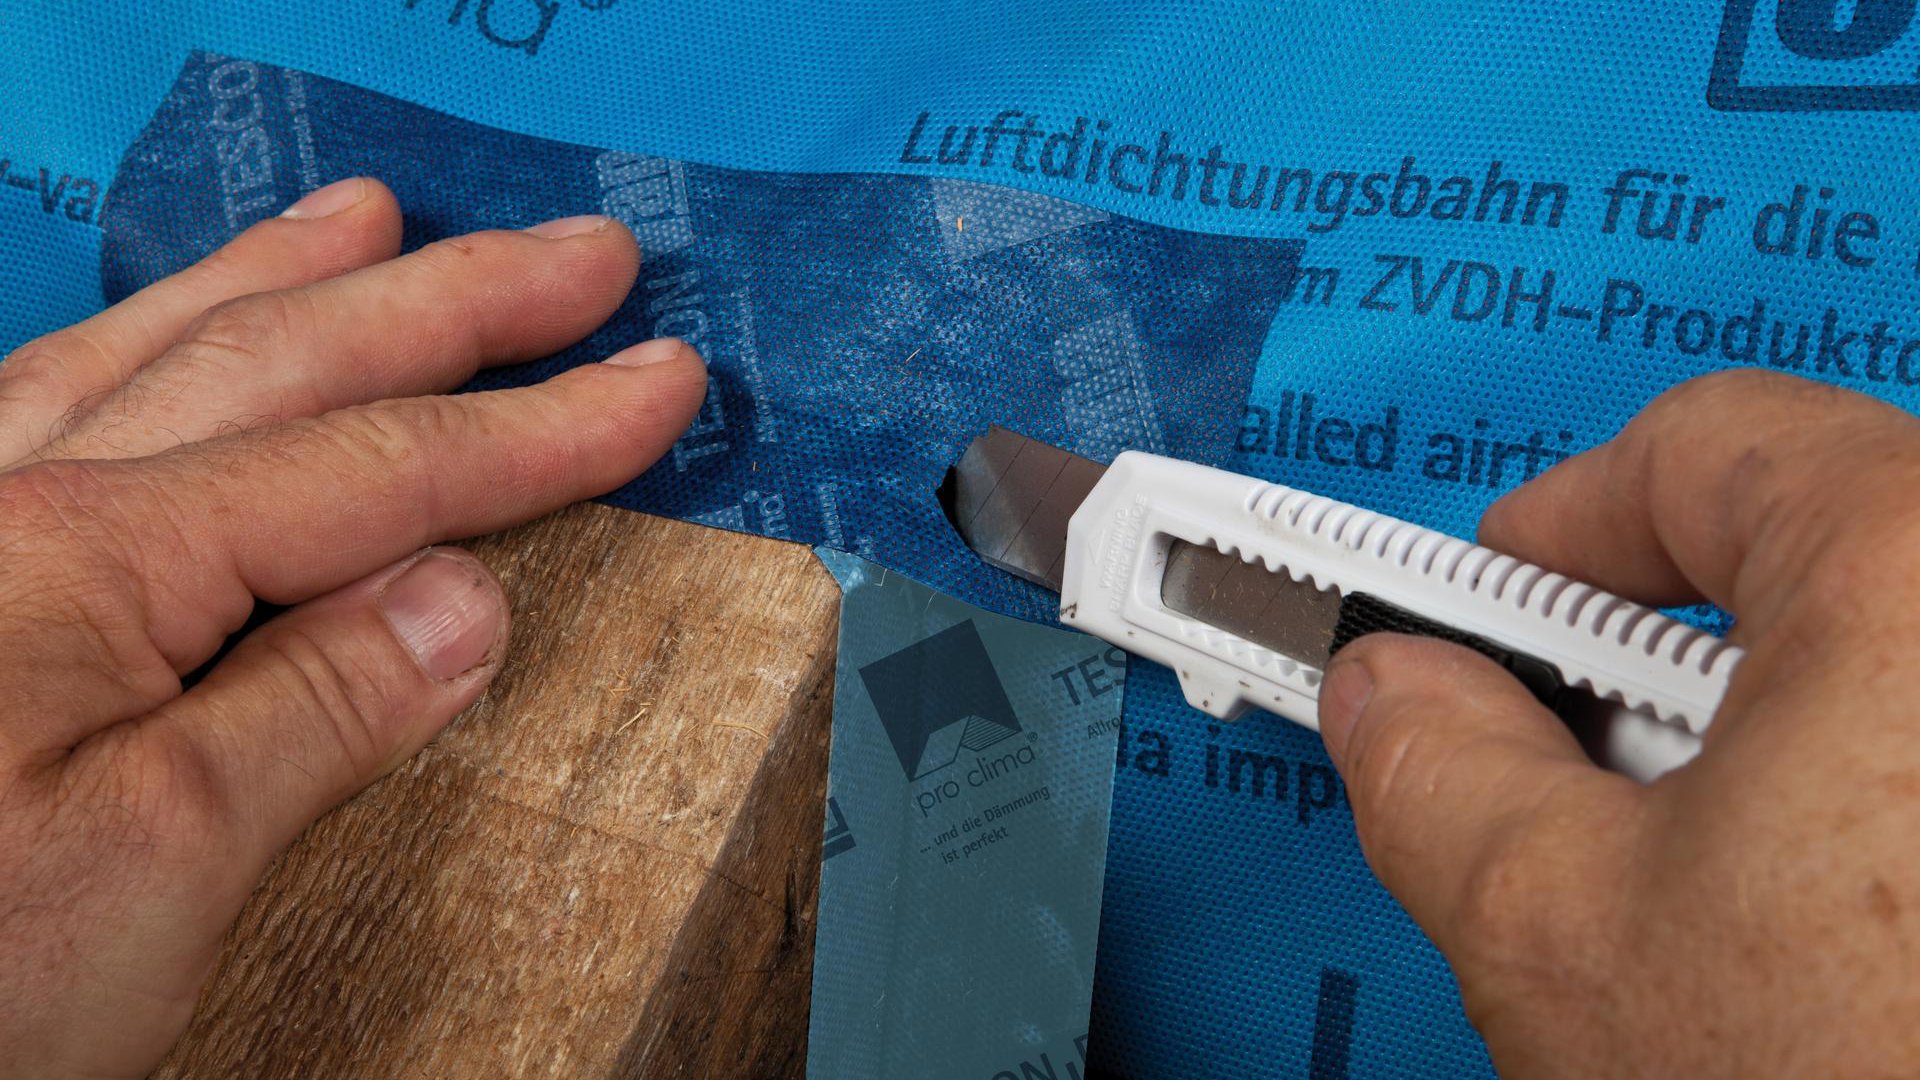
7. Install the membrane and cut out section at rafter
Install DASAPLANO 0,01 connect in accordance with the installation instructions and cut out the section at the rafter, as shown.
7. Install the membrane and cut out section at rafter
Install DASAPLANO 0,01 connect in accordance with the installation instructions and cut out the section at the rafter, as shown.
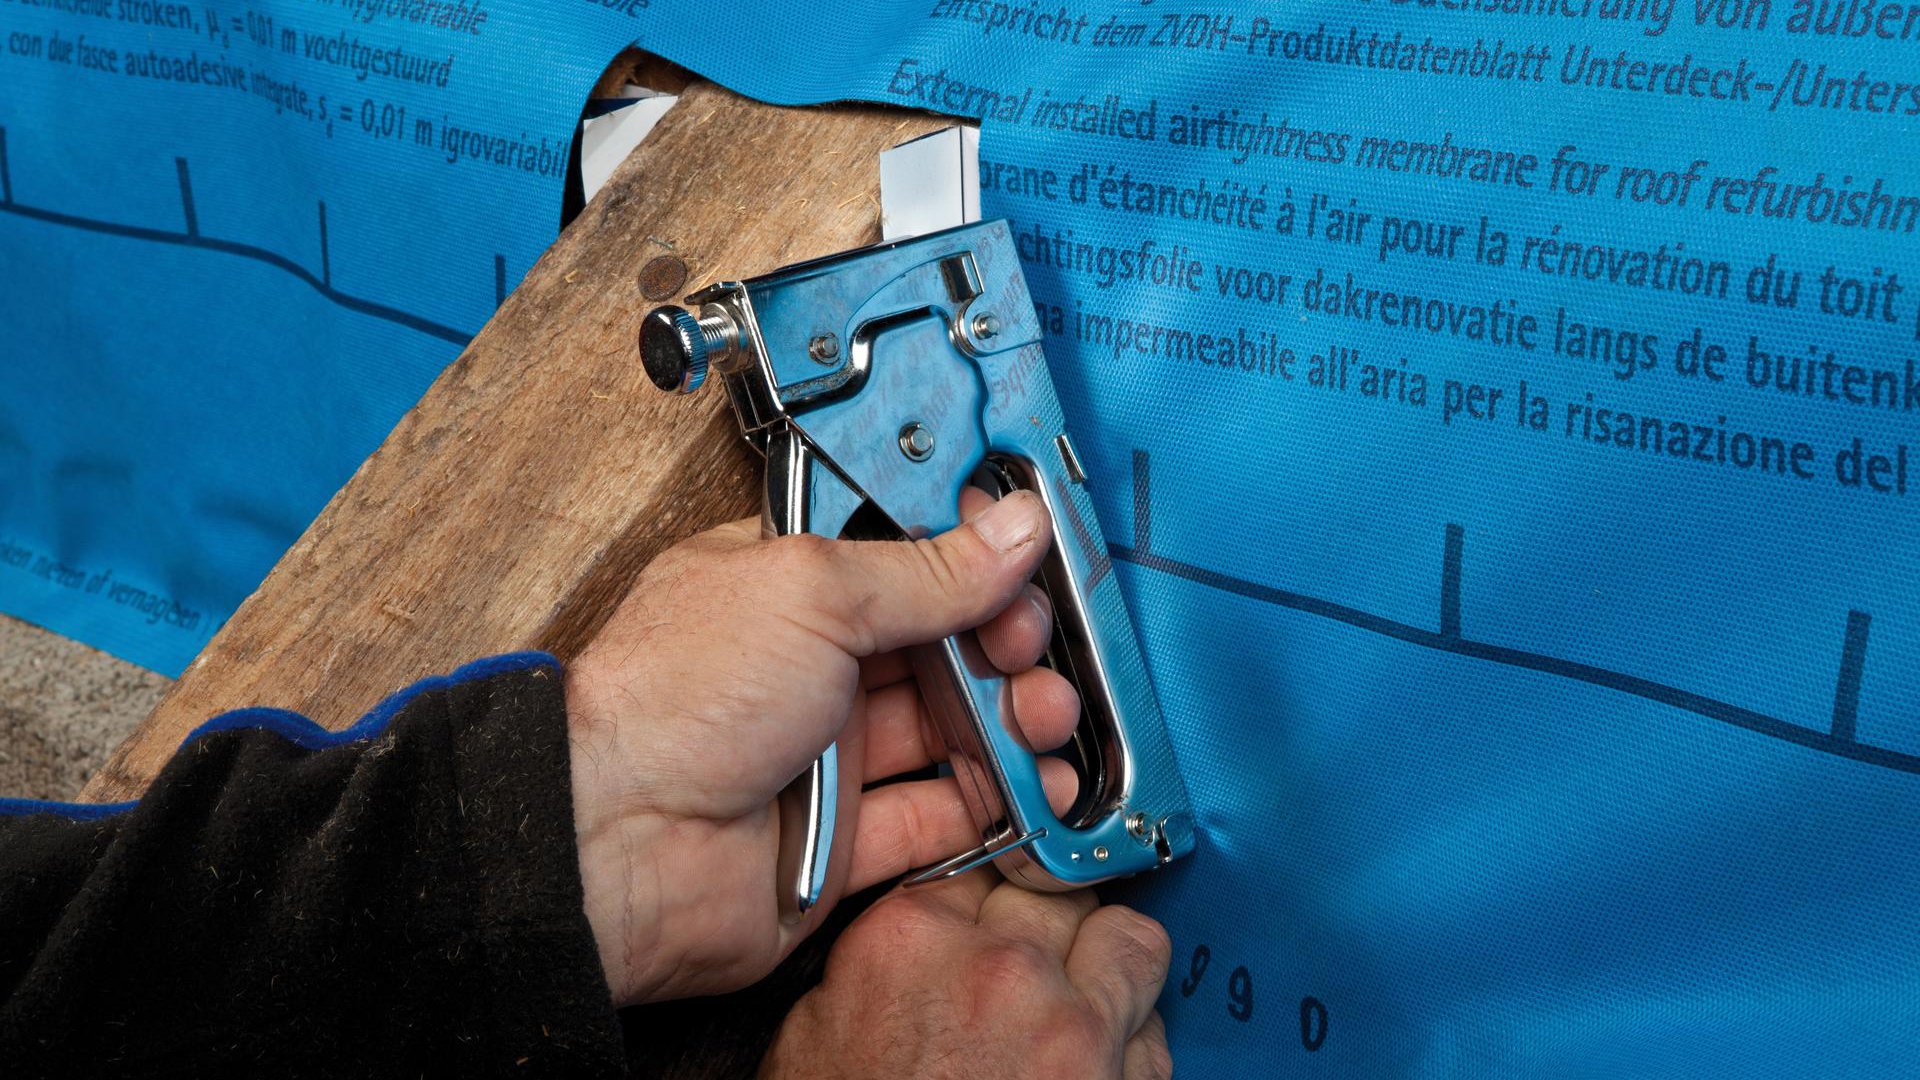
8. Attach the membrane to the strip
Fold the adhesive tape back onto the rafter and attach the membrane to the white side of the strip using staples.
8. Attach the membrane to the strip
Fold the adhesive tape back onto the rafter and attach the membrane to the white side of the strip using staples.
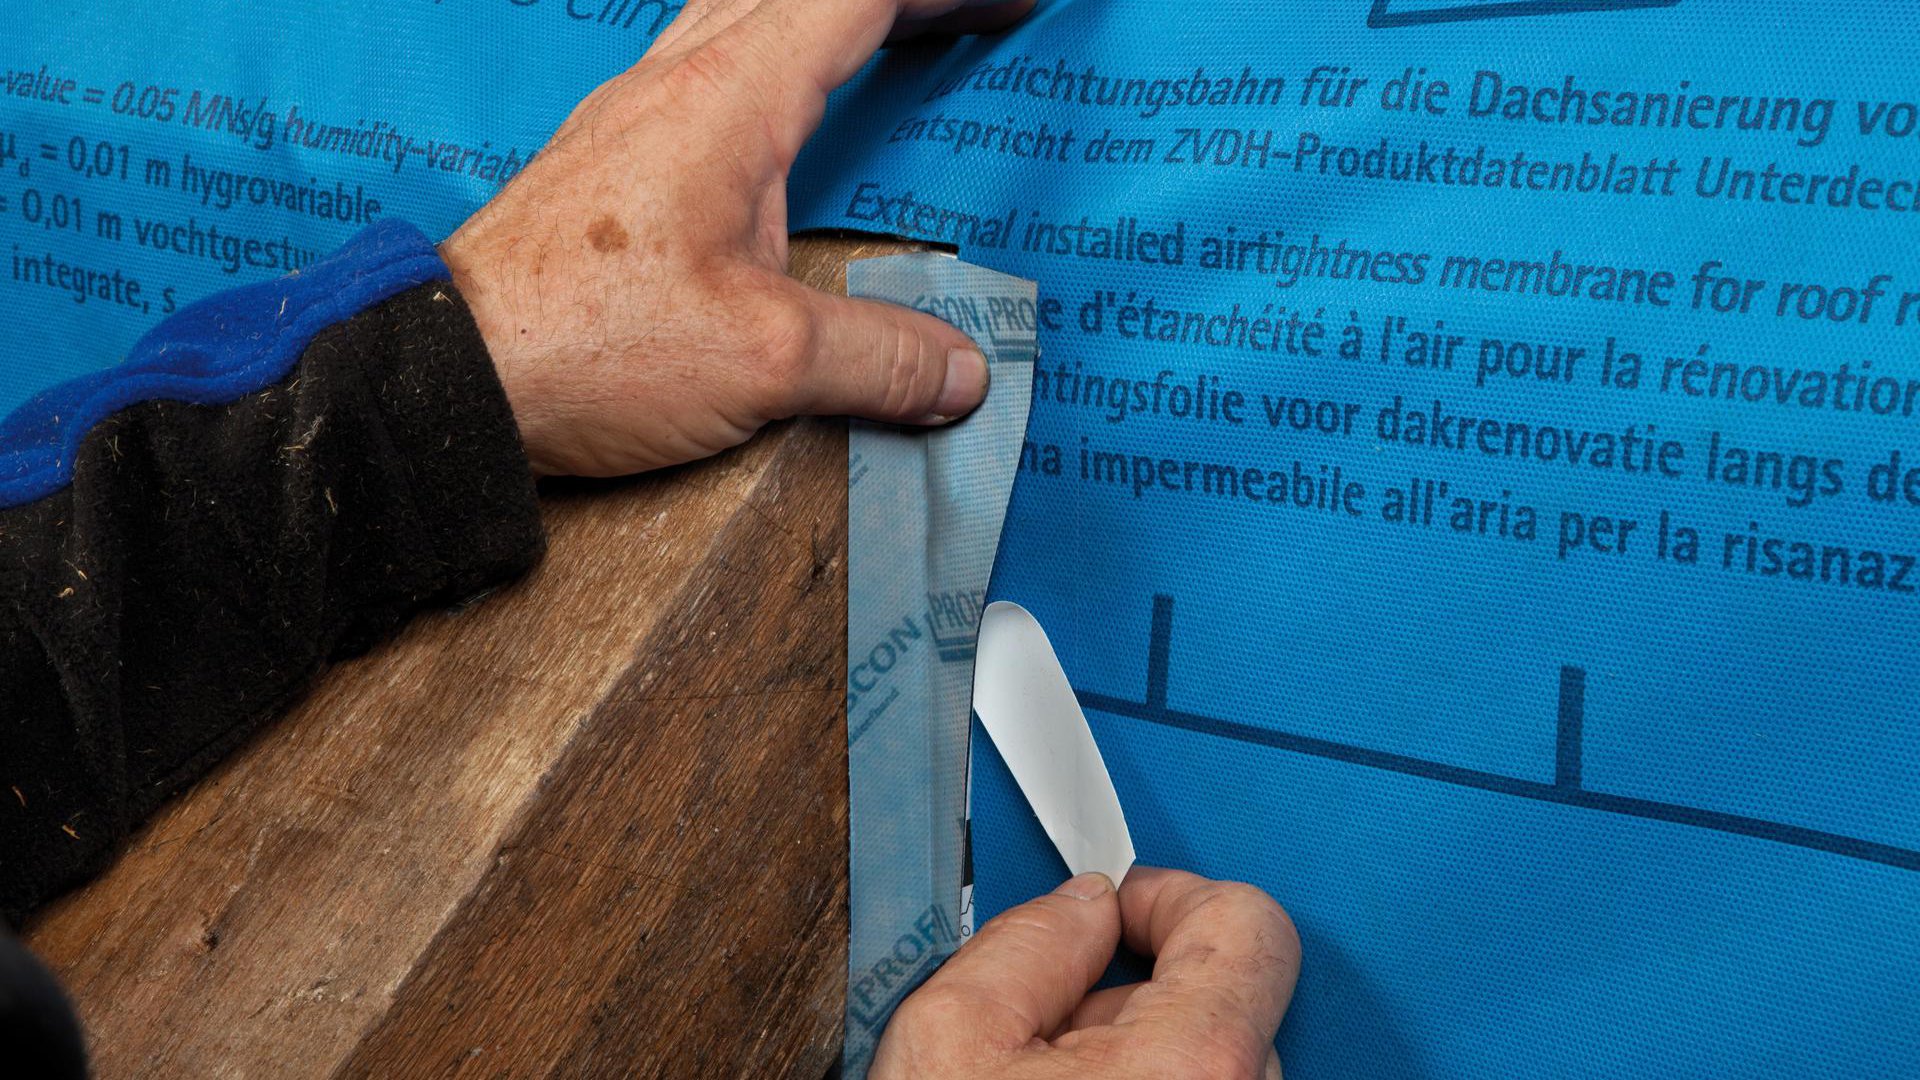
9. Stick to the membrane
Remove the release film strip and stick the adhesive tape to the membrane that has been affixed in place.
9. Stick to the membrane
Remove the release film strip and stick the adhesive tape to the membrane that has been affixed in place.
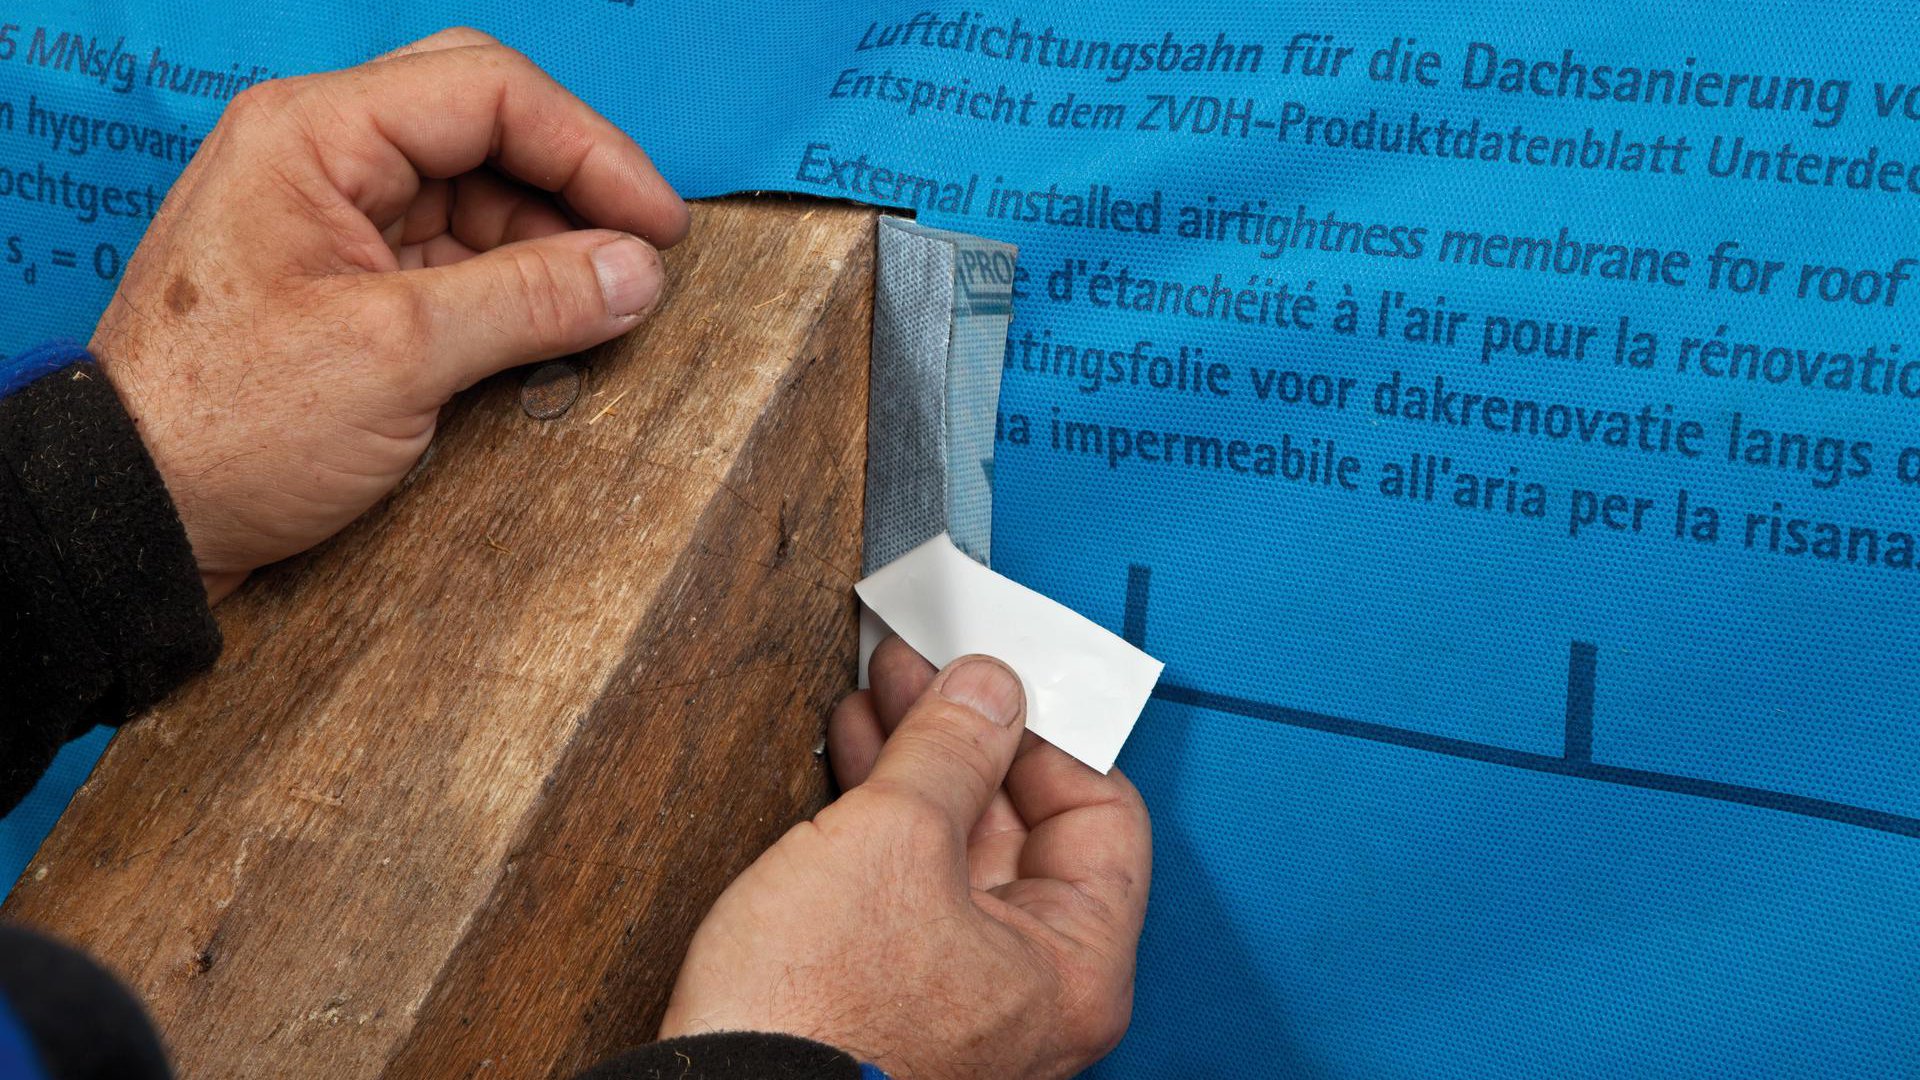
10. Stick to the rafter
Stick the other side of the tape to the rafter accordingly.
10. Stick to the rafter
Stick the other side of the tape to the rafter accordingly.
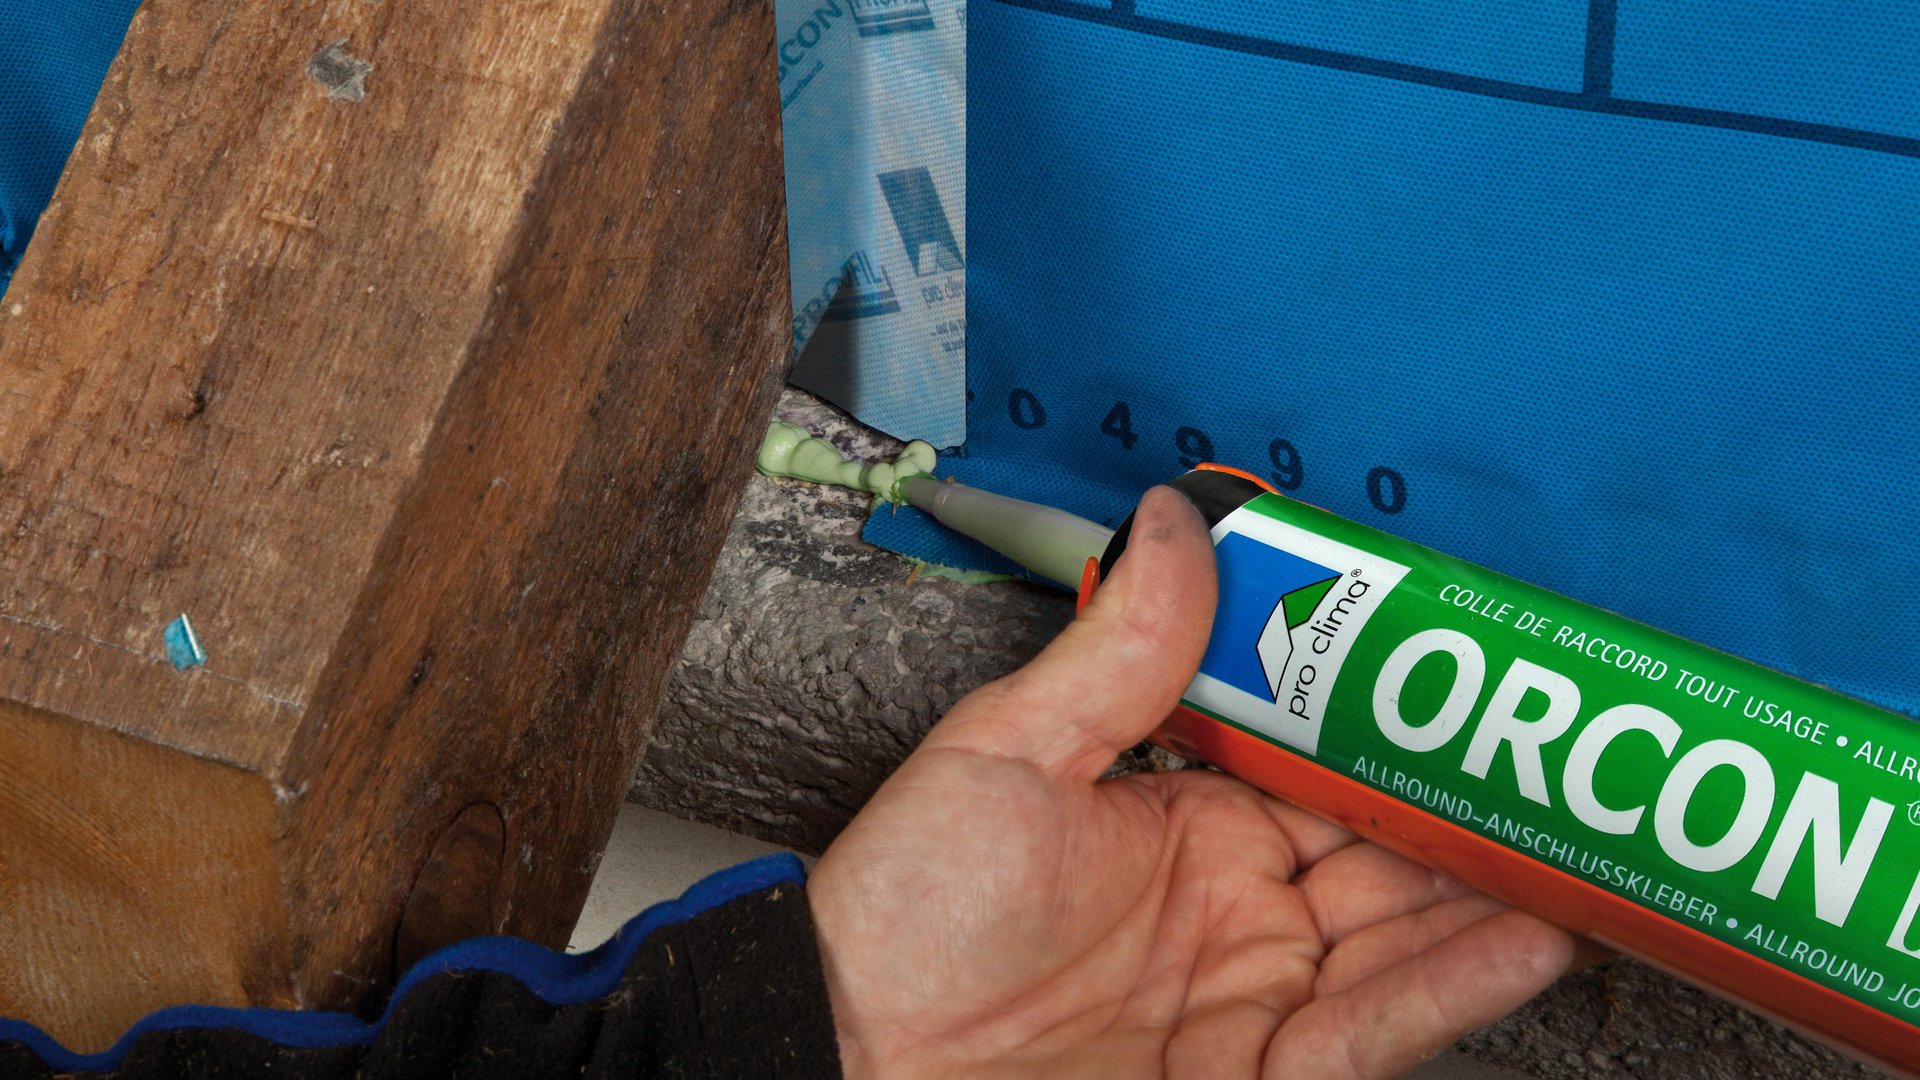
11. Joint to ring beam
Apply a line of ORCON F (d at least 5 mm) to the ring beam, position the membrane allowing for slack, and do not press the adhesive completely flat.
11. Joint to ring beam
Apply a line of ORCON F (d at least 5 mm) to the ring beam, position the membrane allowing for slack, and do not press the adhesive completely flat.
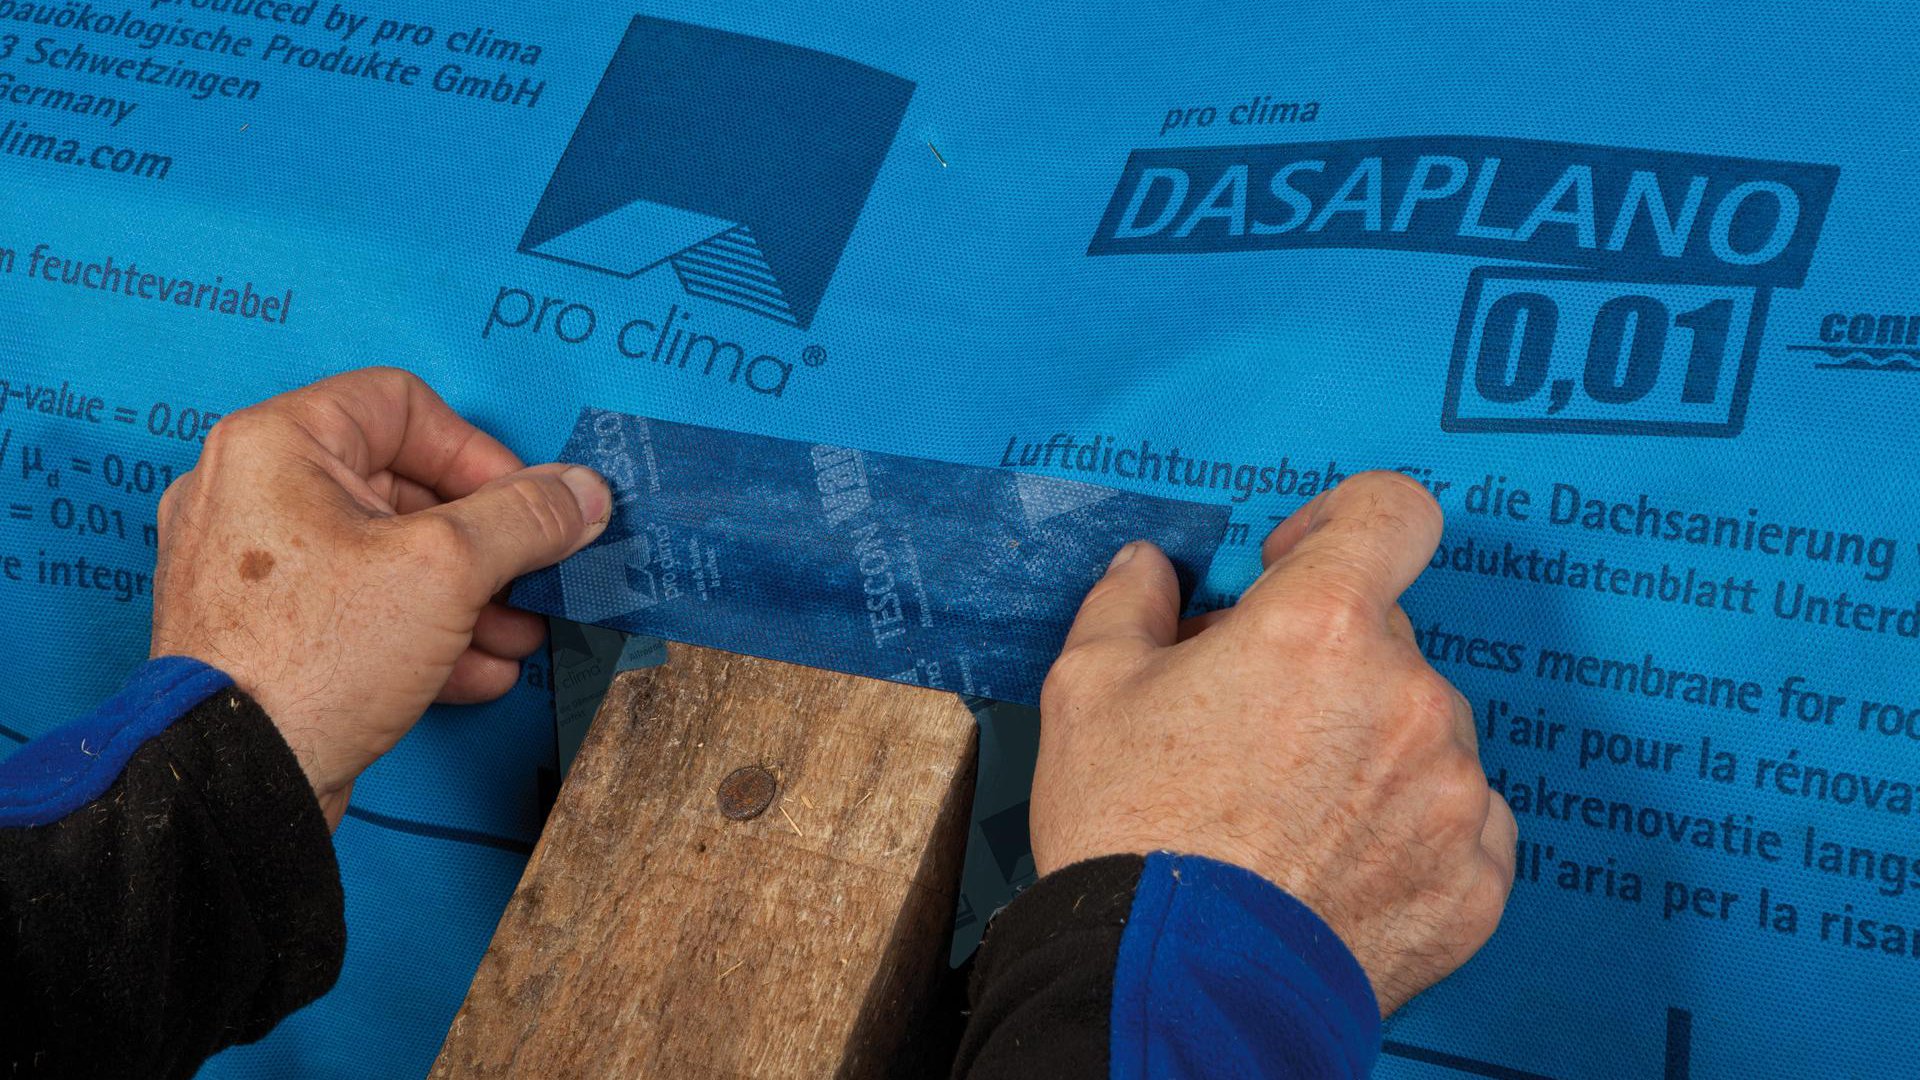
12. Stick to the upper side of the rafter
Stick the membrane to the upper side of the rafter with a strip of TESCON VANA adhesive tape and rub using the PRESSFIX application tool to secure the adhesive bond.
12. Stick to the upper side of the rafter
Stick the membrane to the upper side of the rafter with a strip of TESCON VANA adhesive tape and rub using the PRESSFIX application tool to secure the adhesive bond.
13. Cut at the corners and stick over
Cut into the adhesive tape corners diagonally at the rafter and stick a piece of TESCON VANA over them.
13. Cut at the corners and stick over
Cut into the adhesive tape corners diagonally at the rafter and stick a piece of TESCON VANA over them.
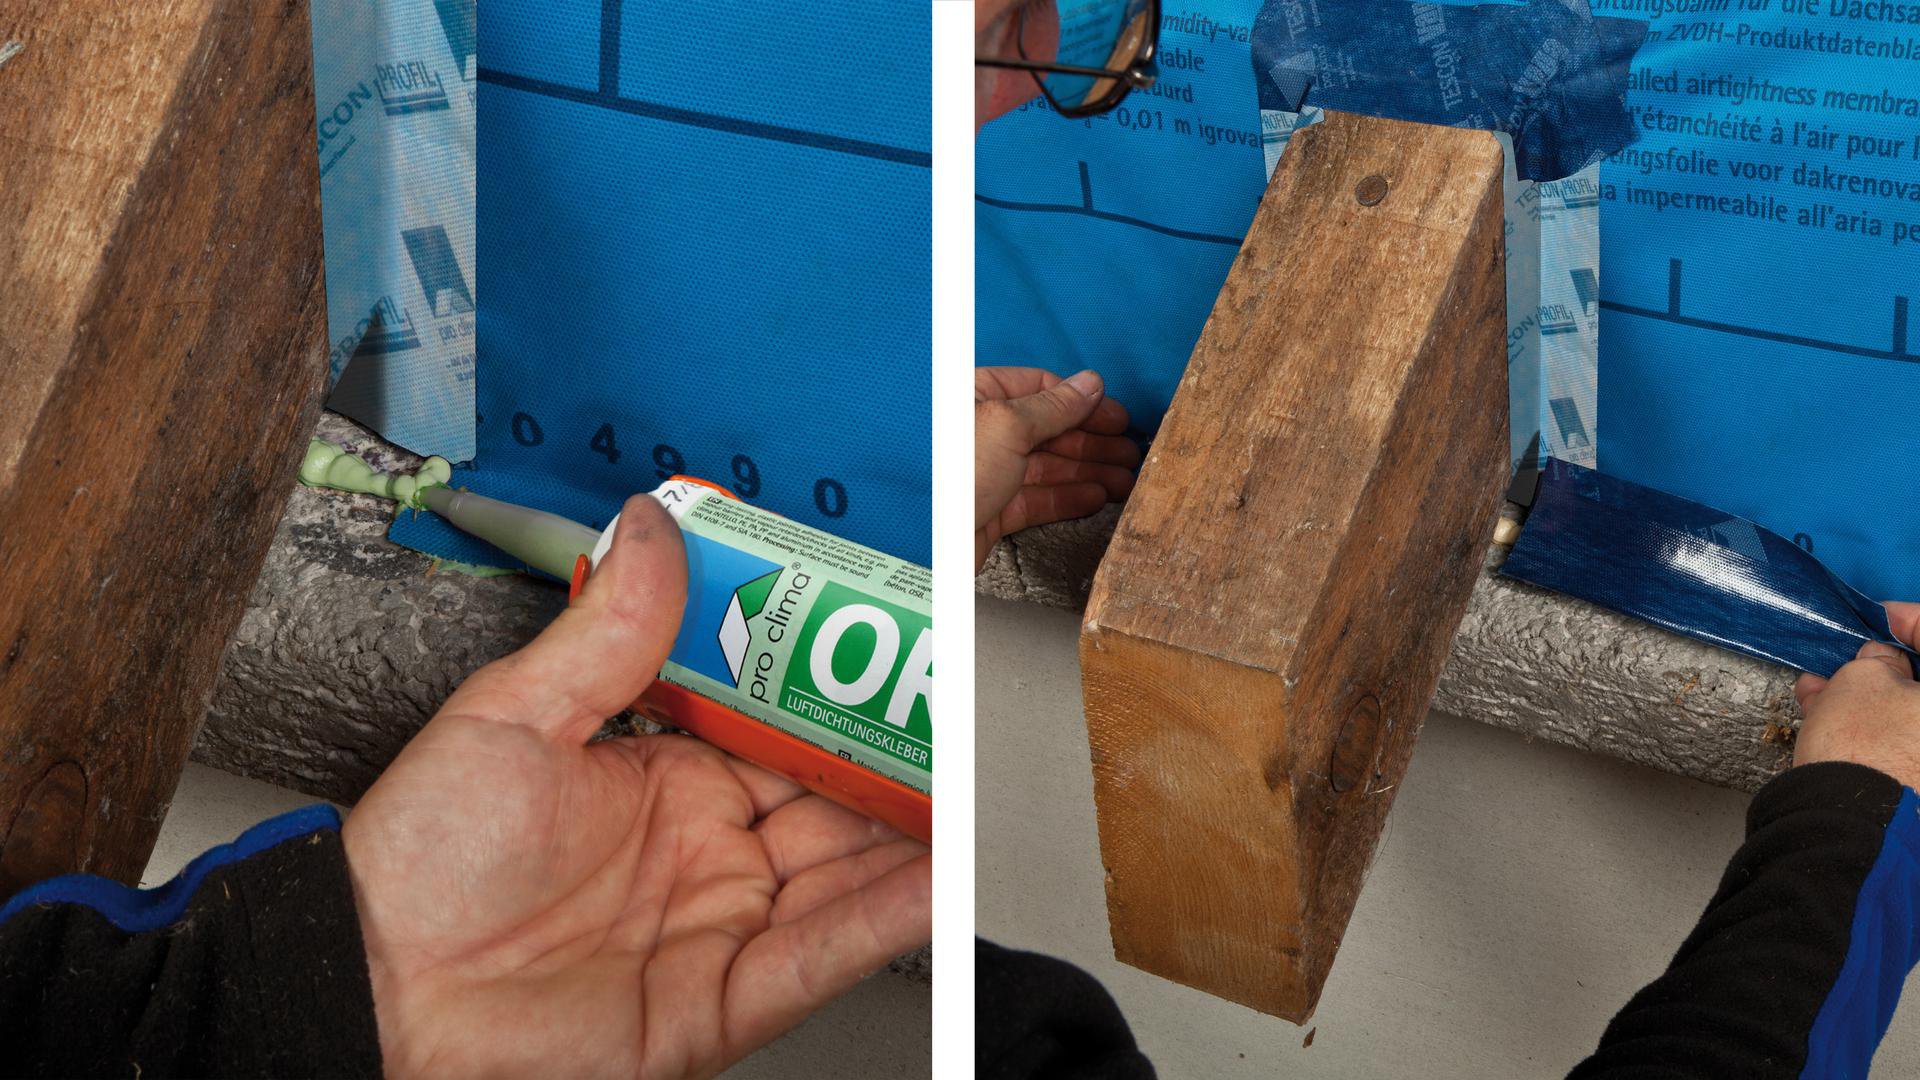
14. Stick the membrane at the bottom of the rafter
Apply a line of ORCON F (d = at least 5 mm) to the ring beam under the rafter.
Stick to the ring beam and the underside of the rafter using TESCON VANA.
Cut the corners diagonally and stick them.
14. Stick the membrane at the bottom of the rafter
Apply a line of ORCON F (d = at least 5 mm) to the ring beam under the rafter.
Stick to the ring beam and the underside of the rafter using TESCON VANA.
Cut the corners diagonally and stick them.
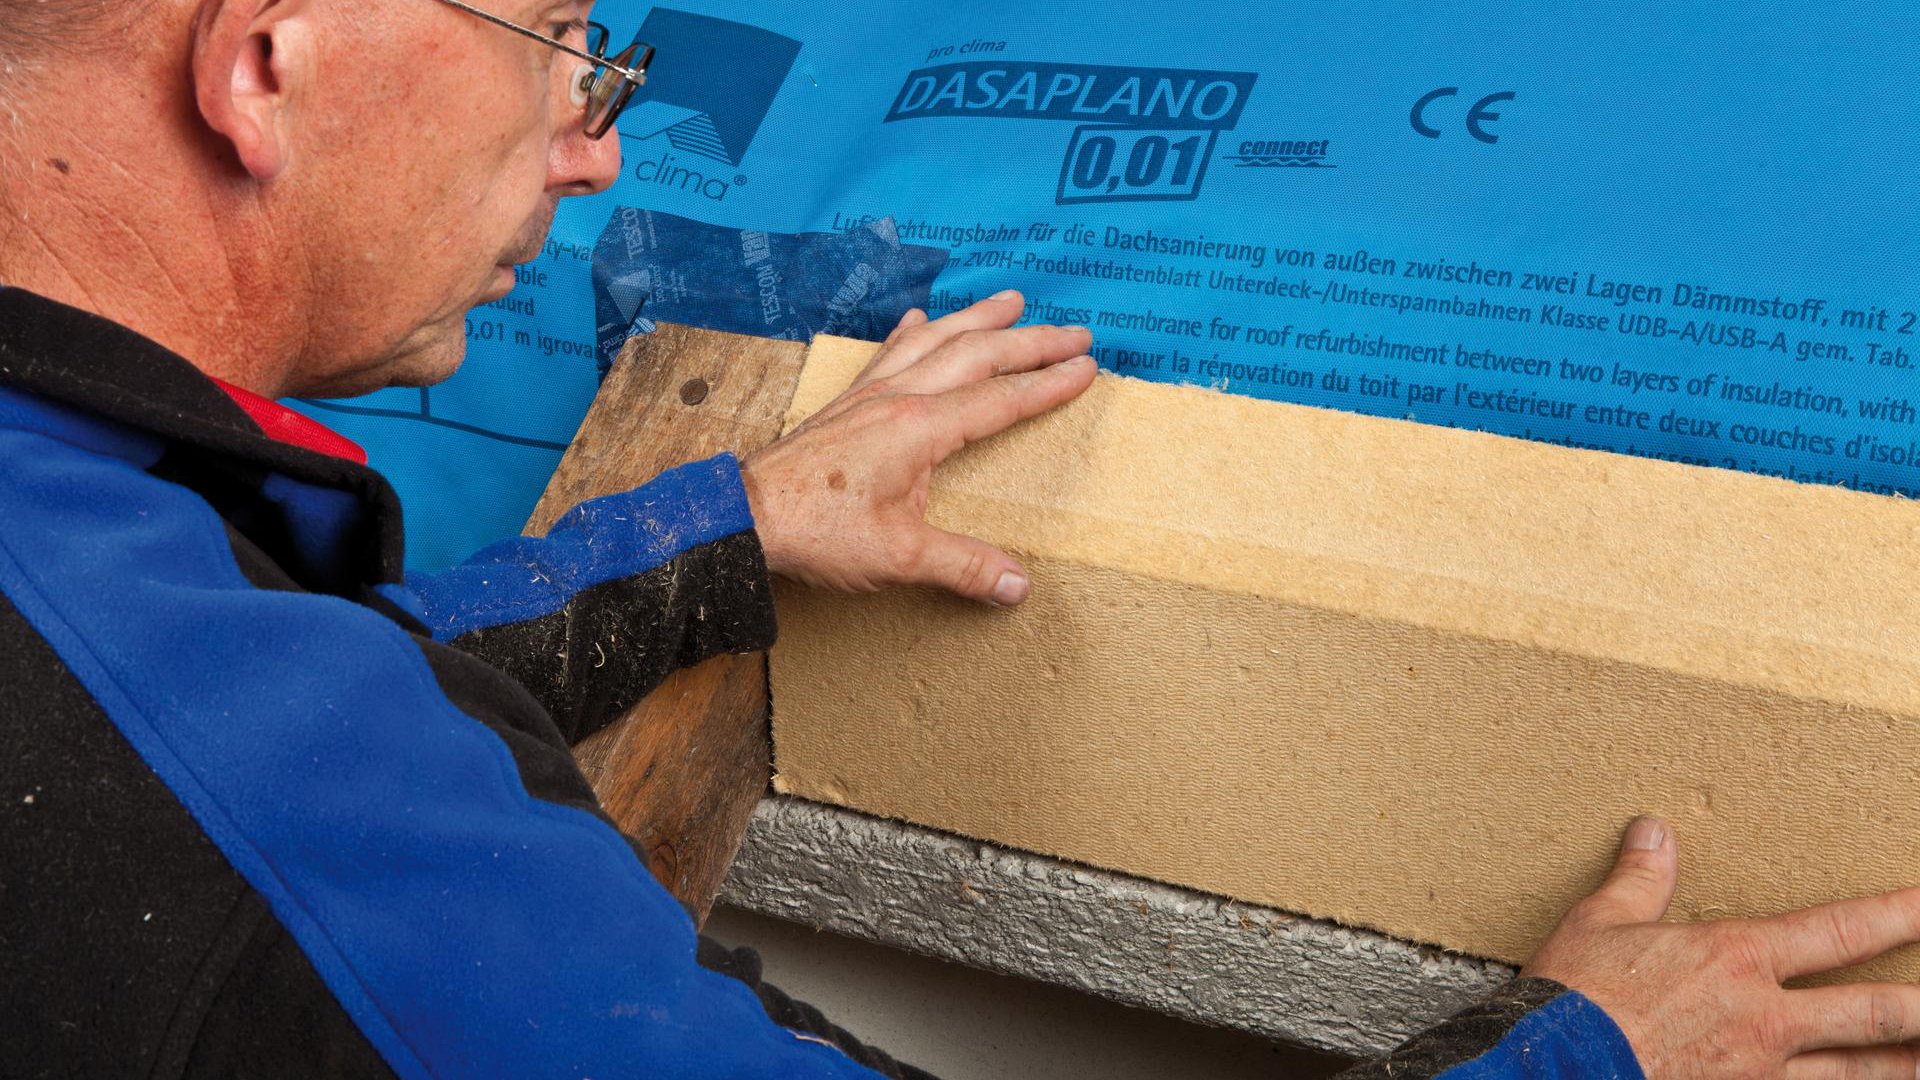
15. Install vertical insulation
Fill out the space between the rafters with vertically oriented sorptive insulation material (e.g. wood fibre) as far as the outer edge of the ring beam.
15. Install vertical insulation
Fill out the space between the rafters with vertically oriented sorptive insulation material (e.g. wood fibre) as far as the outer edge of the ring beam.
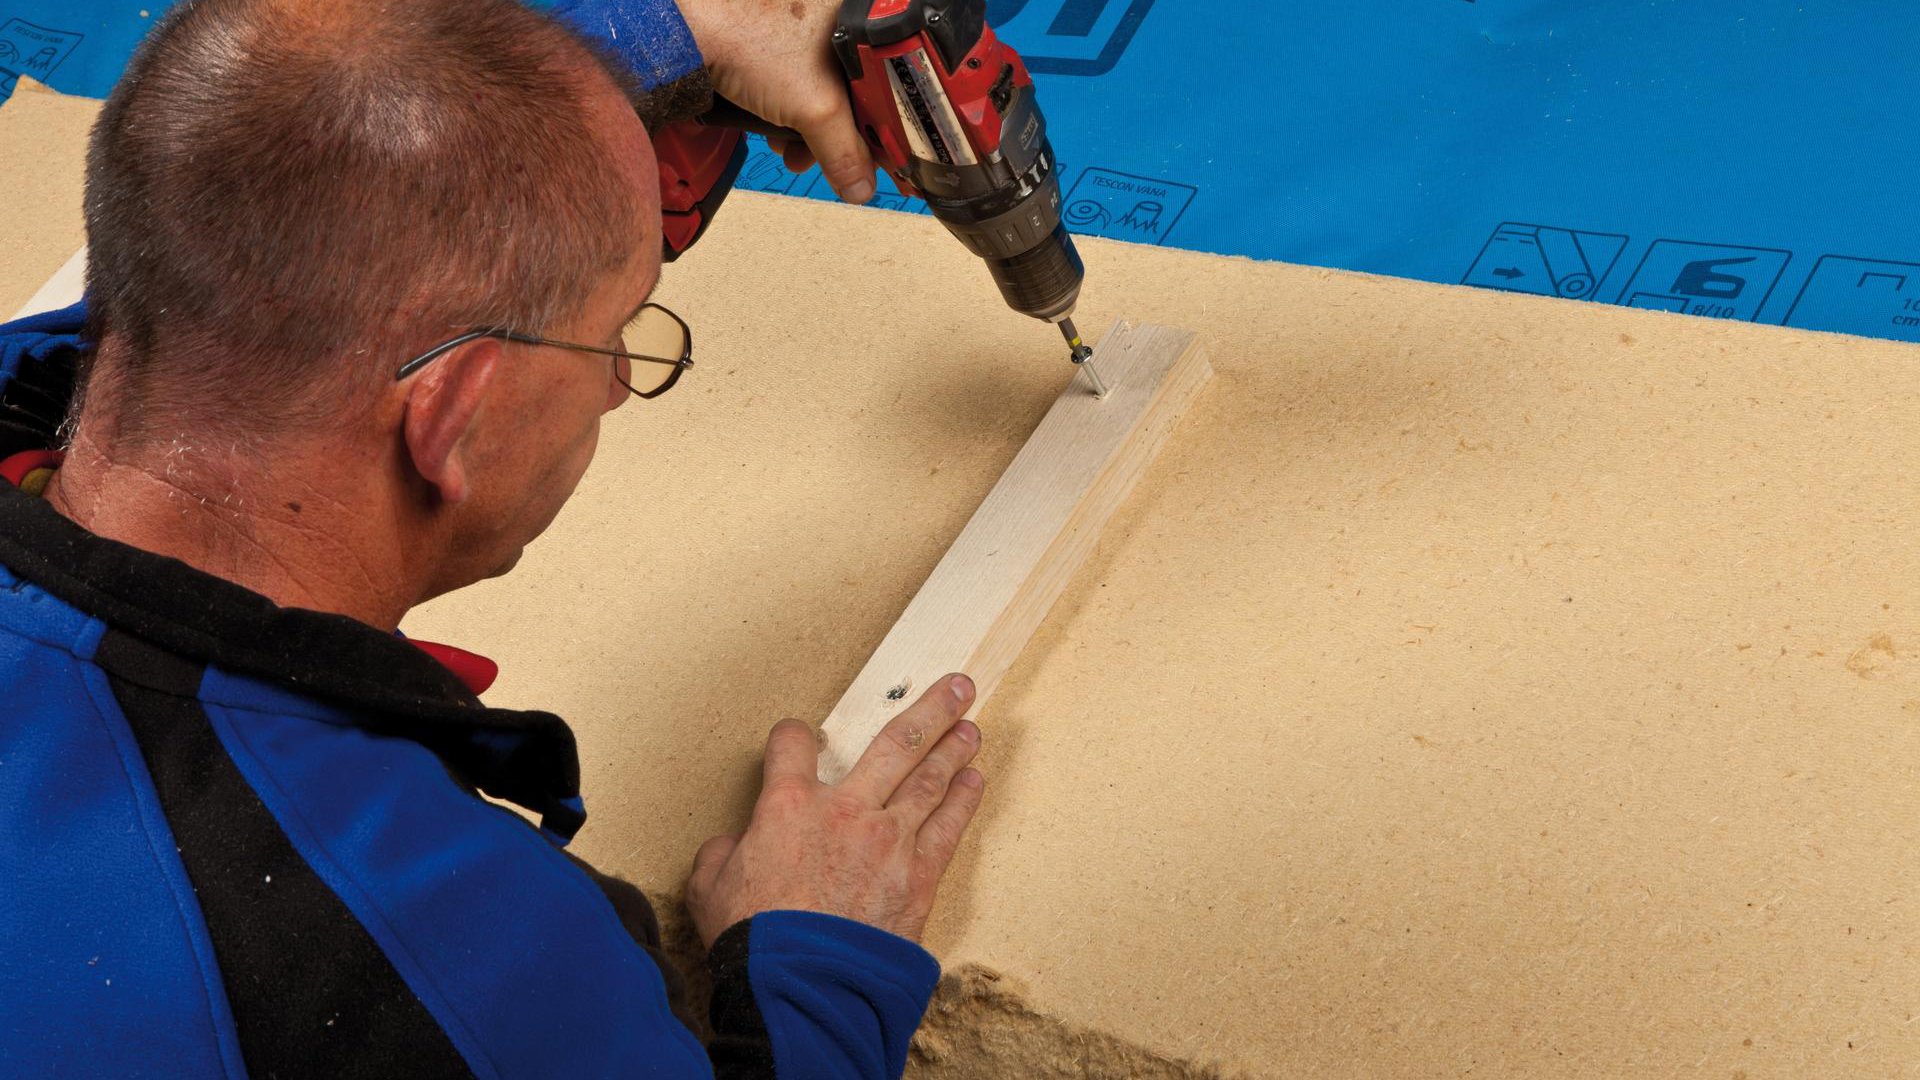
16. Install insulation over the surface
Install insulation on the roof surface using wood fibre underlay panels with a suitable thickness.
Observe the system notes for DASAPLANO 0,01 connect here.
16. Install insulation over the surface
Install insulation on the roof surface using wood fibre underlay panels with a suitable thickness.
Observe the system notes for DASAPLANO 0,01 connect here.