
TESCON TANGO
Installation steps: Room corner
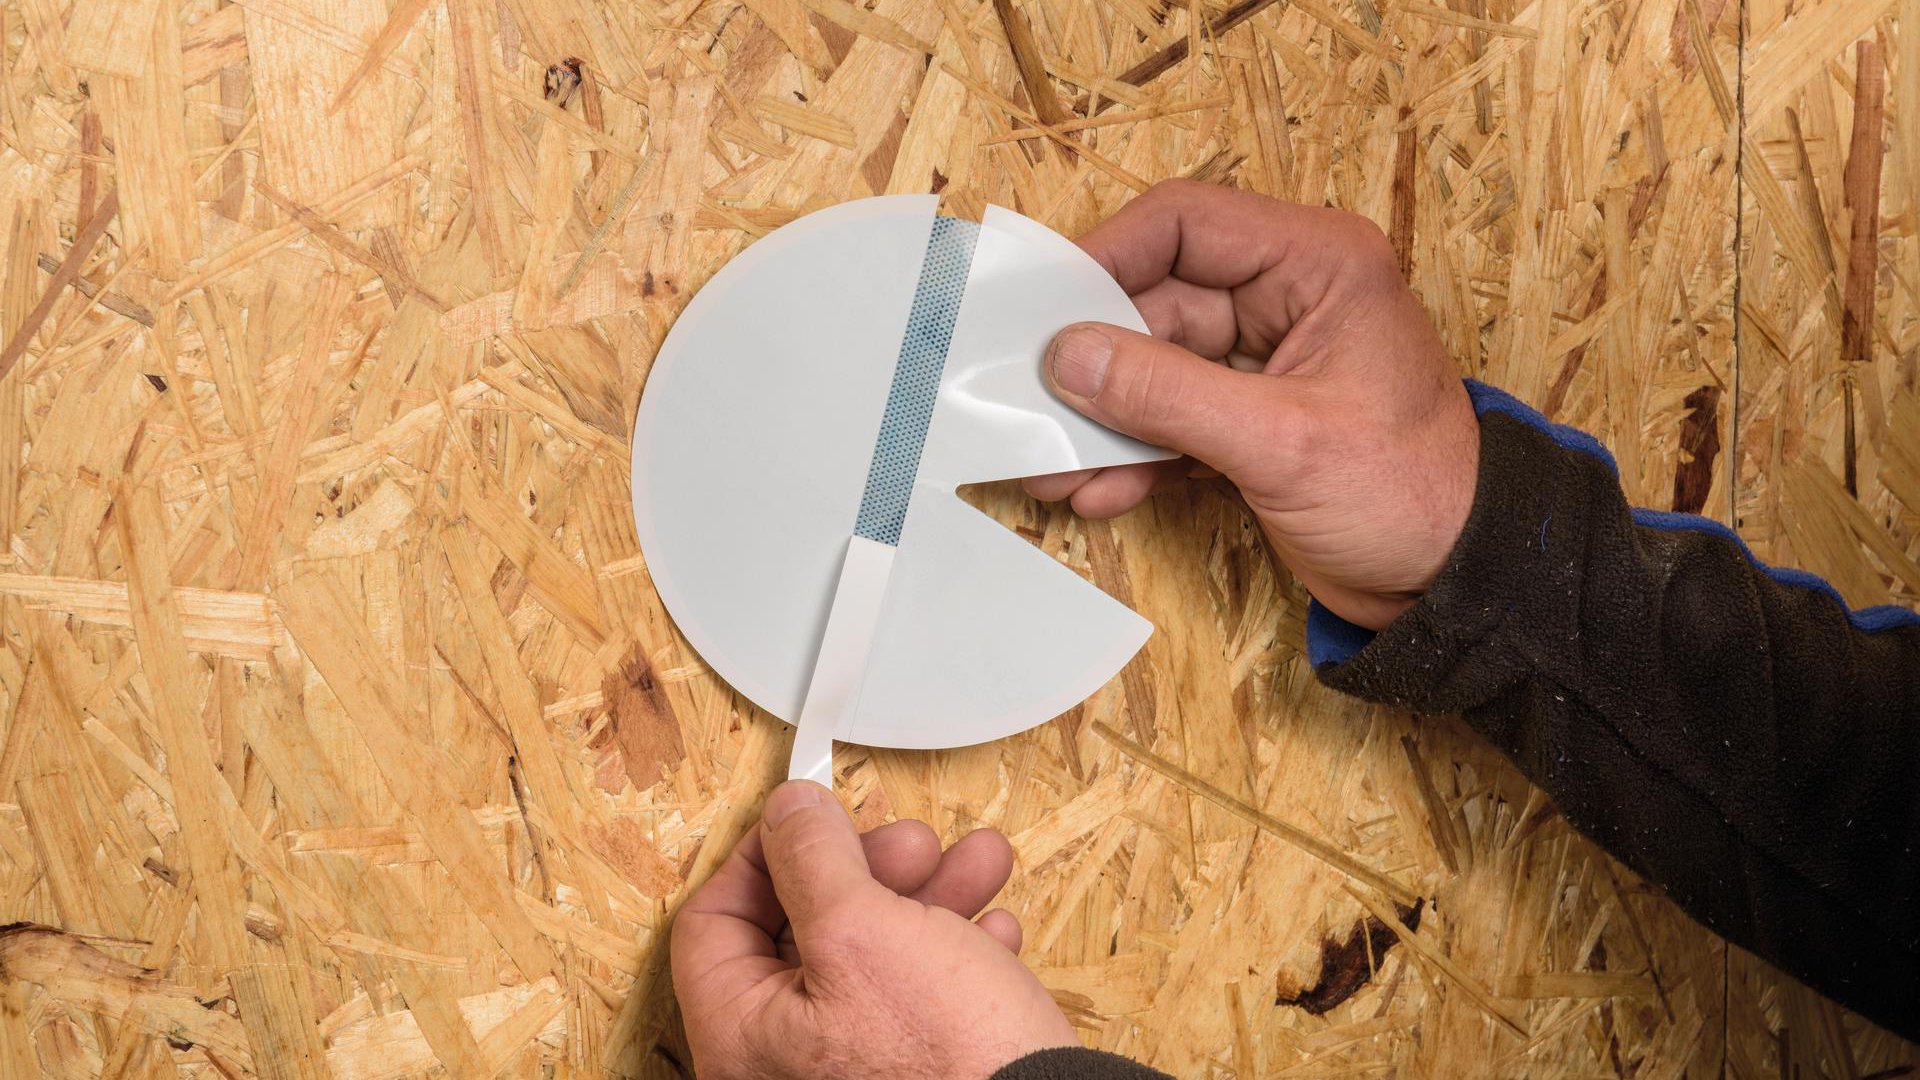
1. Prepare the corner patch
Pre-fold TESCON TANGO and partially remove the release film of the attachment surface.
1. Prepare the corner patch
Pre-fold TESCON TANGO and partially remove the release film of the attachment surface.
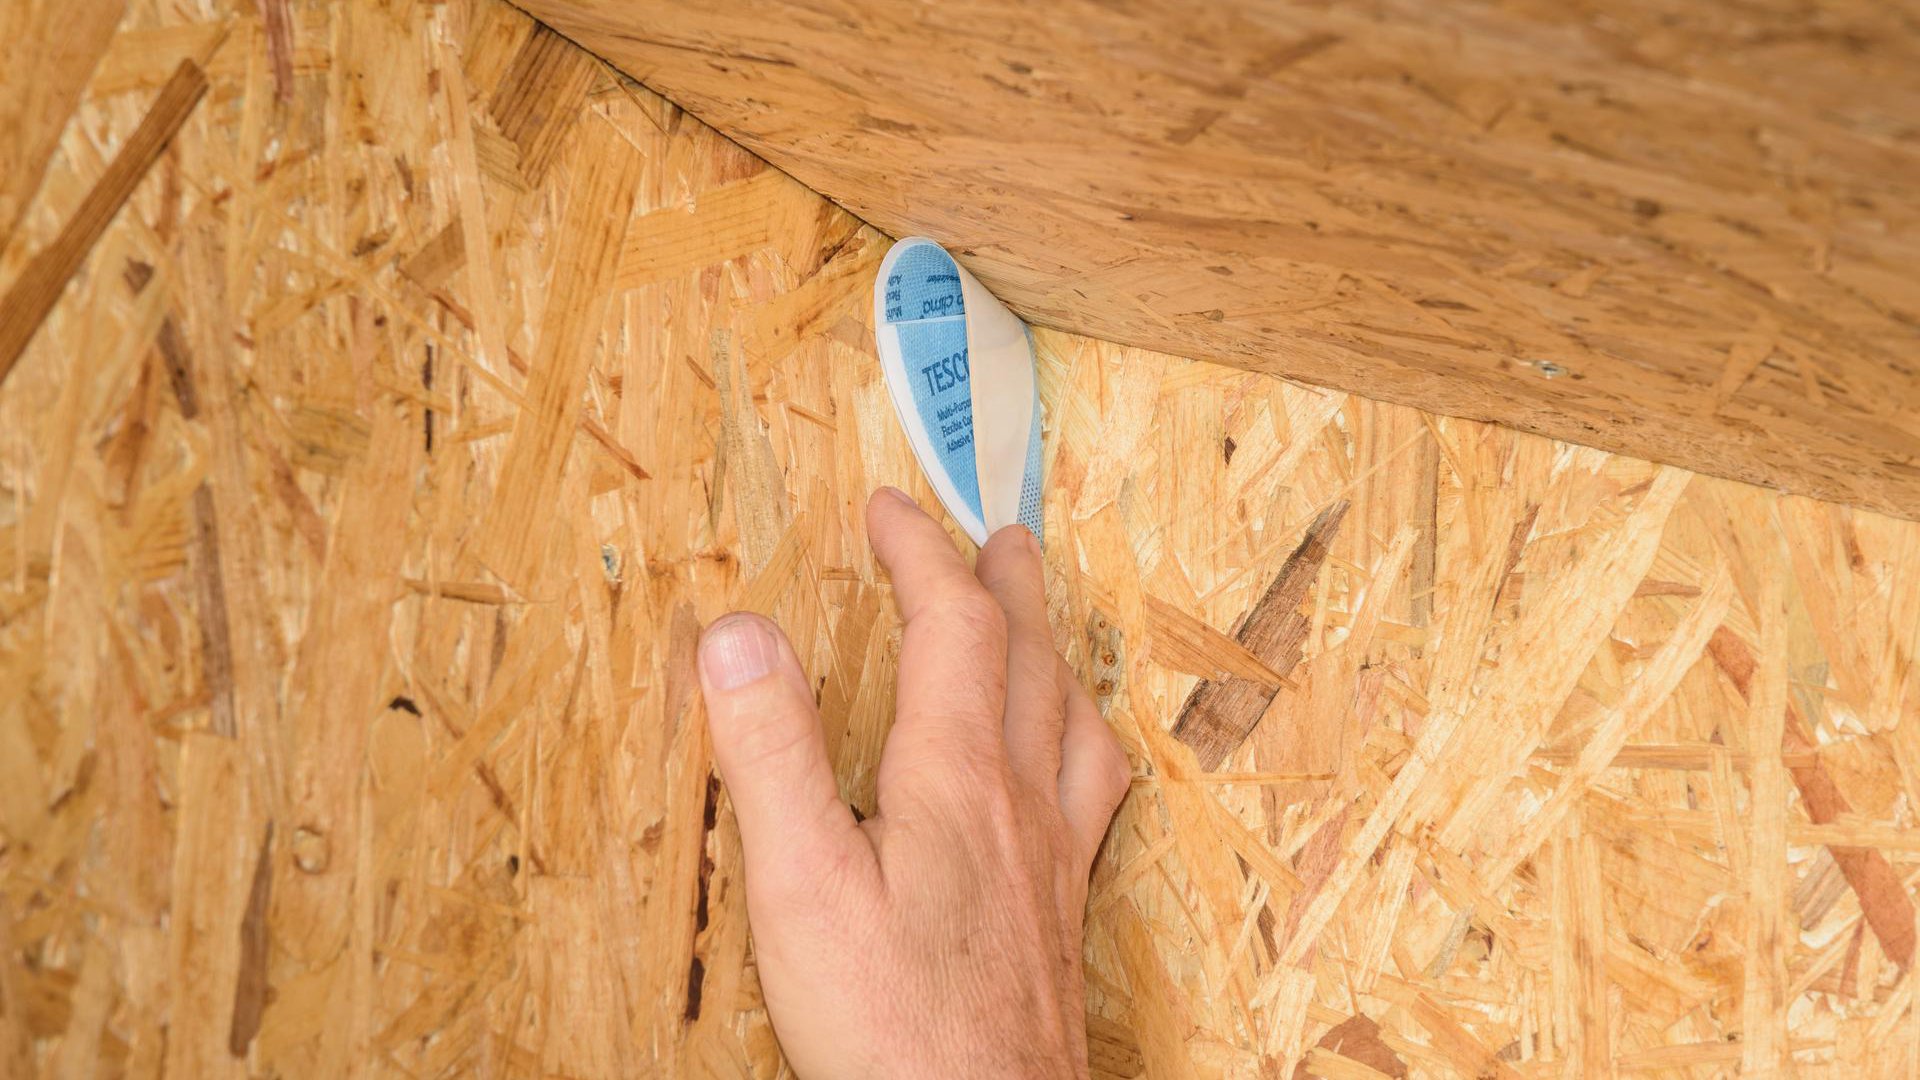
2. Initial attachment
Attach the patch into the corner using the attachment surface. Use PRESSFIX for situations with difficult access.
2. Initial attachment
Attach the patch into the corner using the attachment surface. Use PRESSFIX for situations with difficult access.
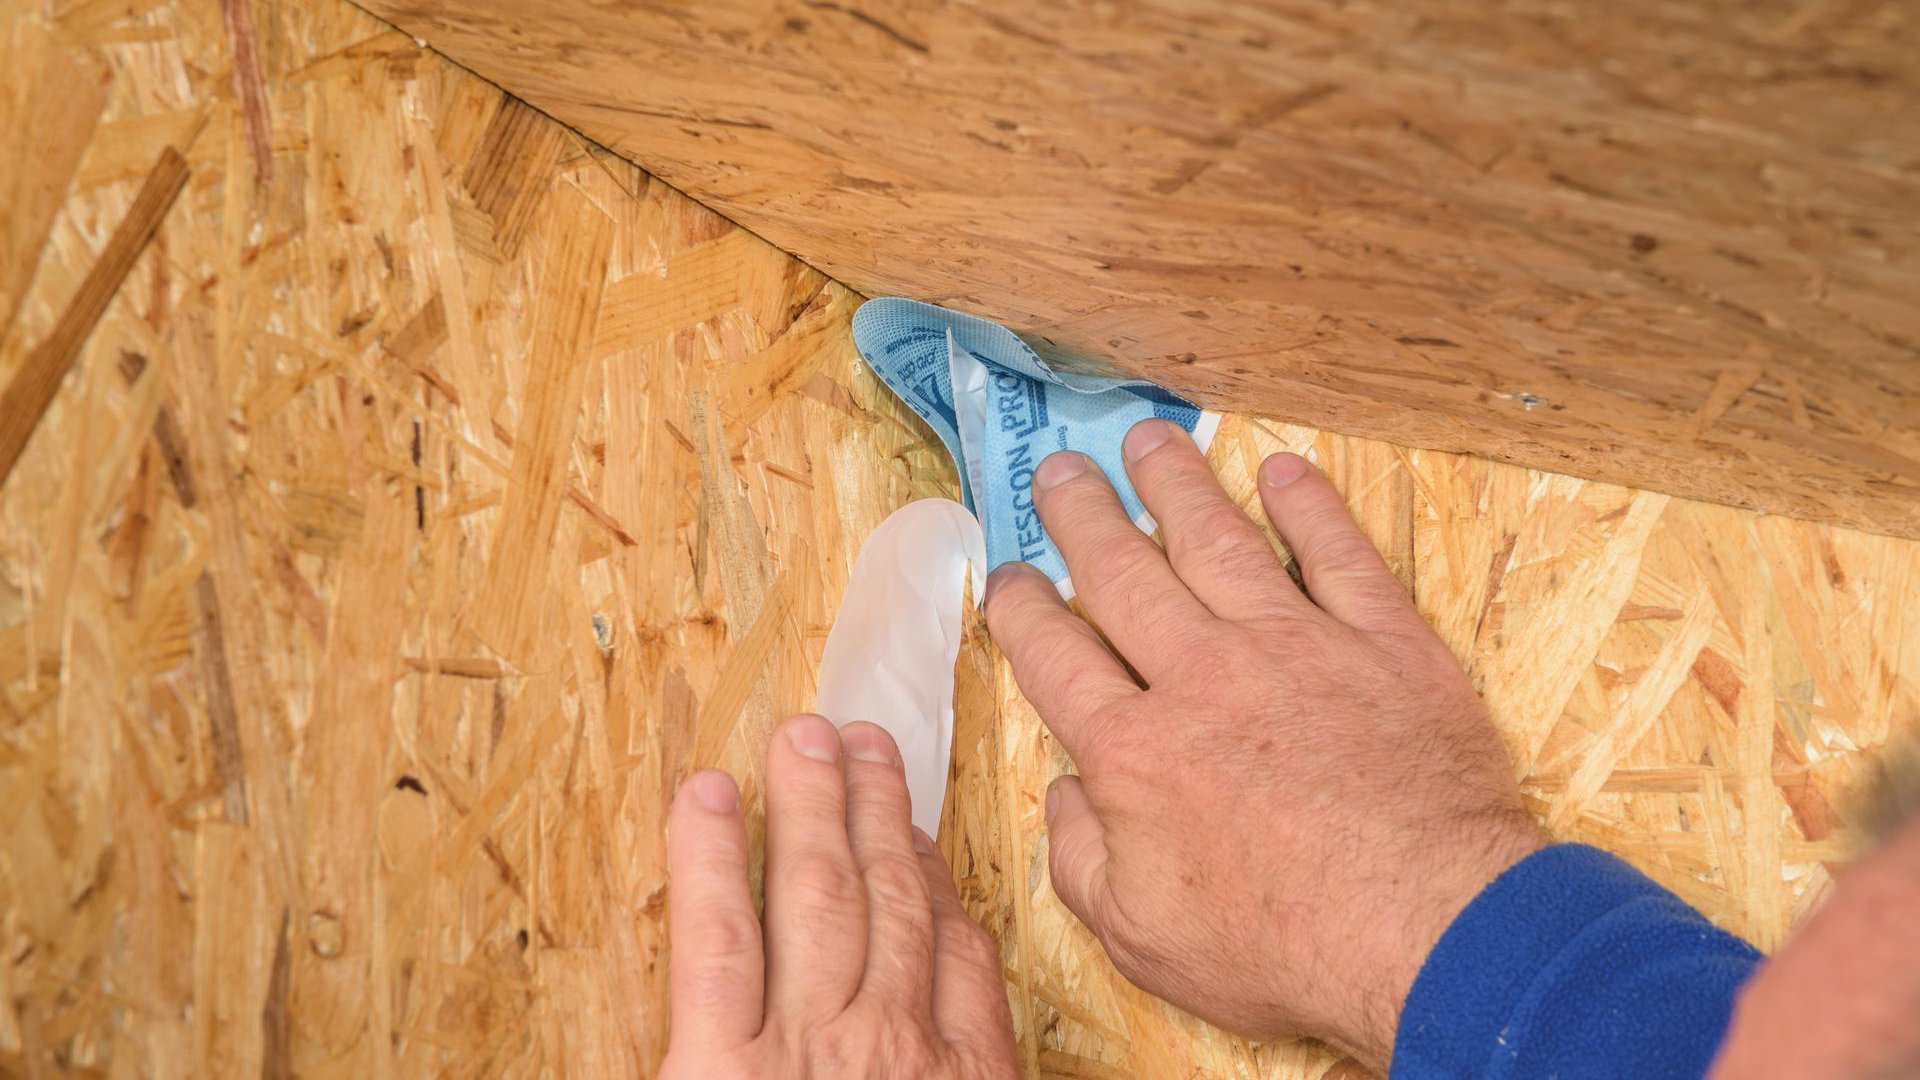
3. Stick the first independent adhesive strip
Position TESCON TANGO in its final position, gradually remove the release films and stick the patch in place. Ensure that adhesion is carried out tightly in the corner and that there are no cavities.
3. Stick the first independent adhesive strip
Position TESCON TANGO in its final position, gradually remove the release films and stick the patch in place. Ensure that adhesion is carried out tightly in the corner and that there are no cavities.
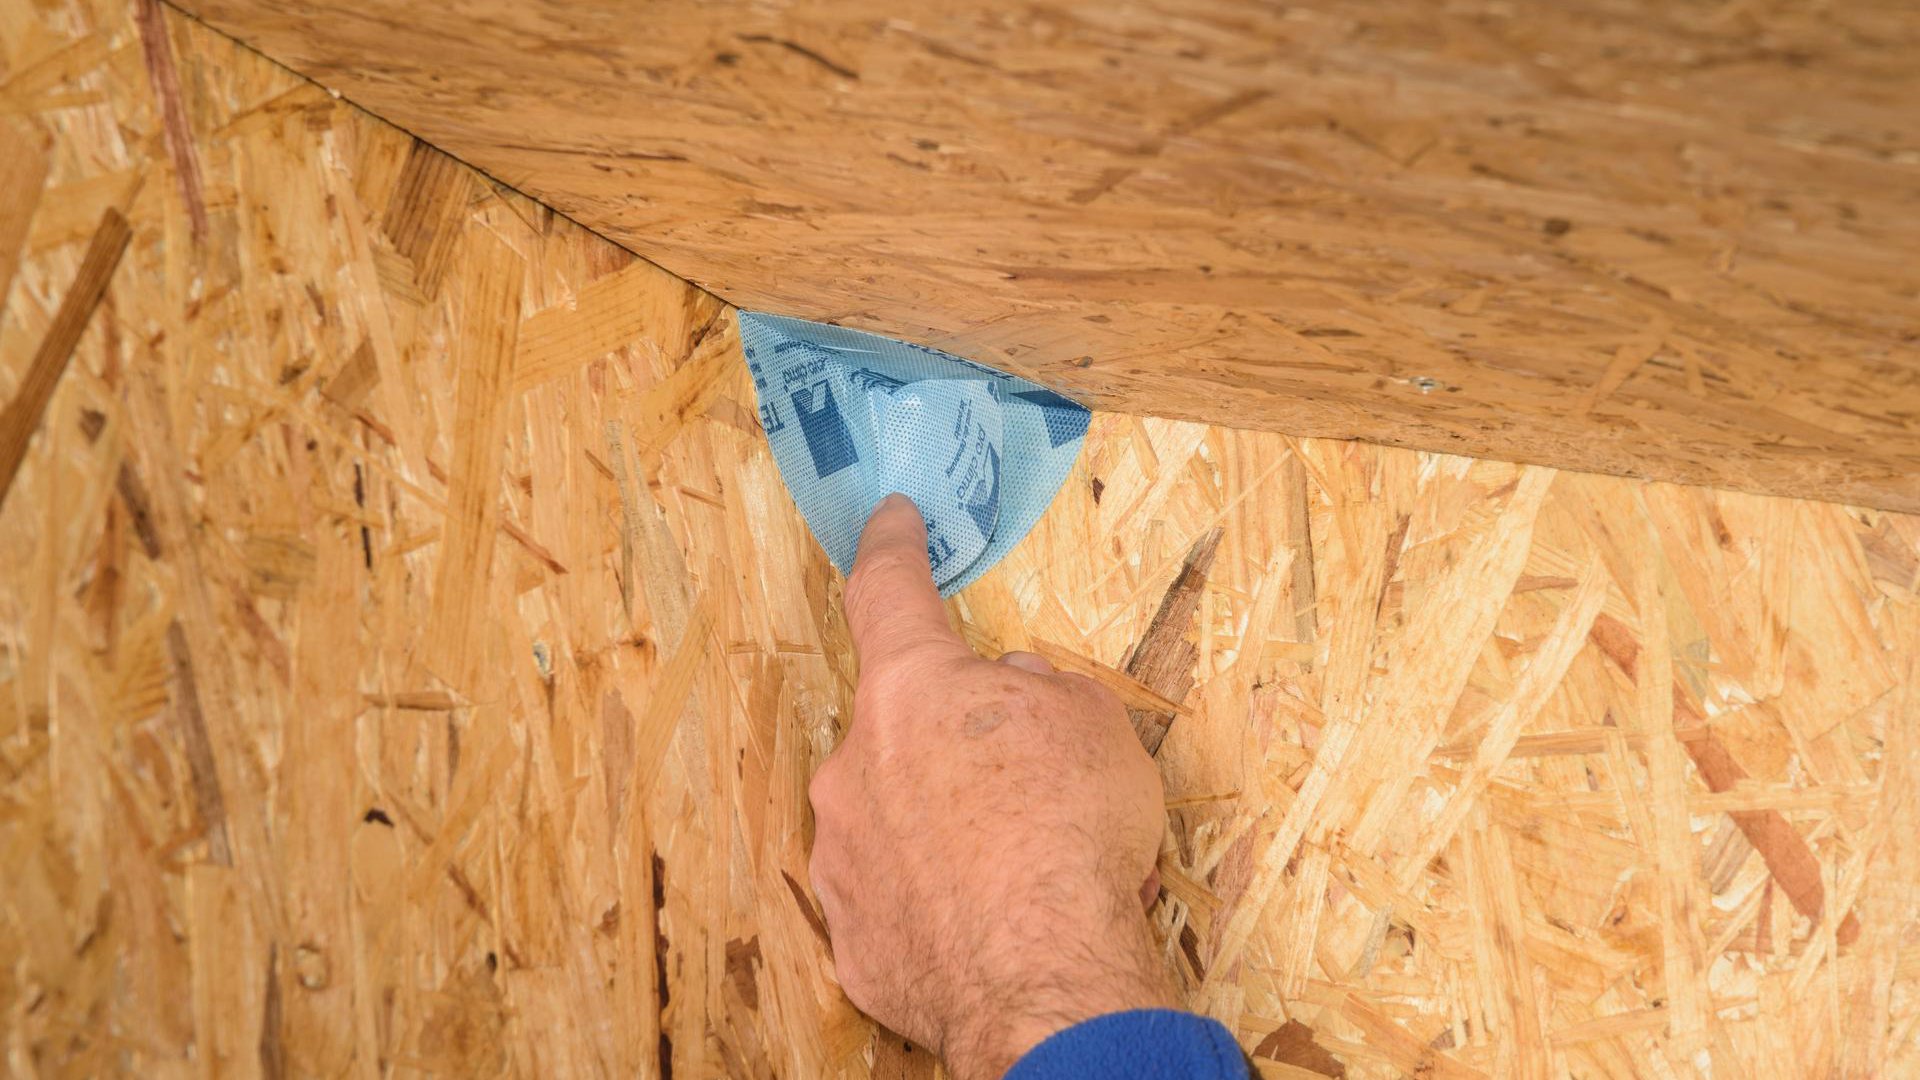
4. Rub the patch firmly into place
This step can be carried out in a manner that is kinder to your hands by using the pro clima PRESSFIX application tool.
4. Rub the patch firmly into place
This step can be carried out in a manner that is kinder to your hands by using the pro clima PRESSFIX application tool.